


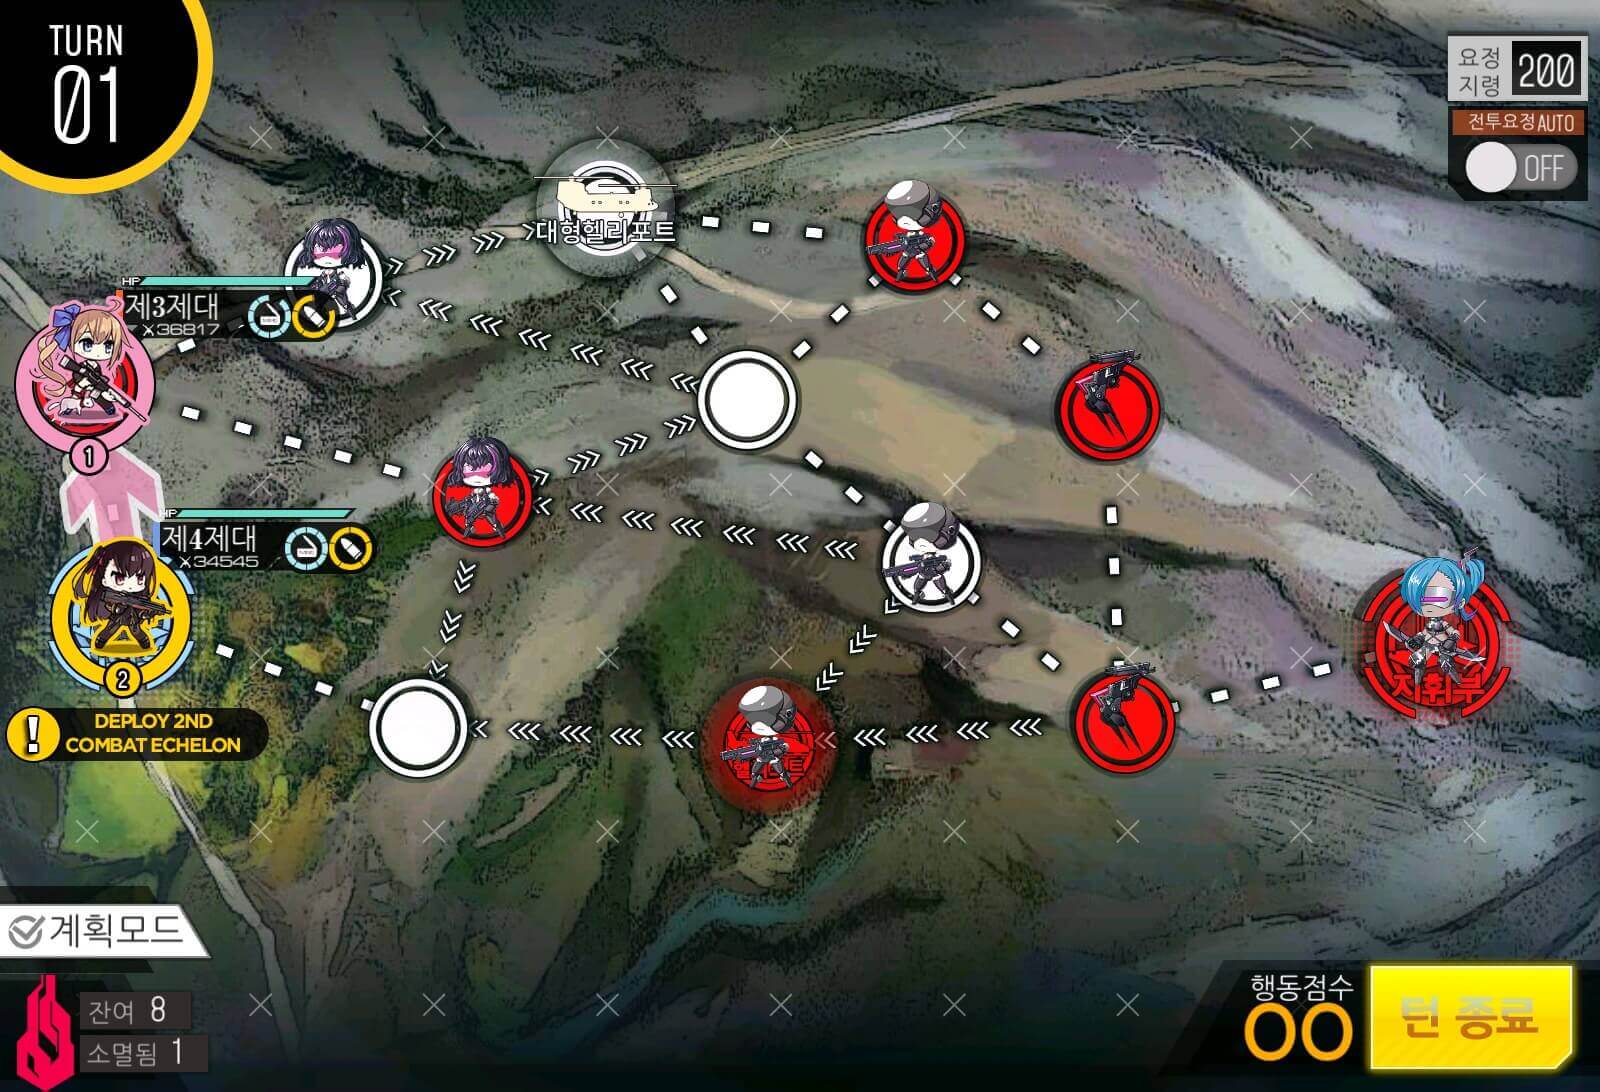
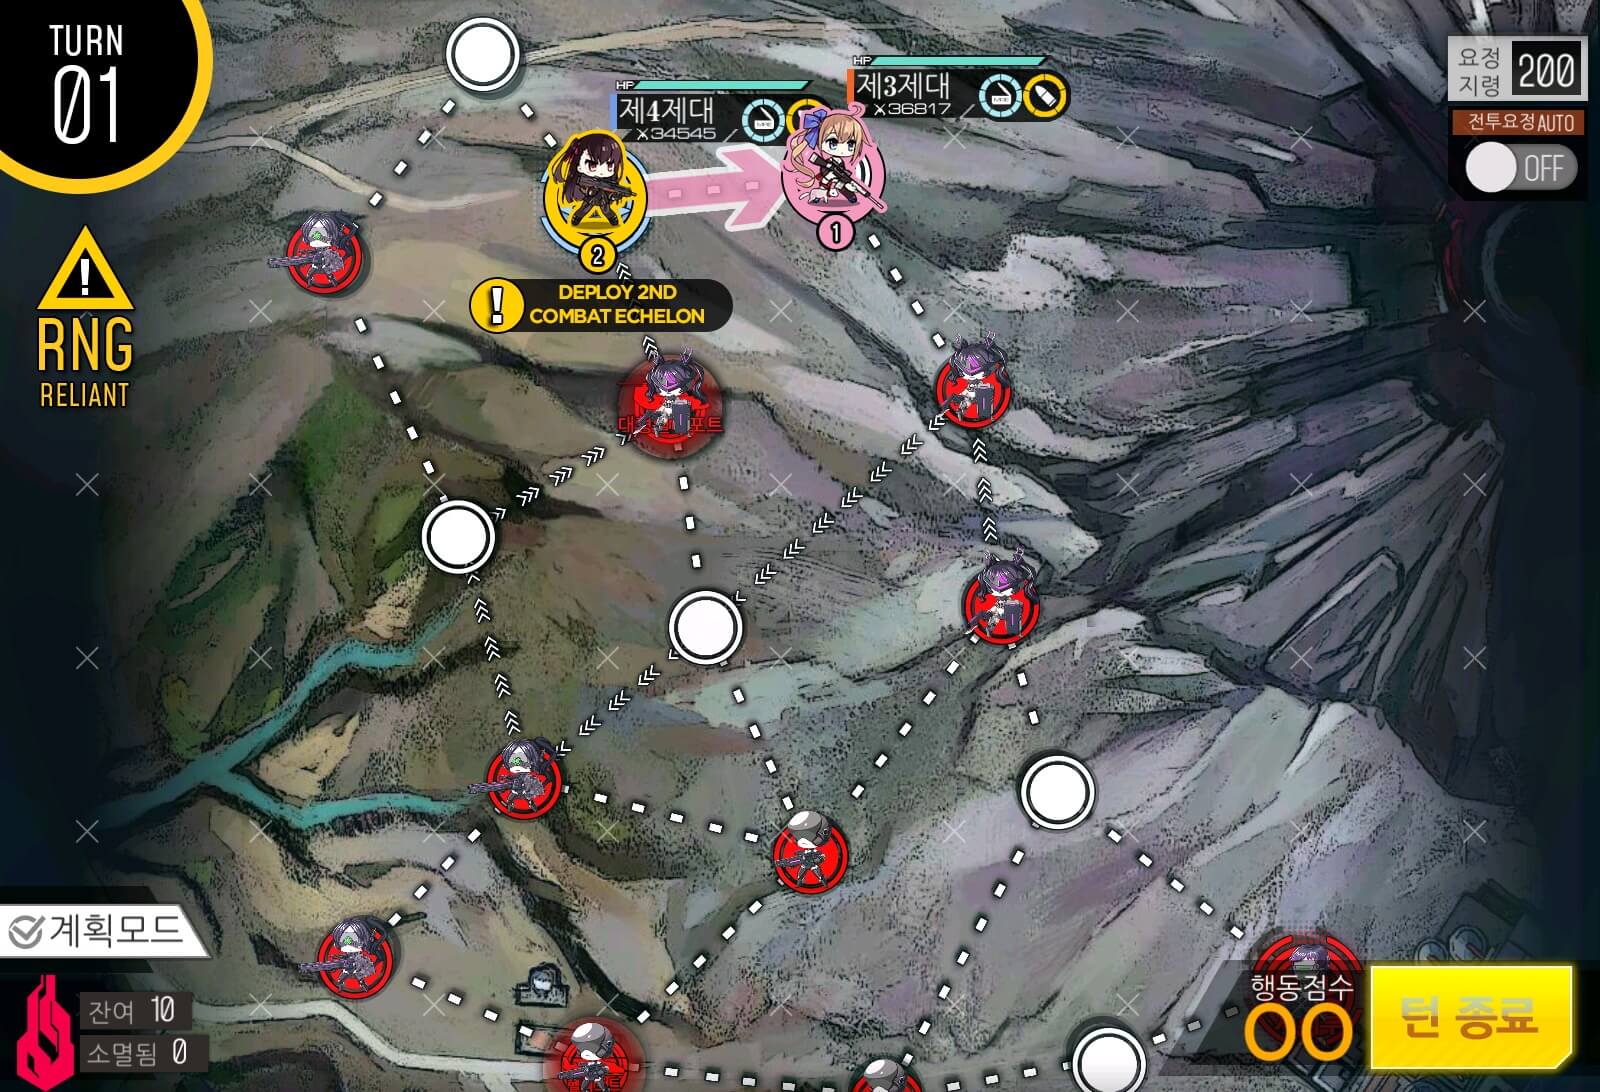
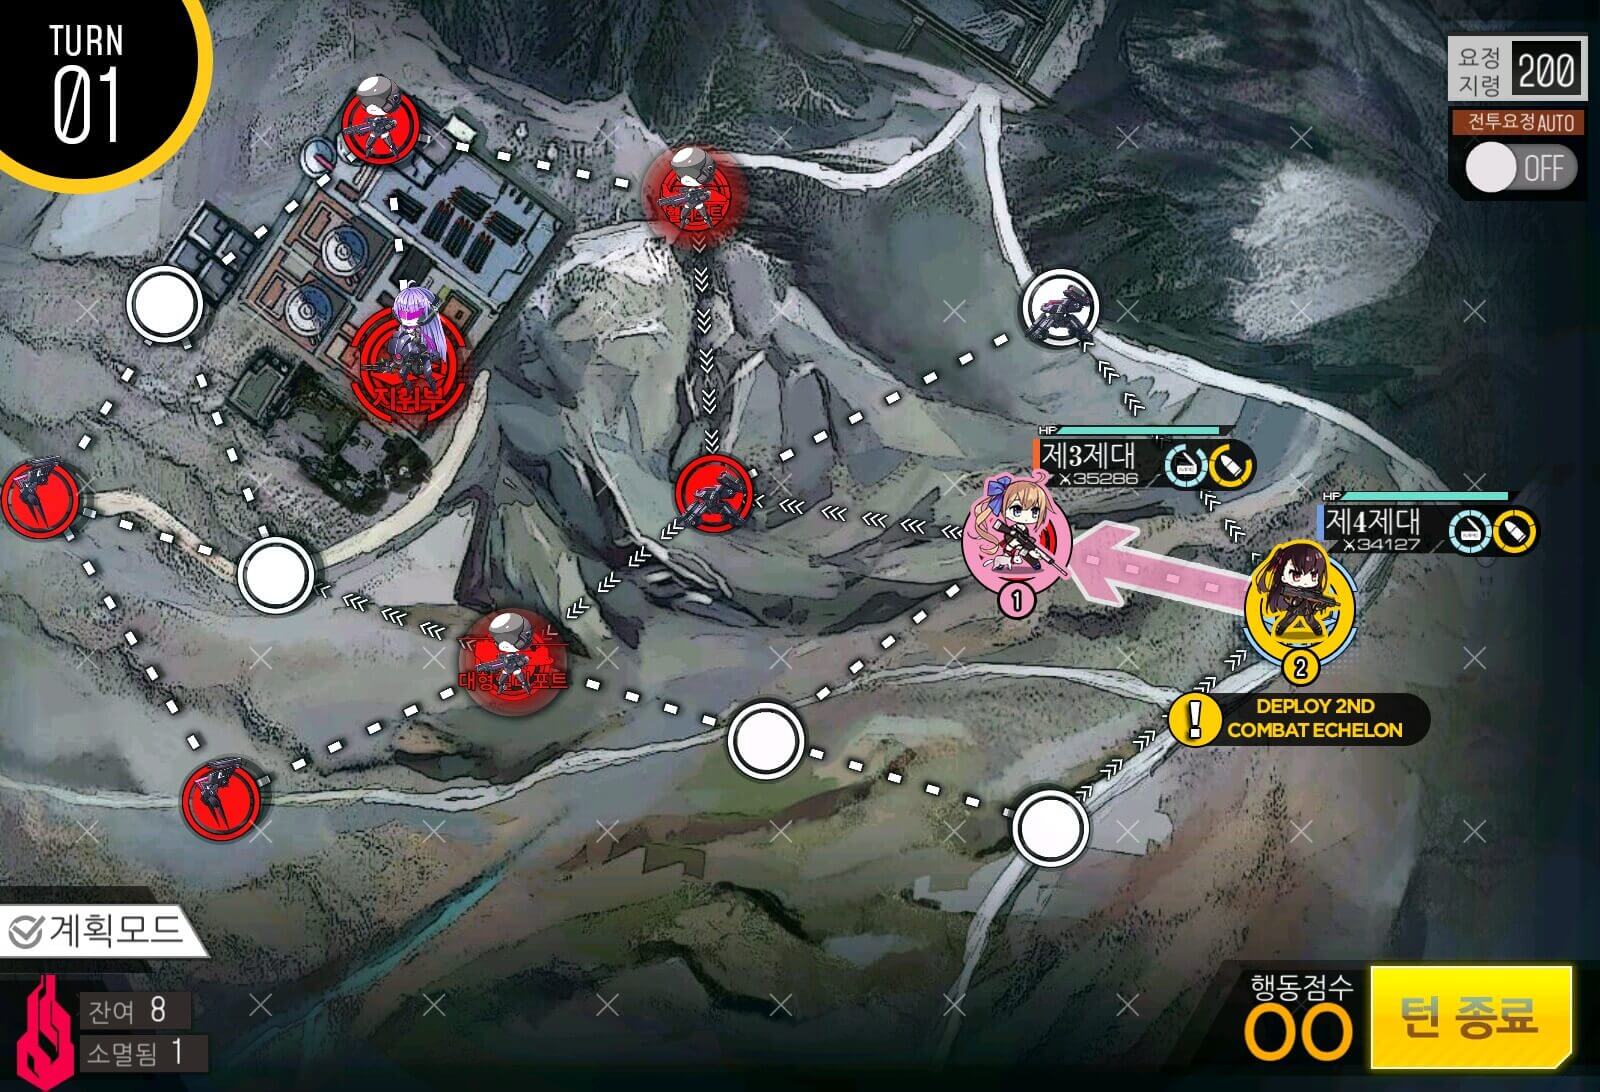

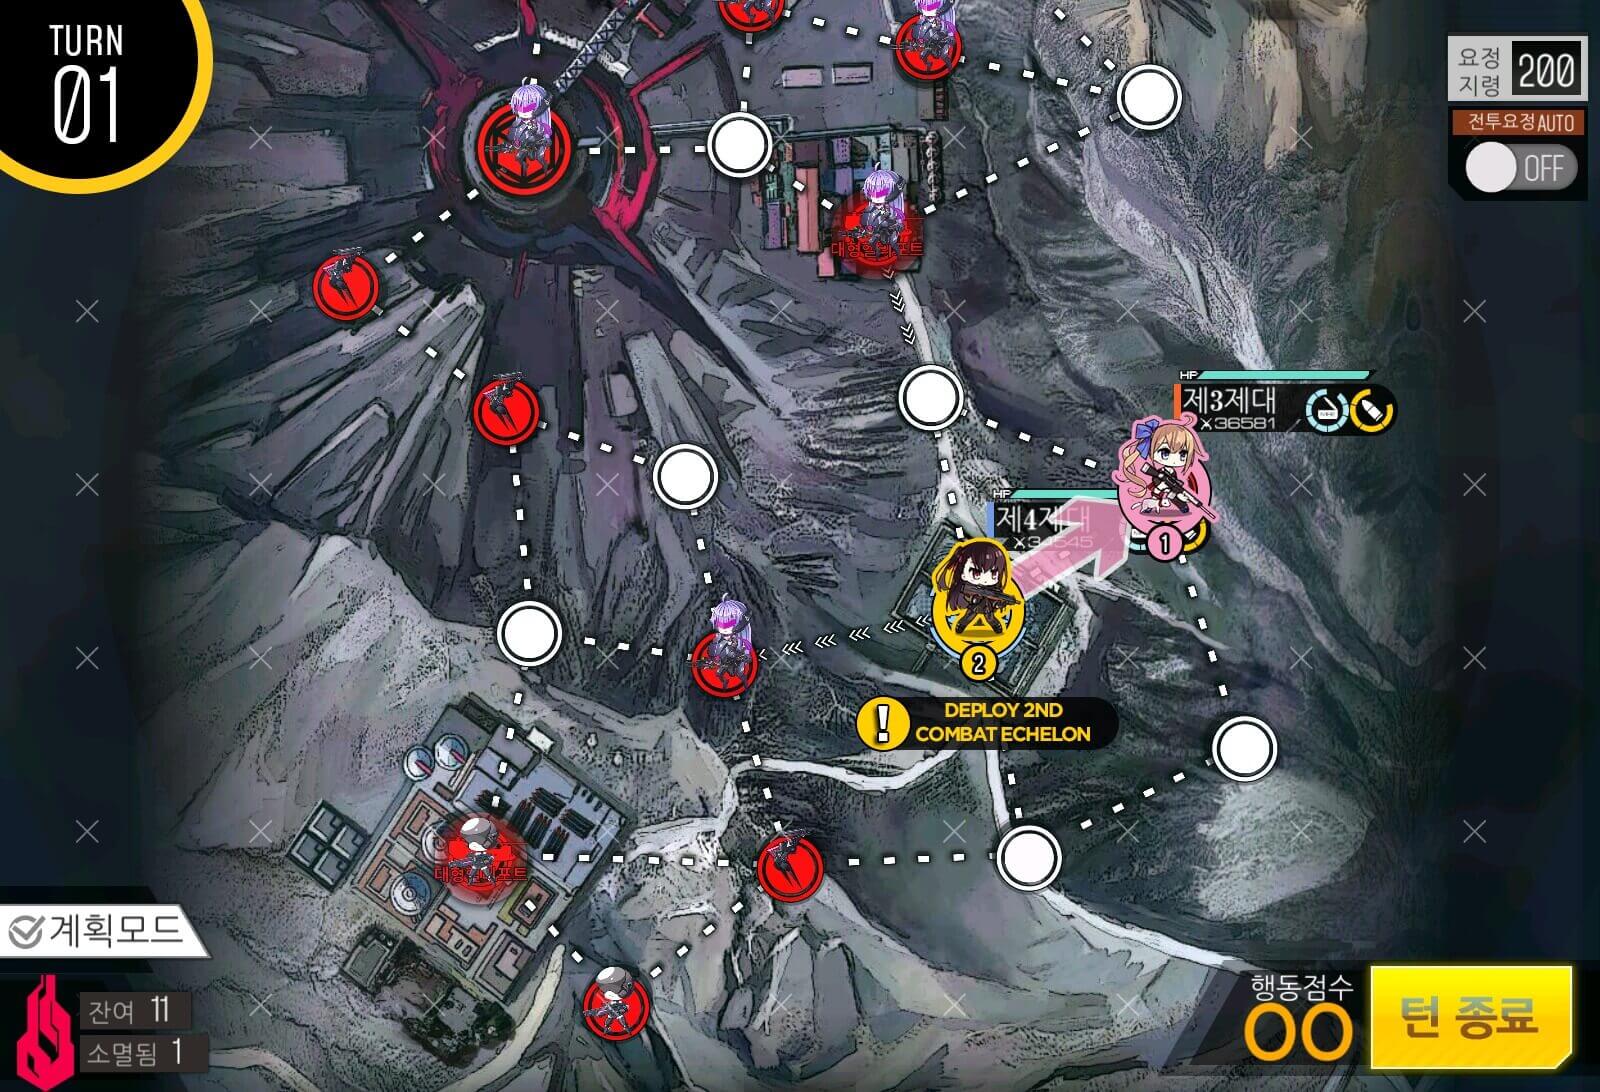
Turn 1
Self-explanatory

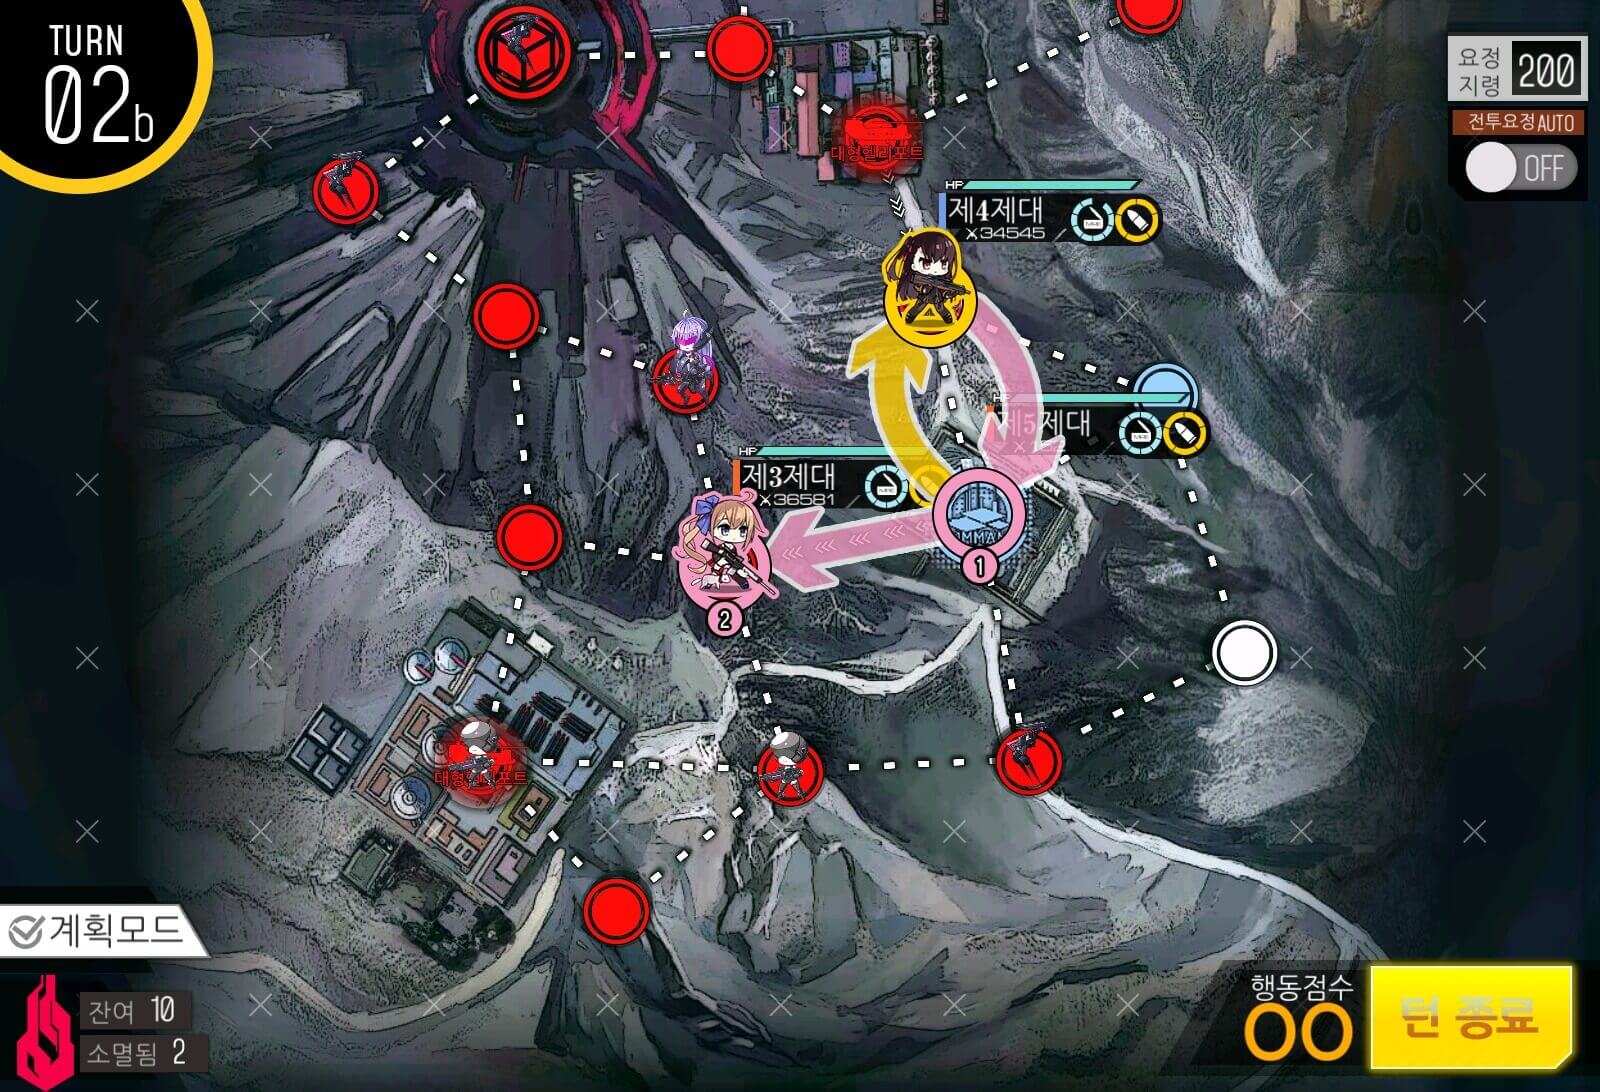
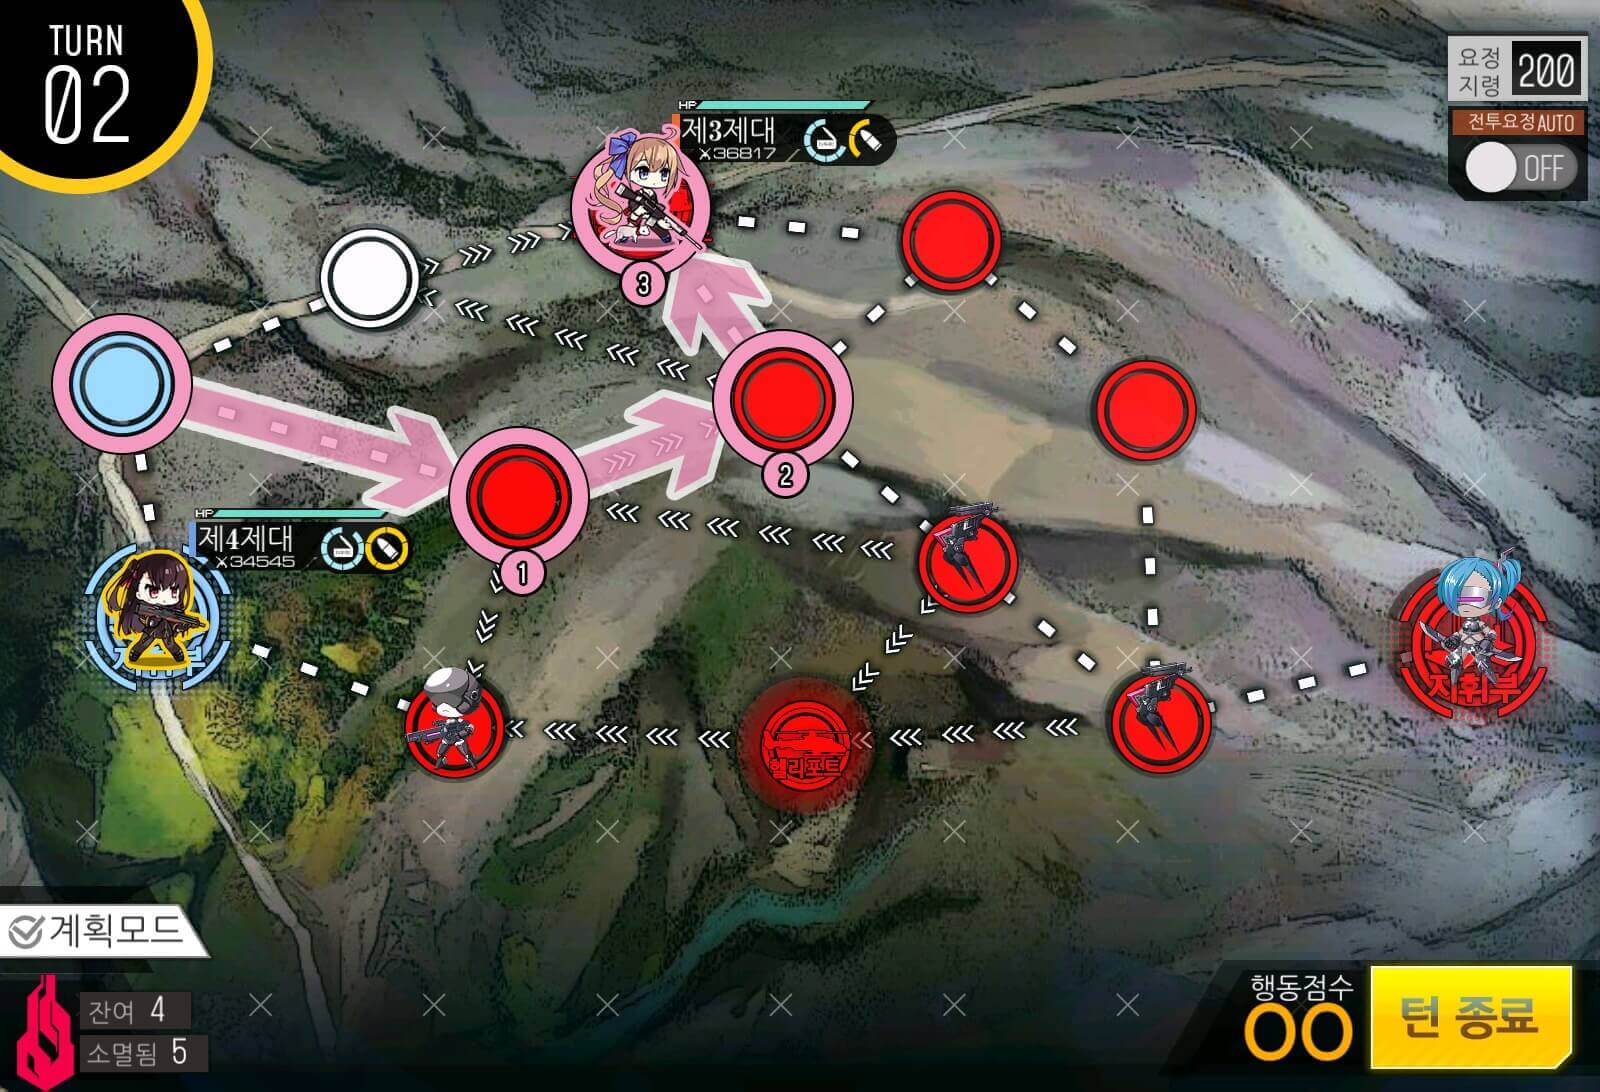
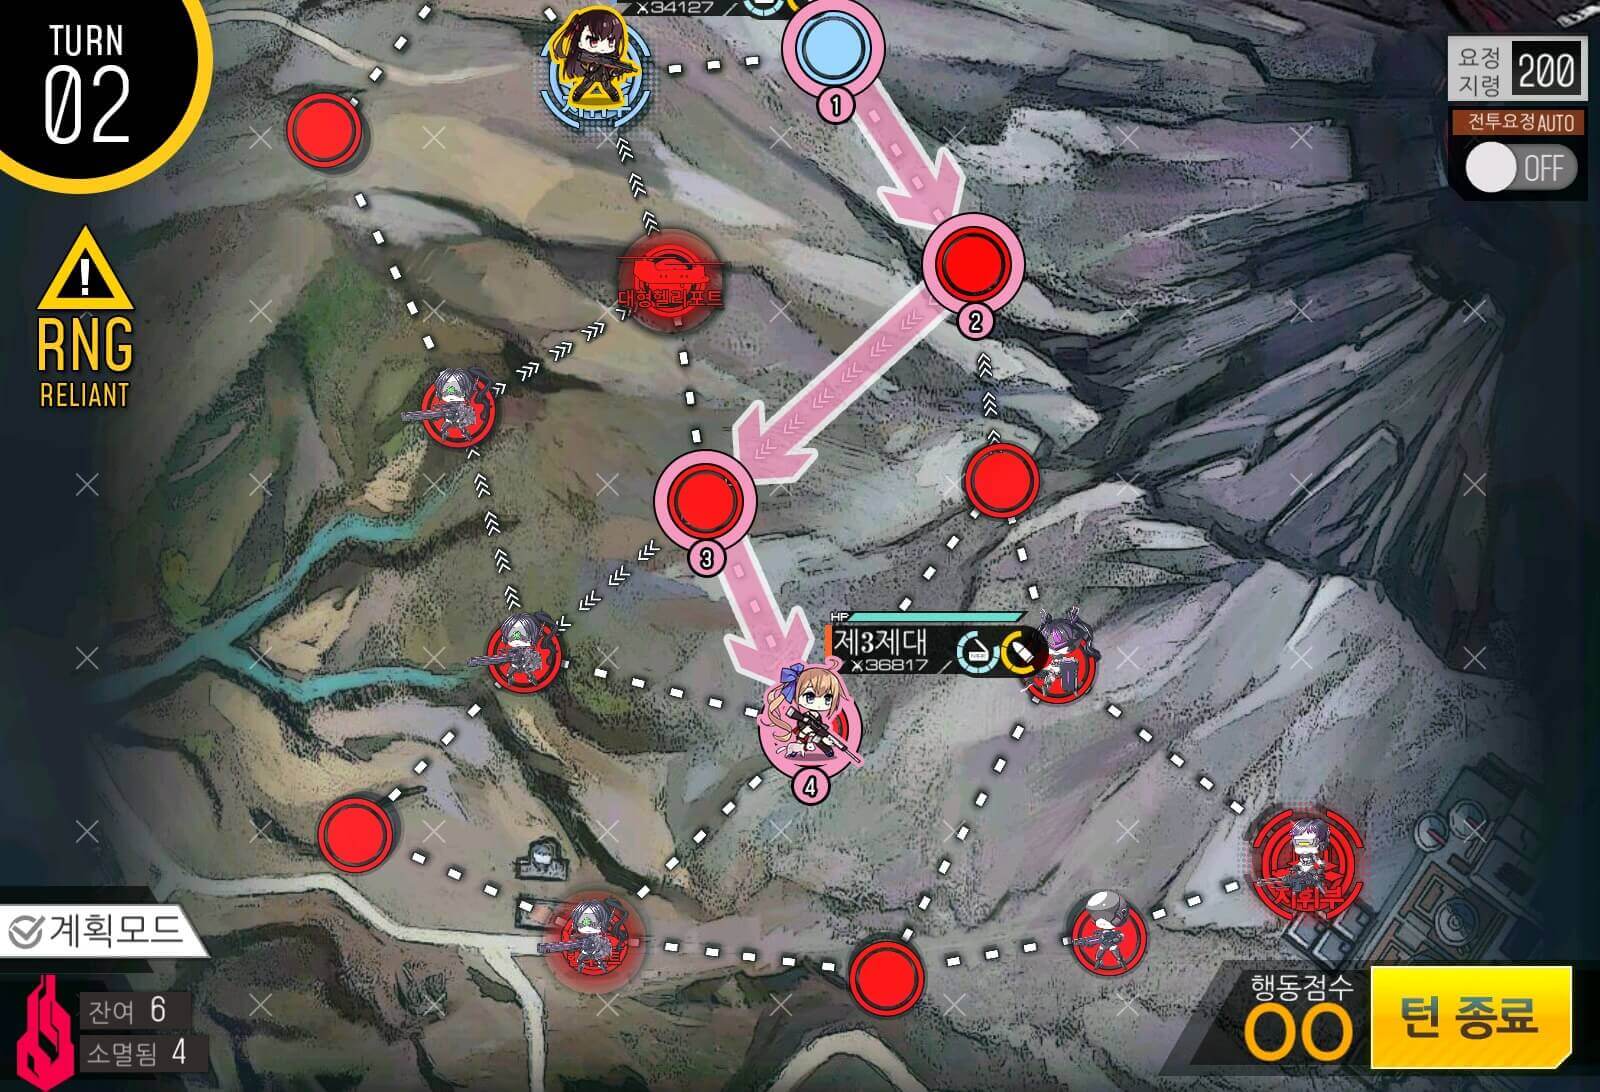
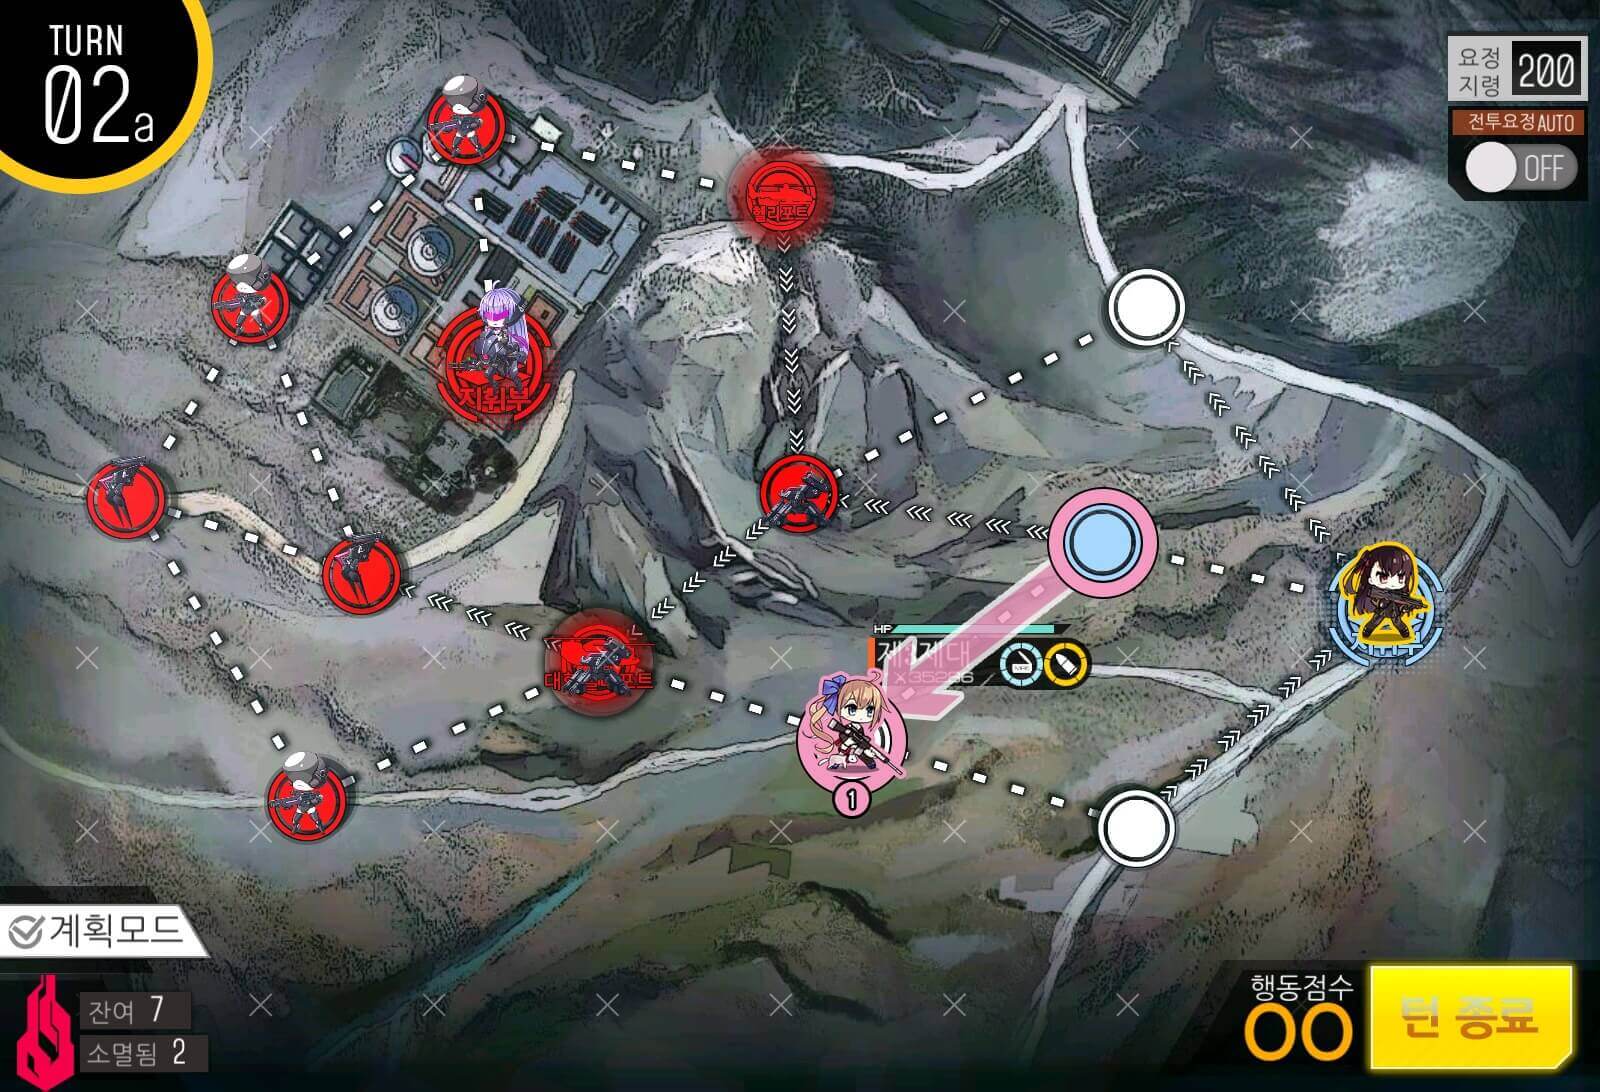
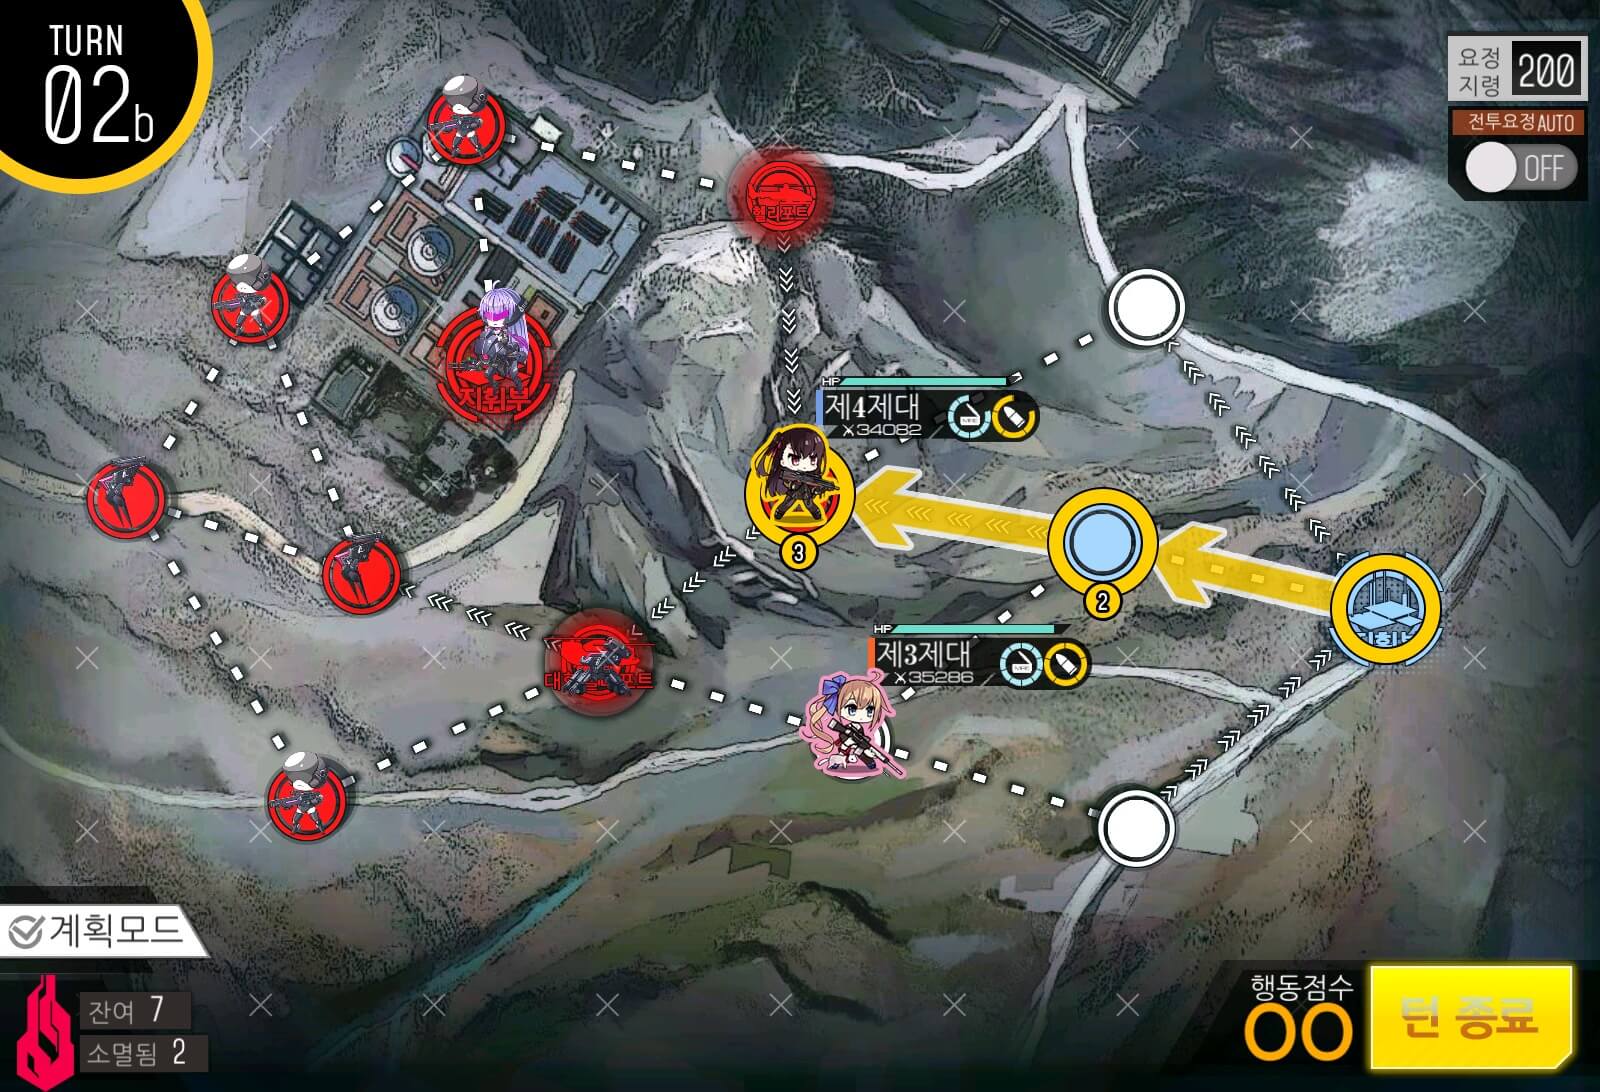
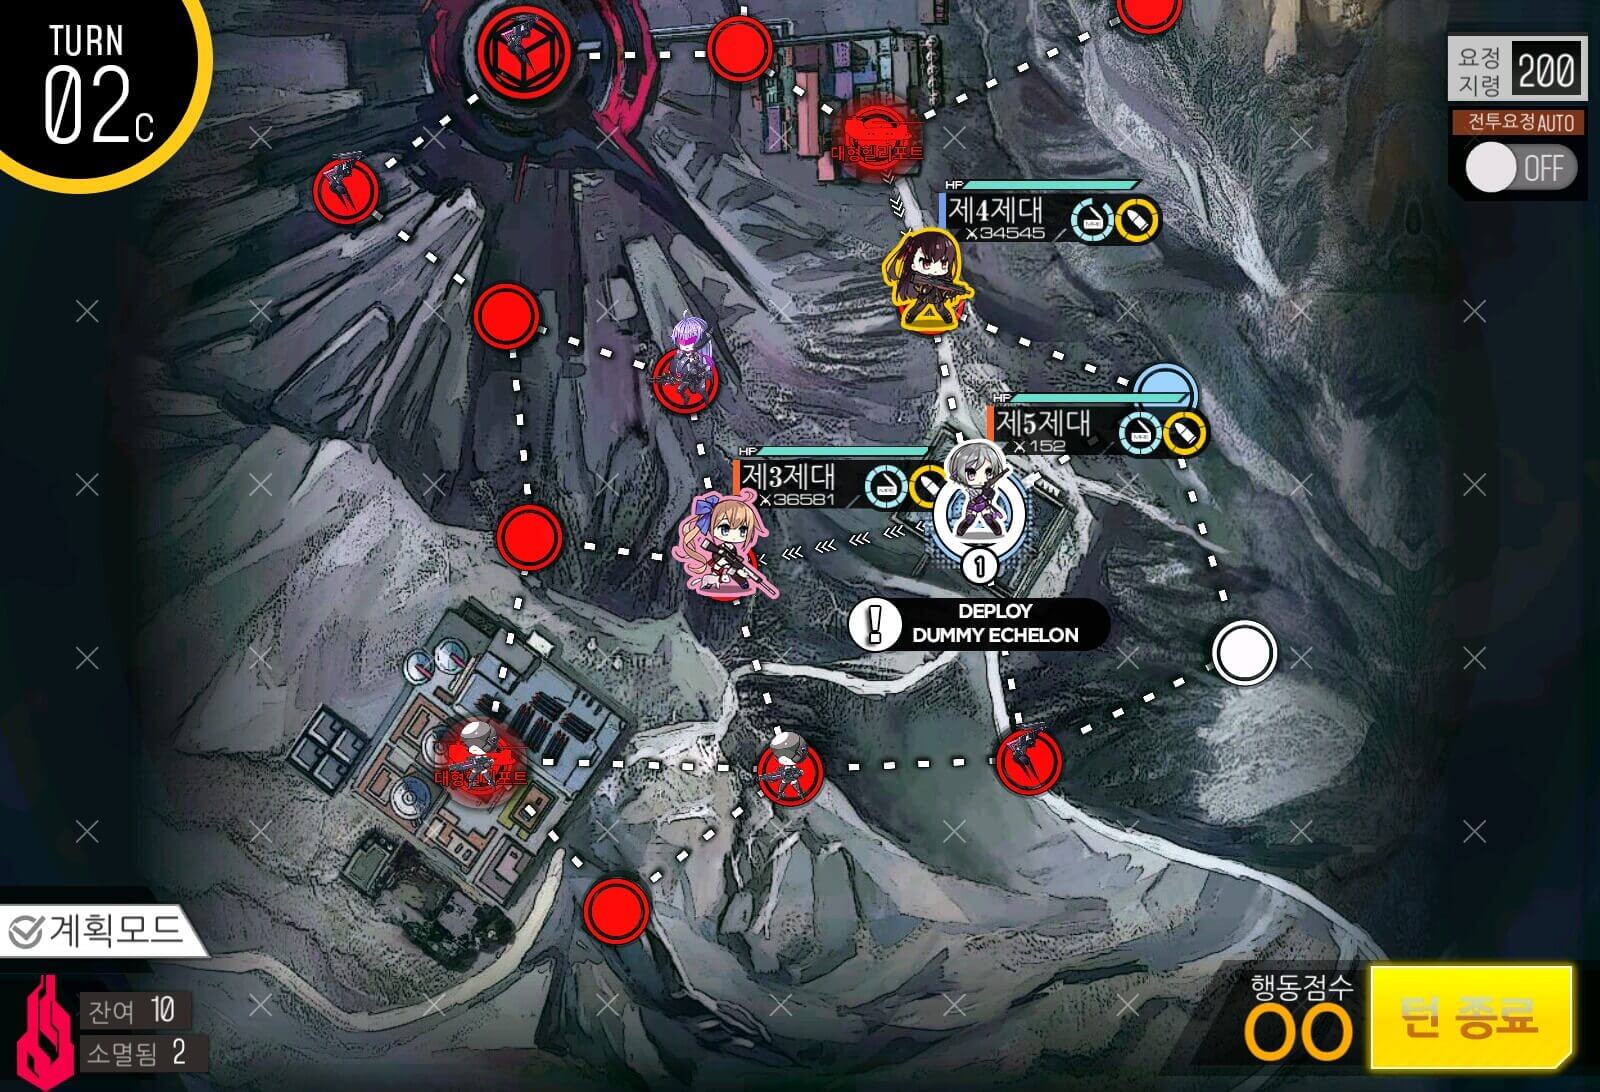
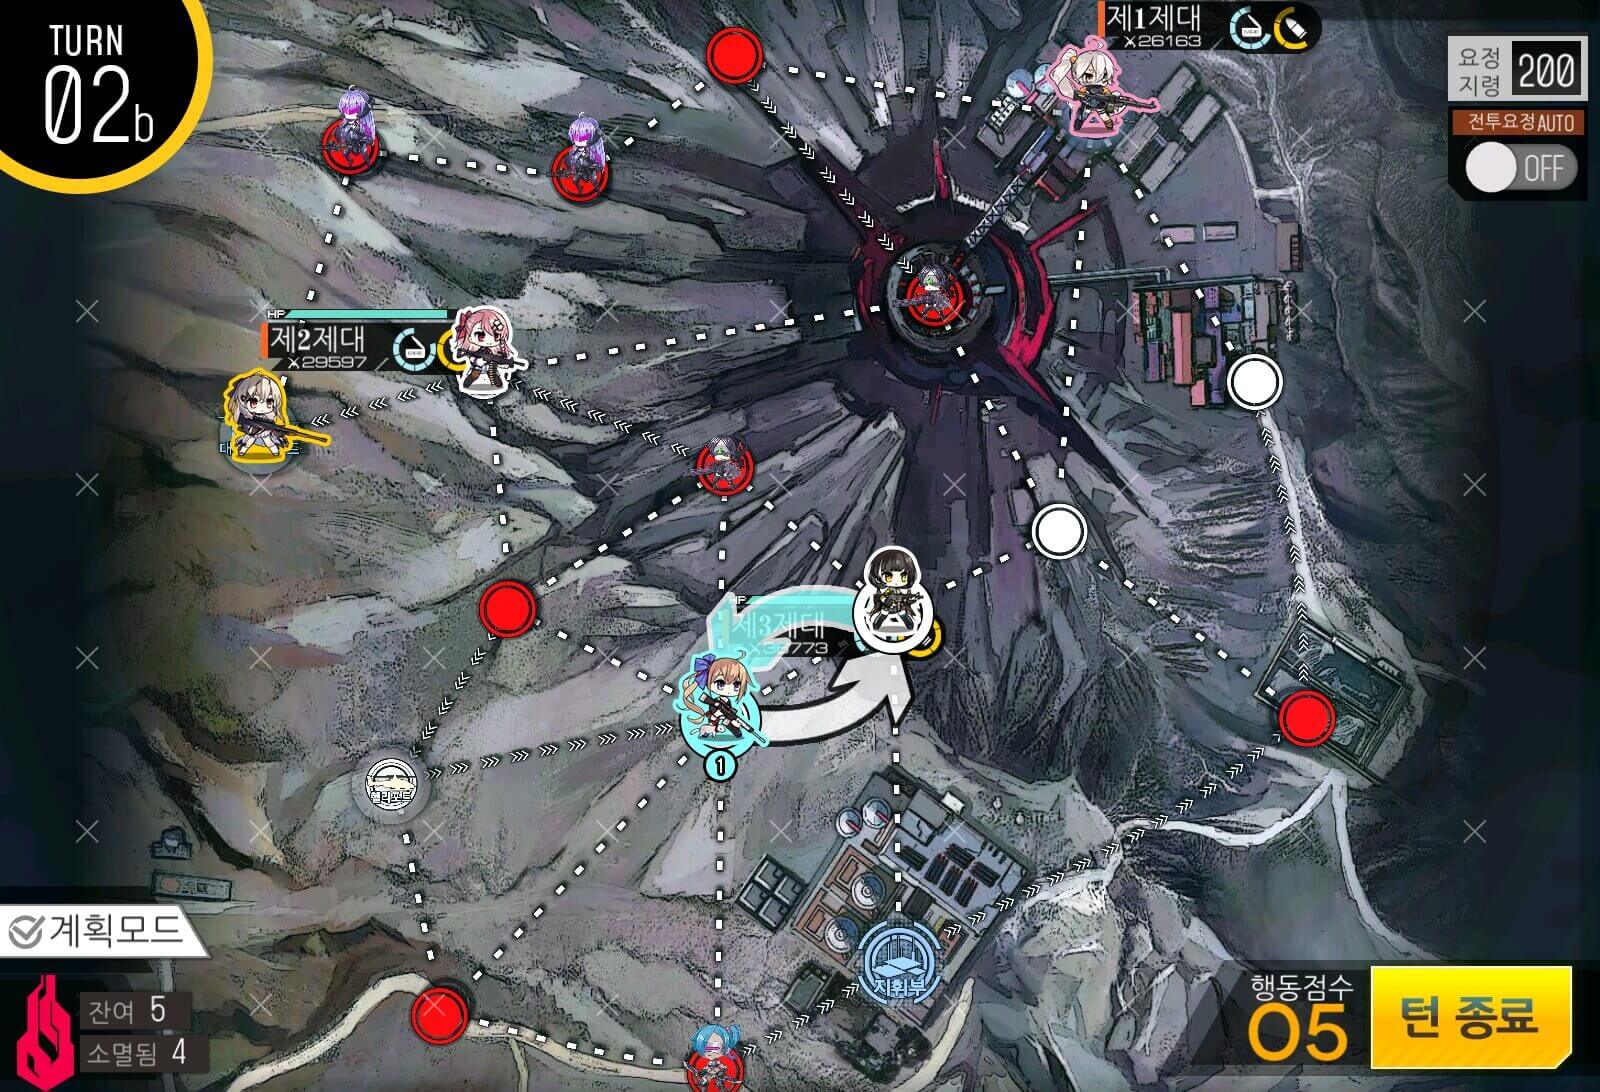
Turn 2b
Spawn a dummy echelon after the combat echelon moves out of the HQ.
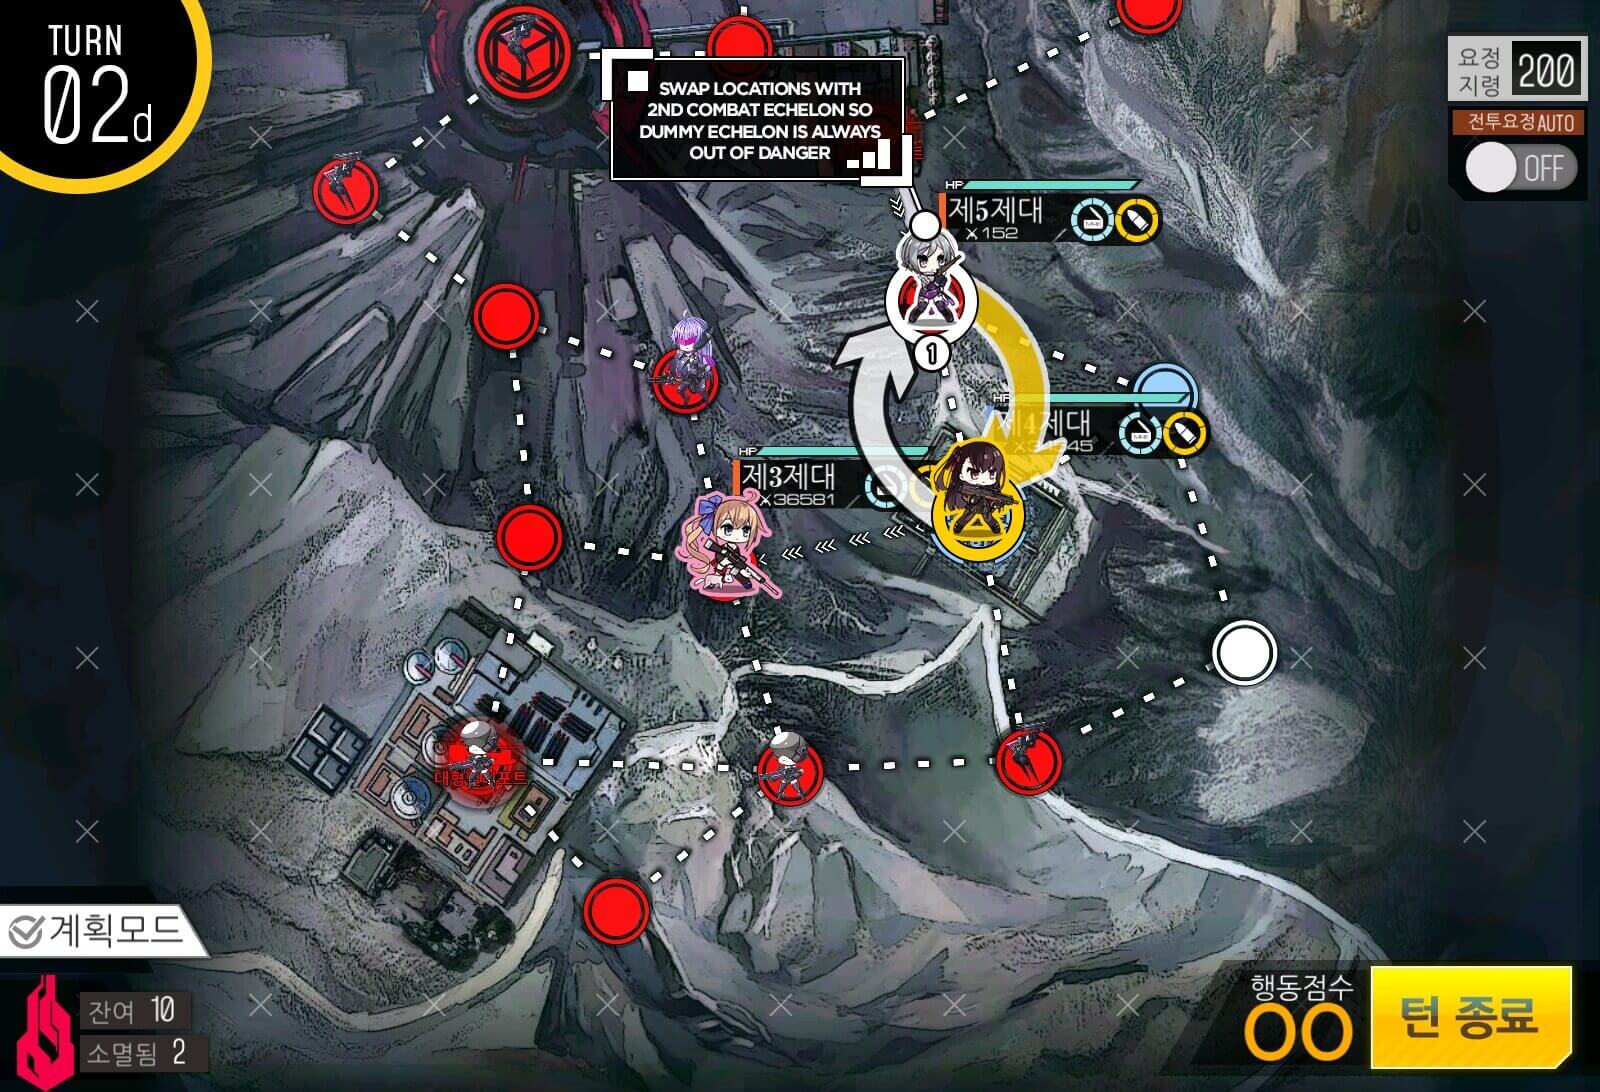
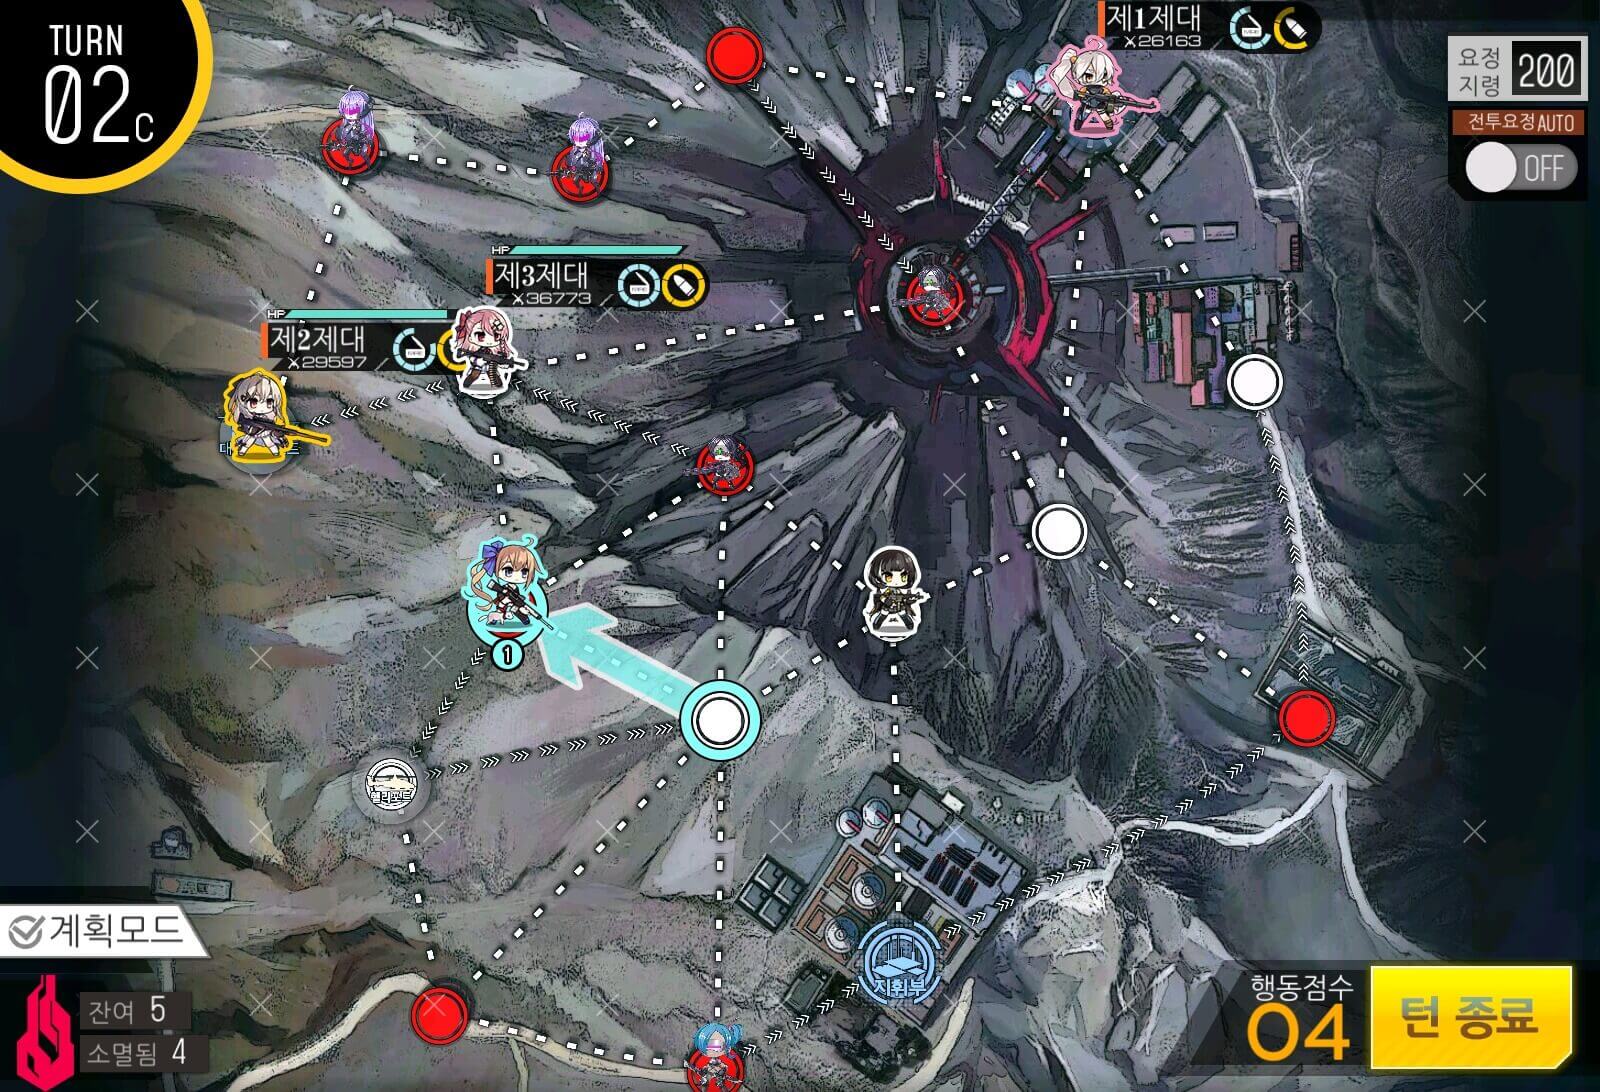
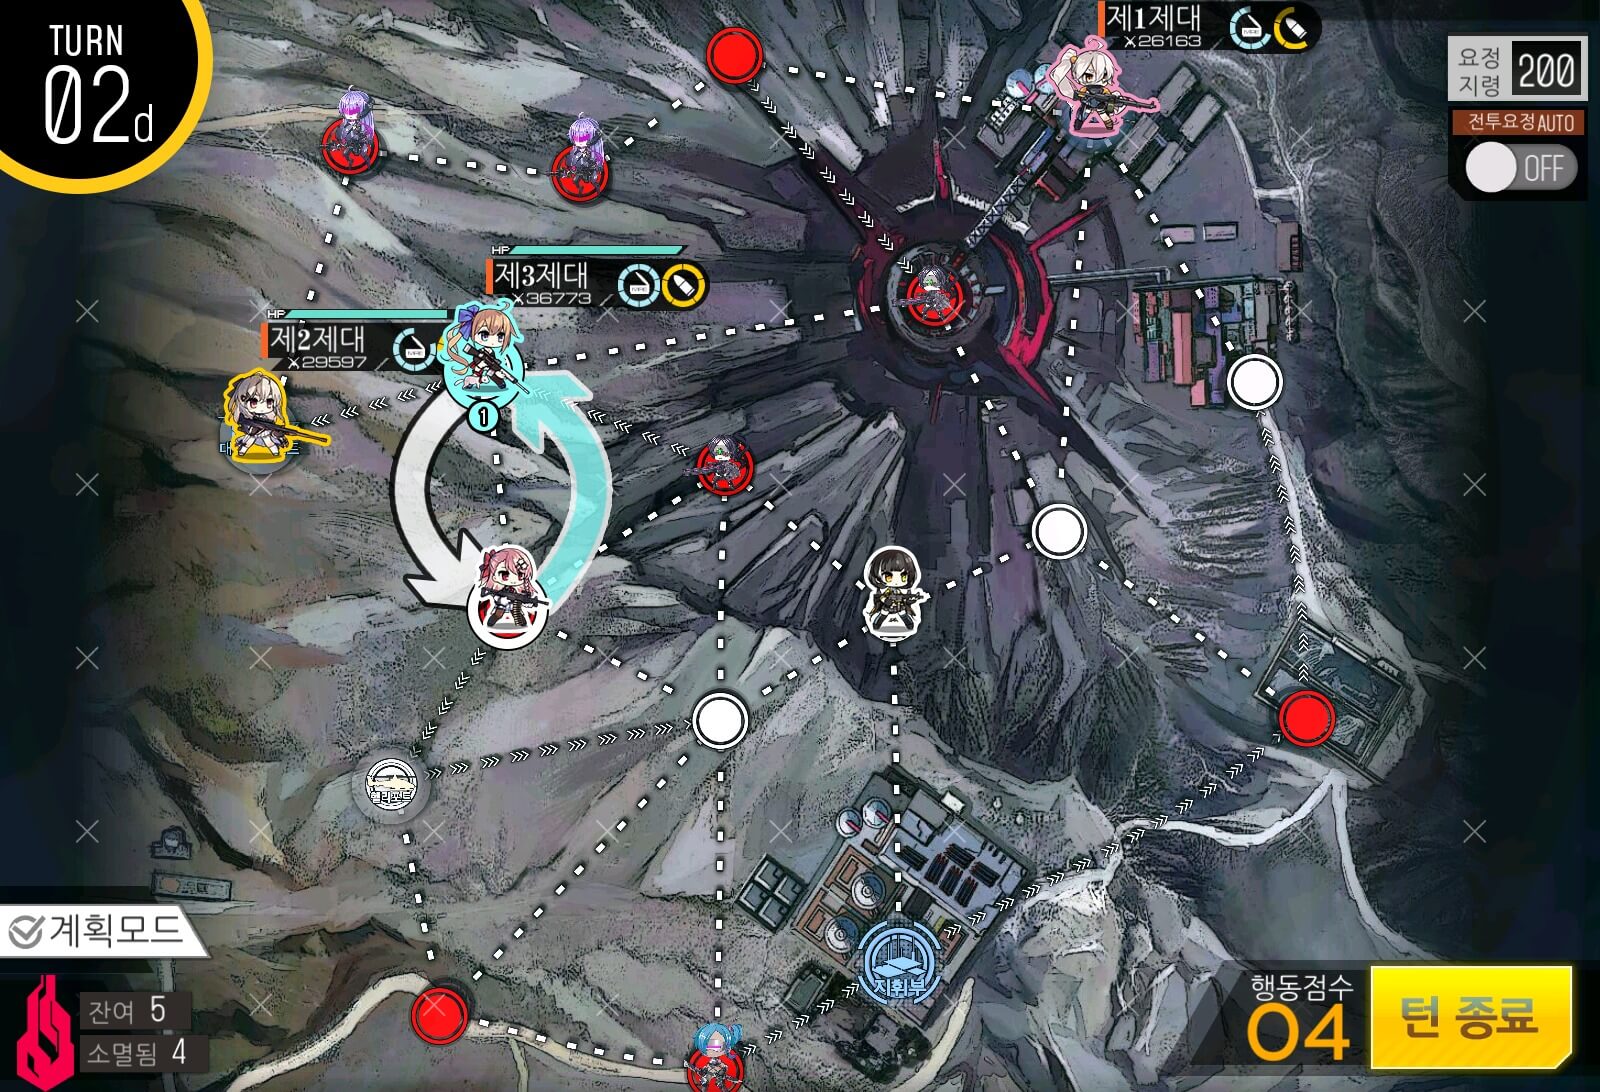
Turn 2d
The most important part is to check if your dummy echelon is in danger or not before ending your turn. In some cases you might be forced to move the dummy to the side as both nodes adjacent to the HQ can have enemy units. If this occurs, you will be restricted to going along the shortest route to the HQ on turn 4.

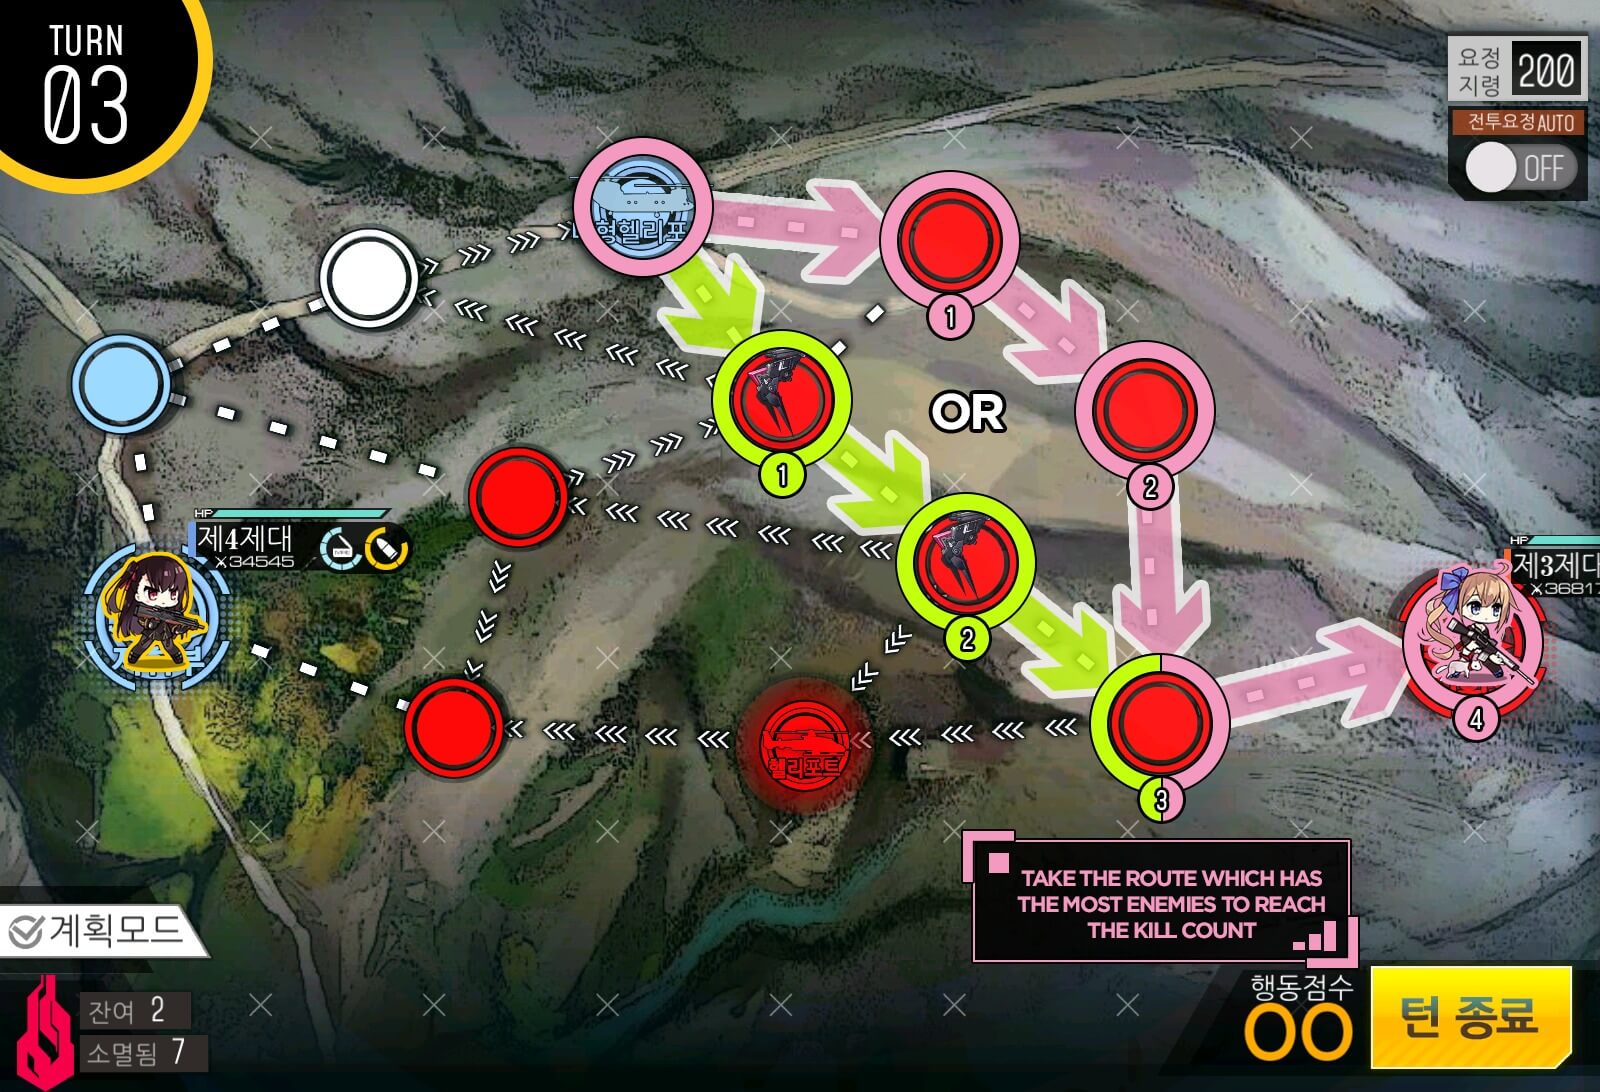
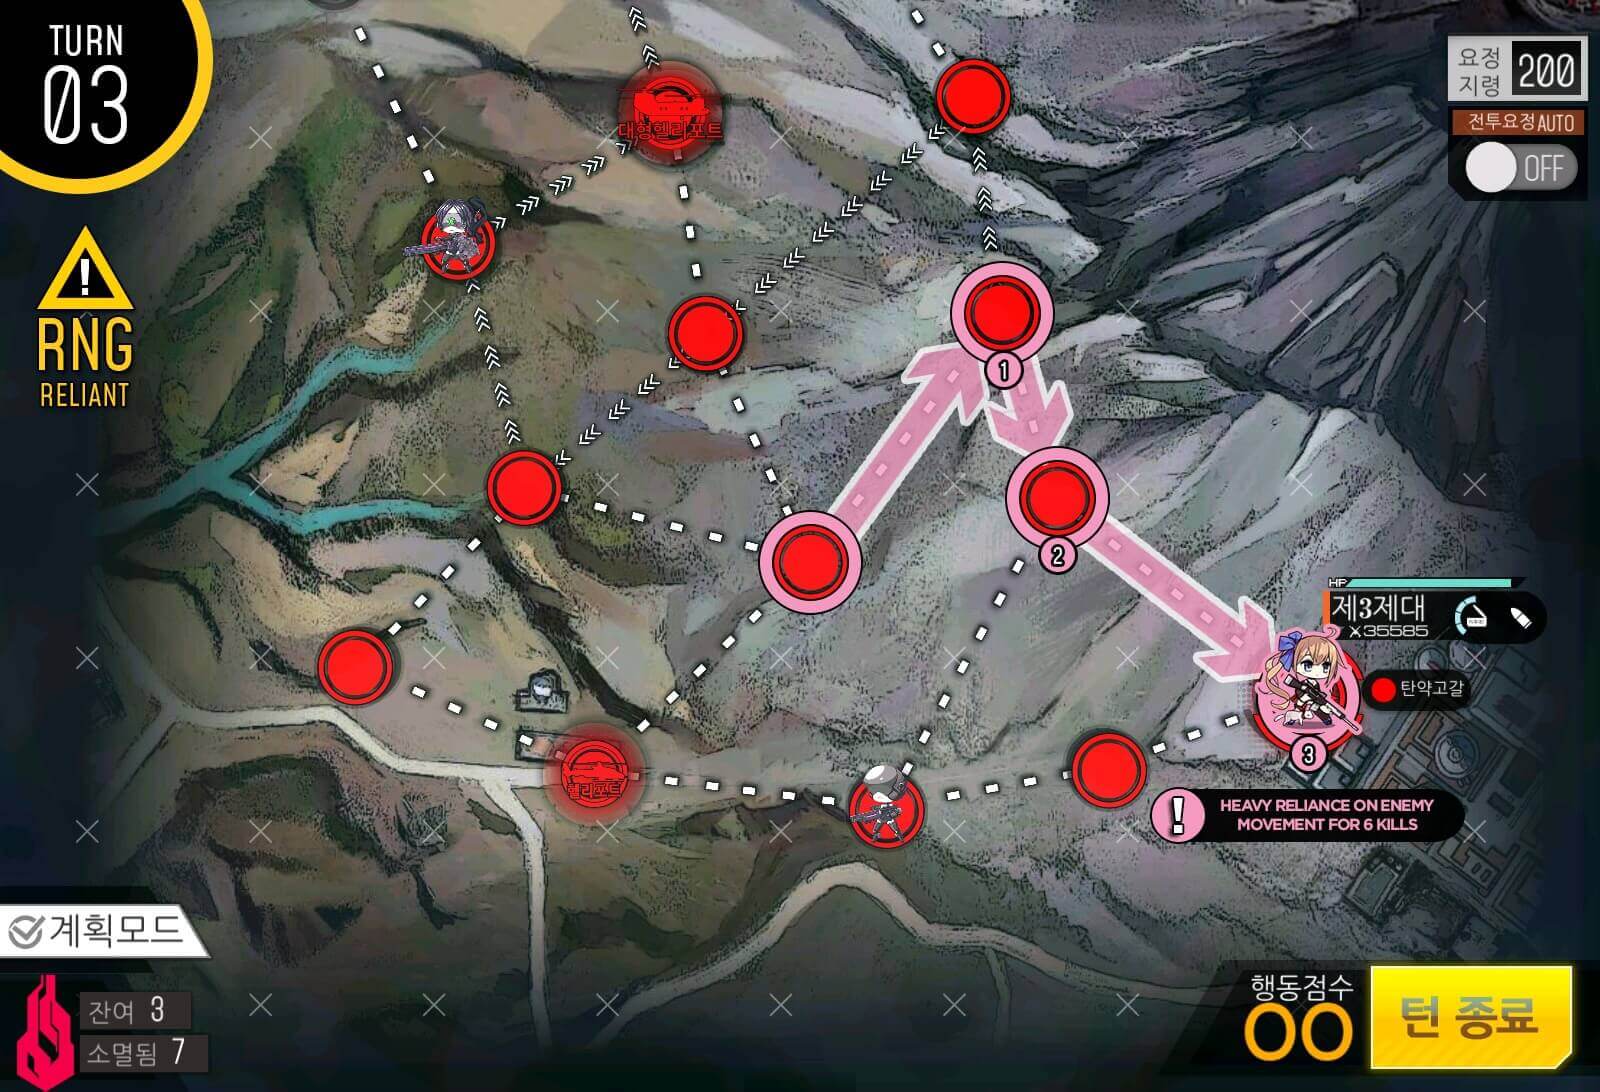
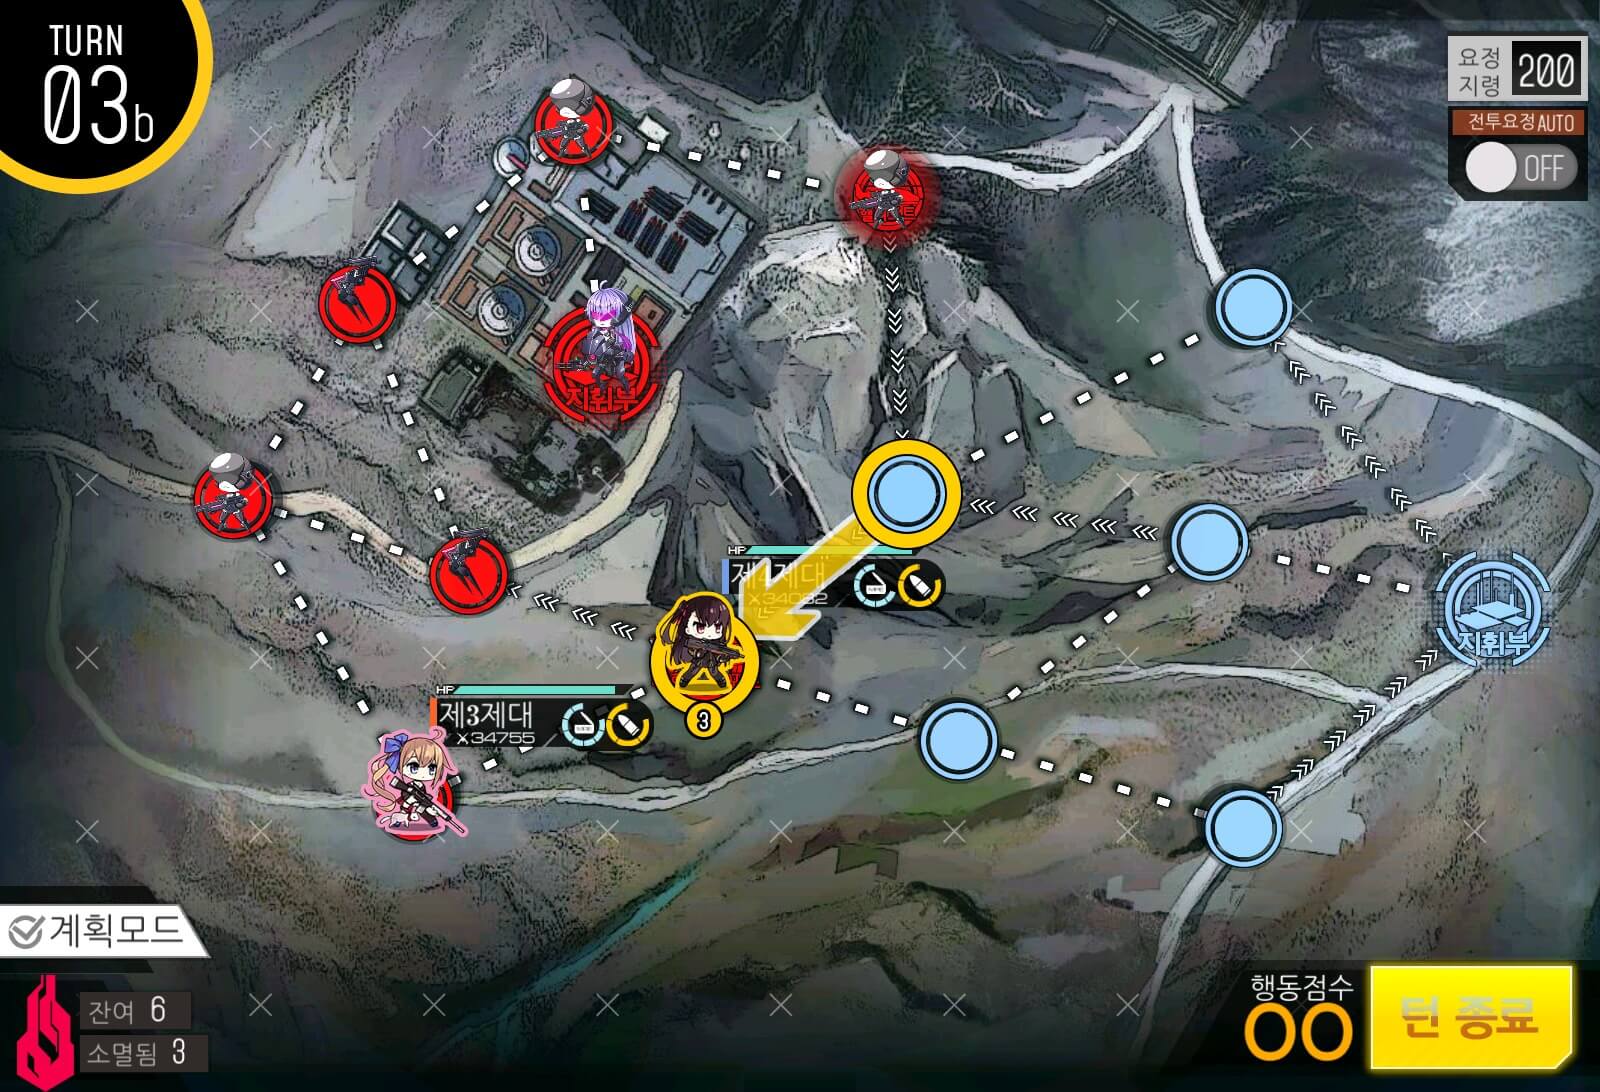
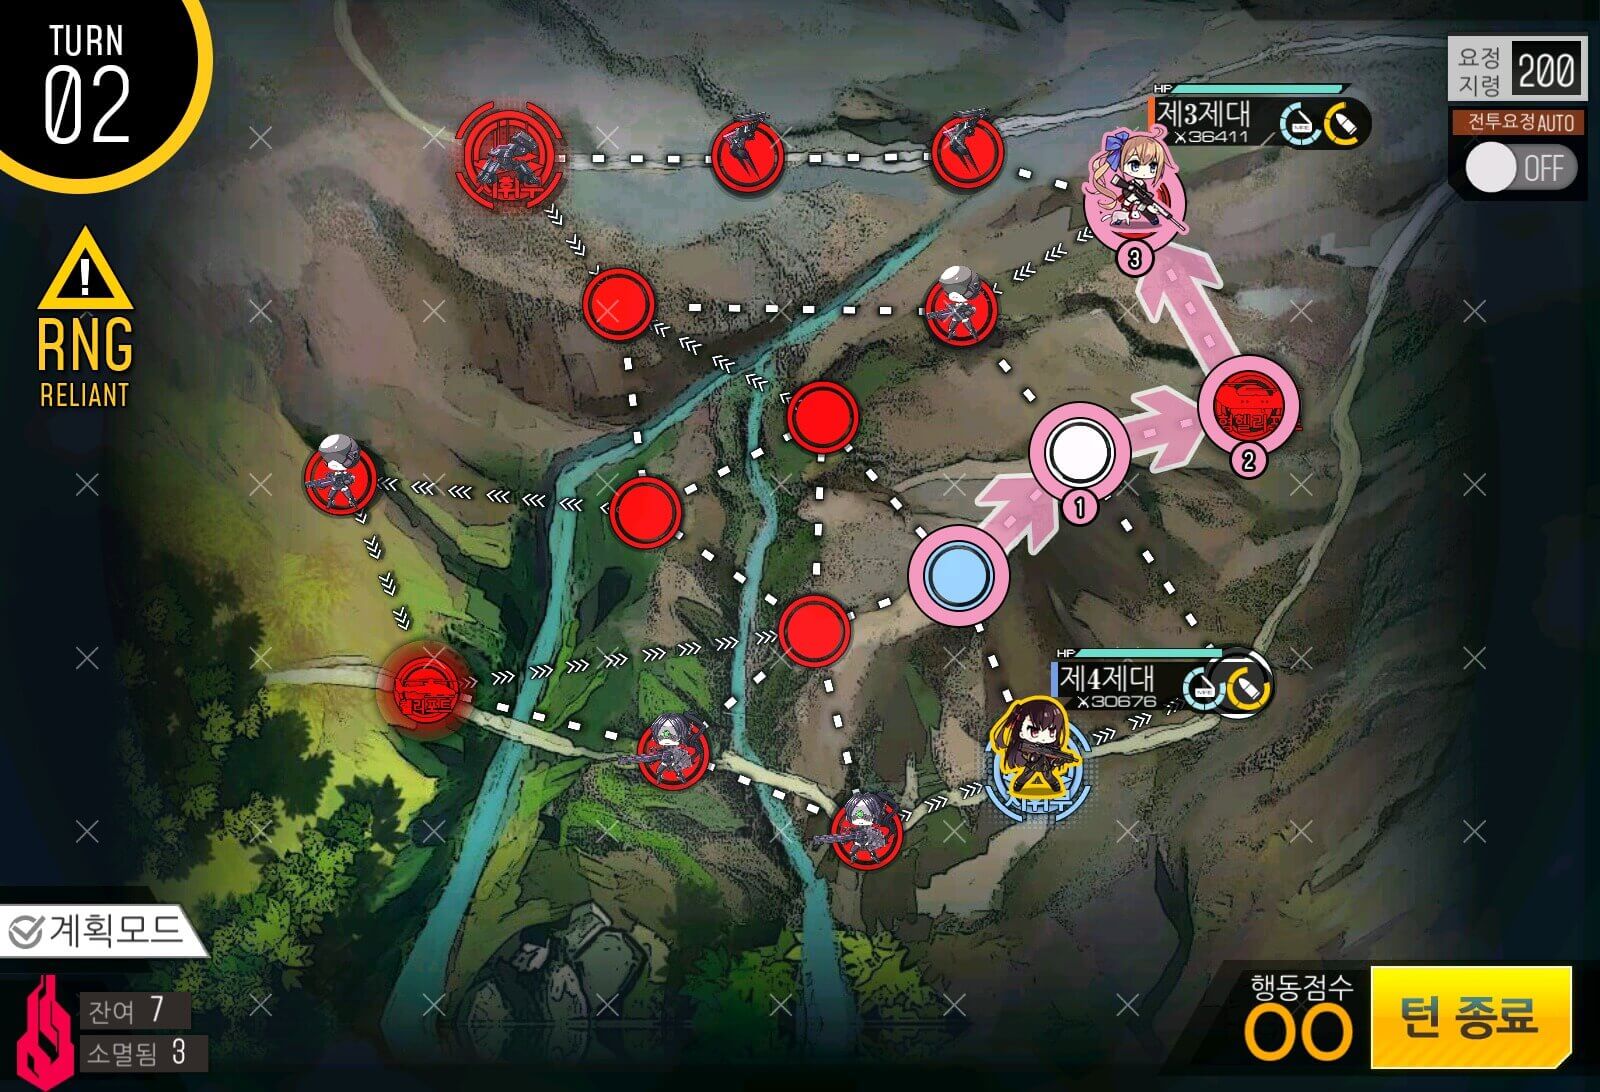
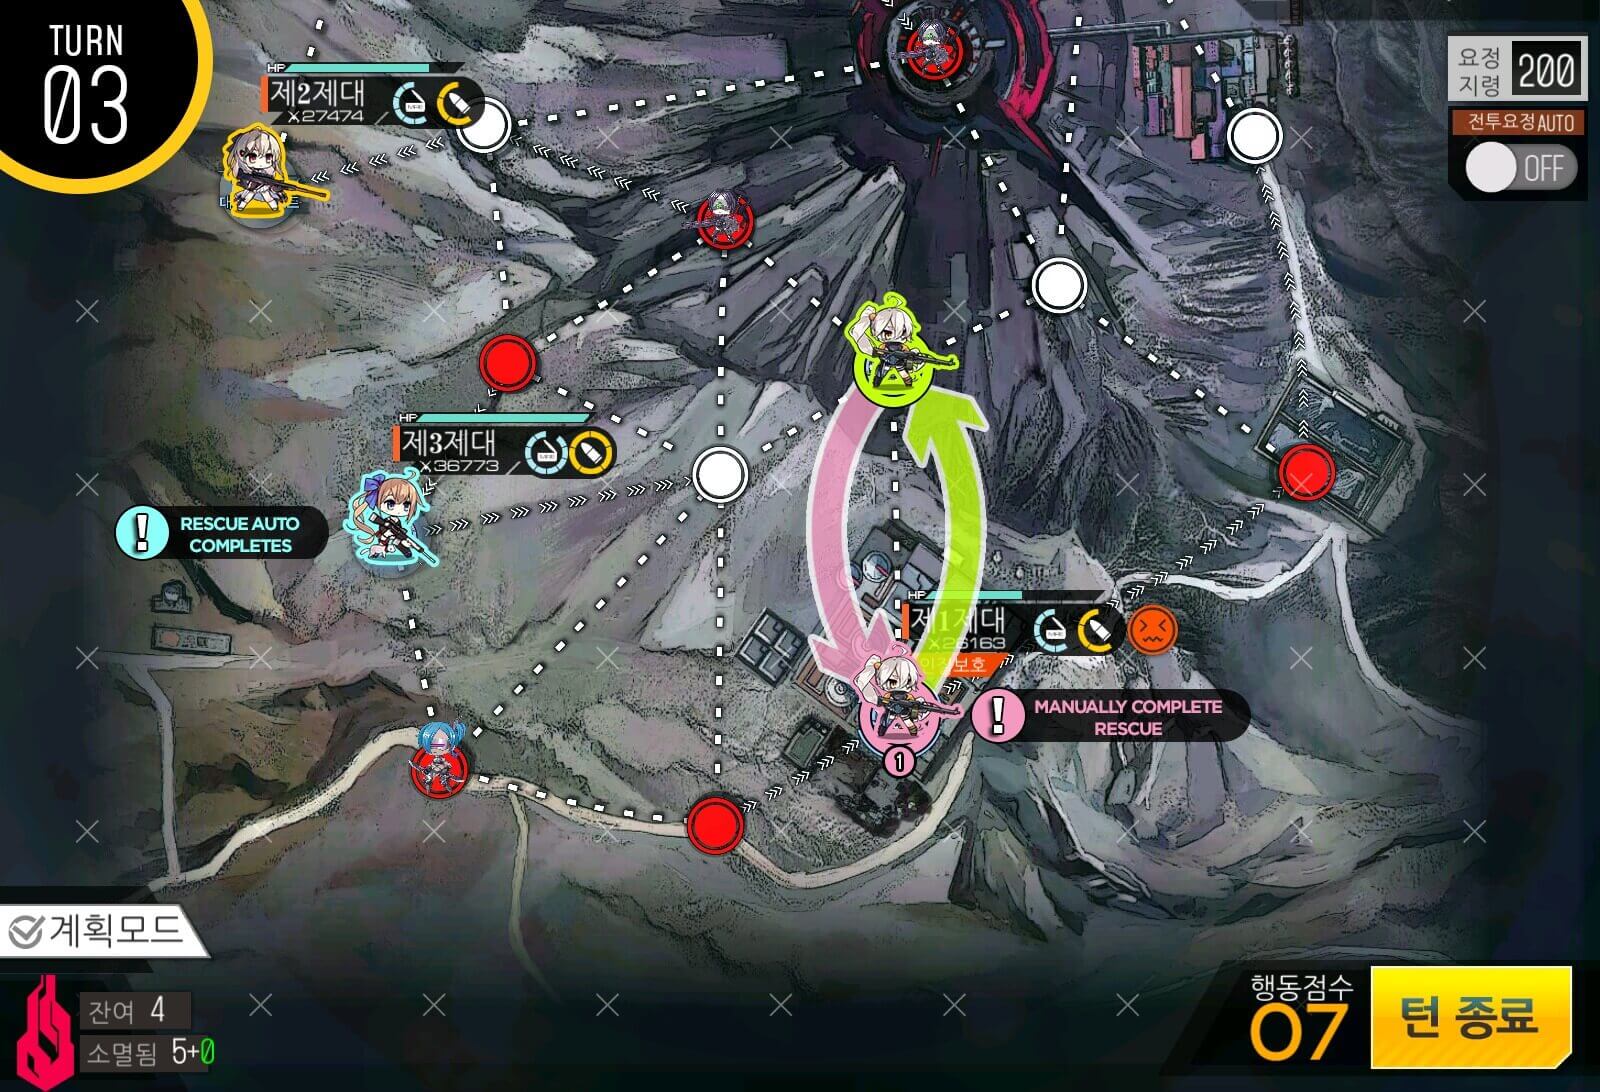
Turn 3
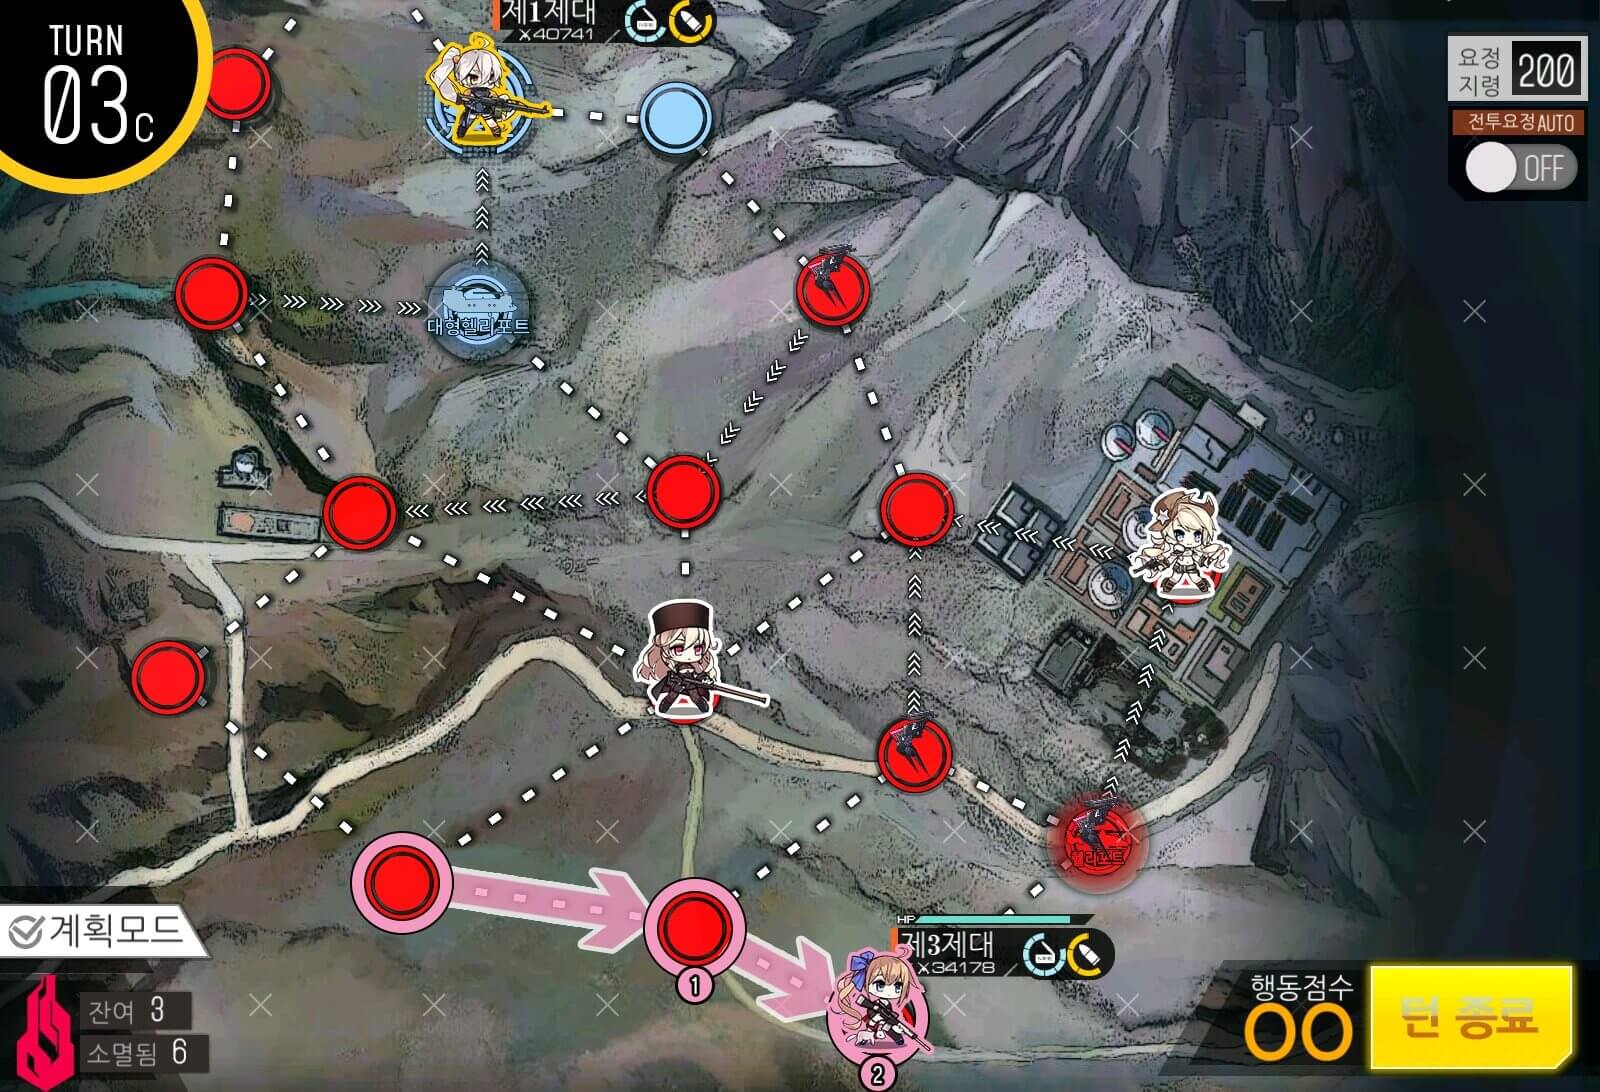
To meet the kill requirement, take the route with more enemy units.
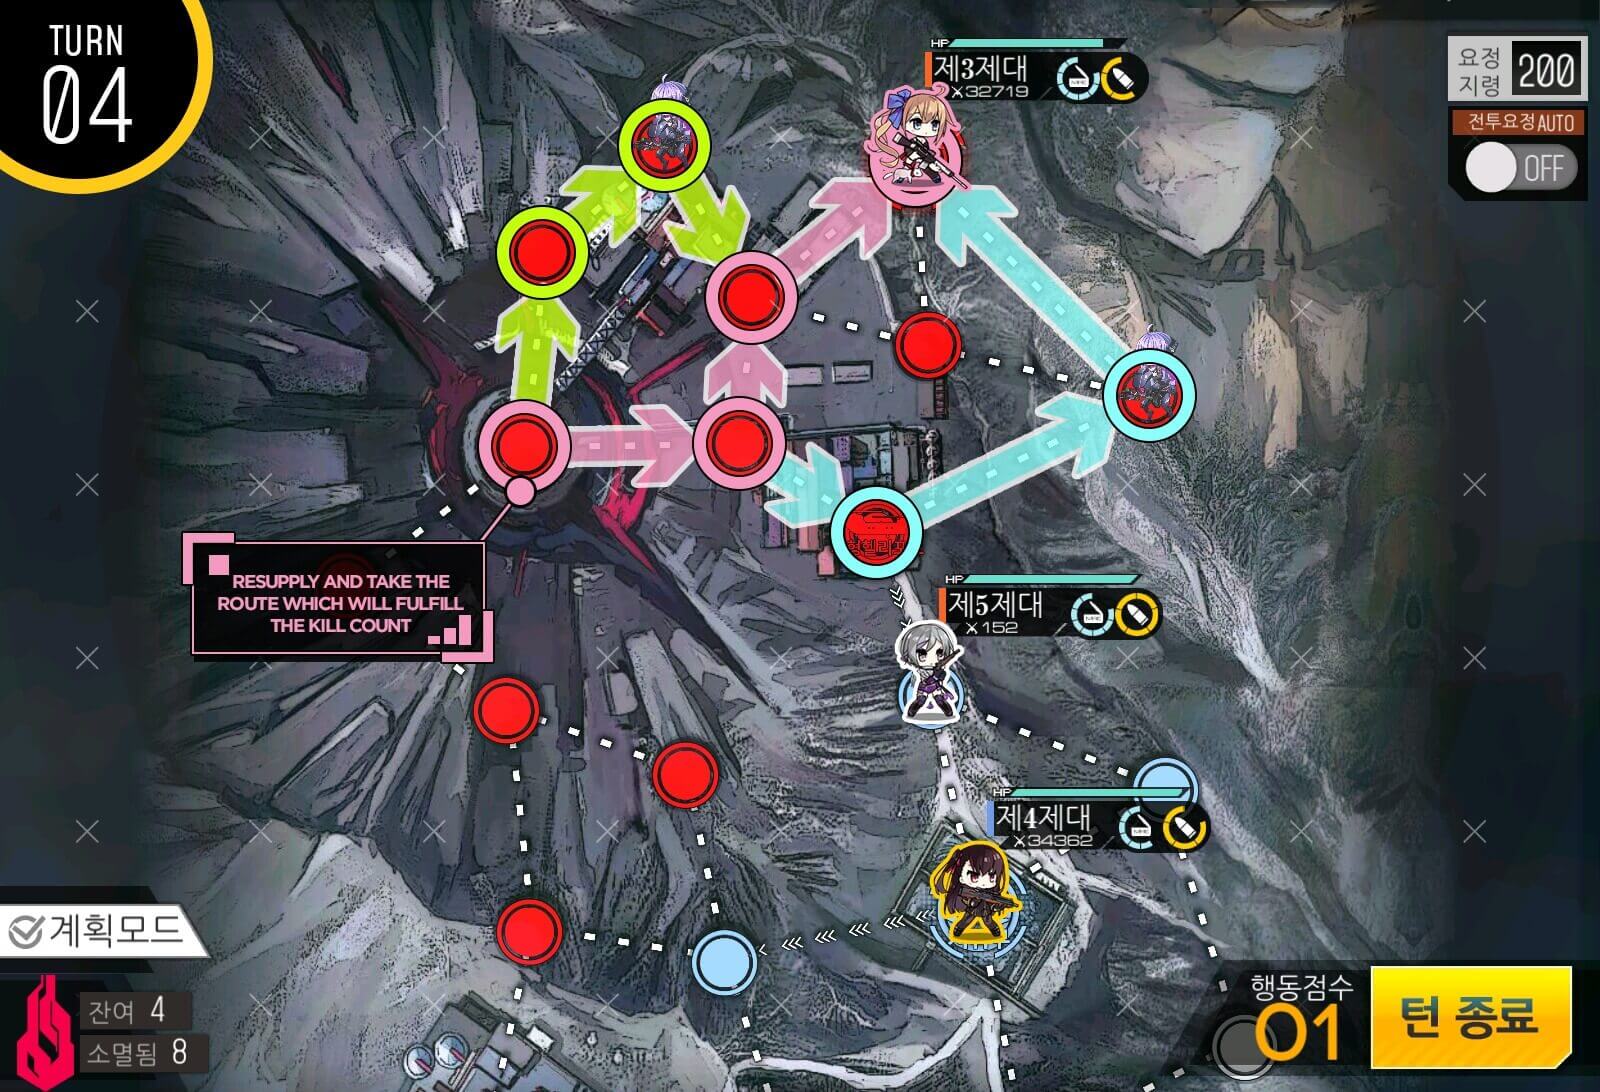
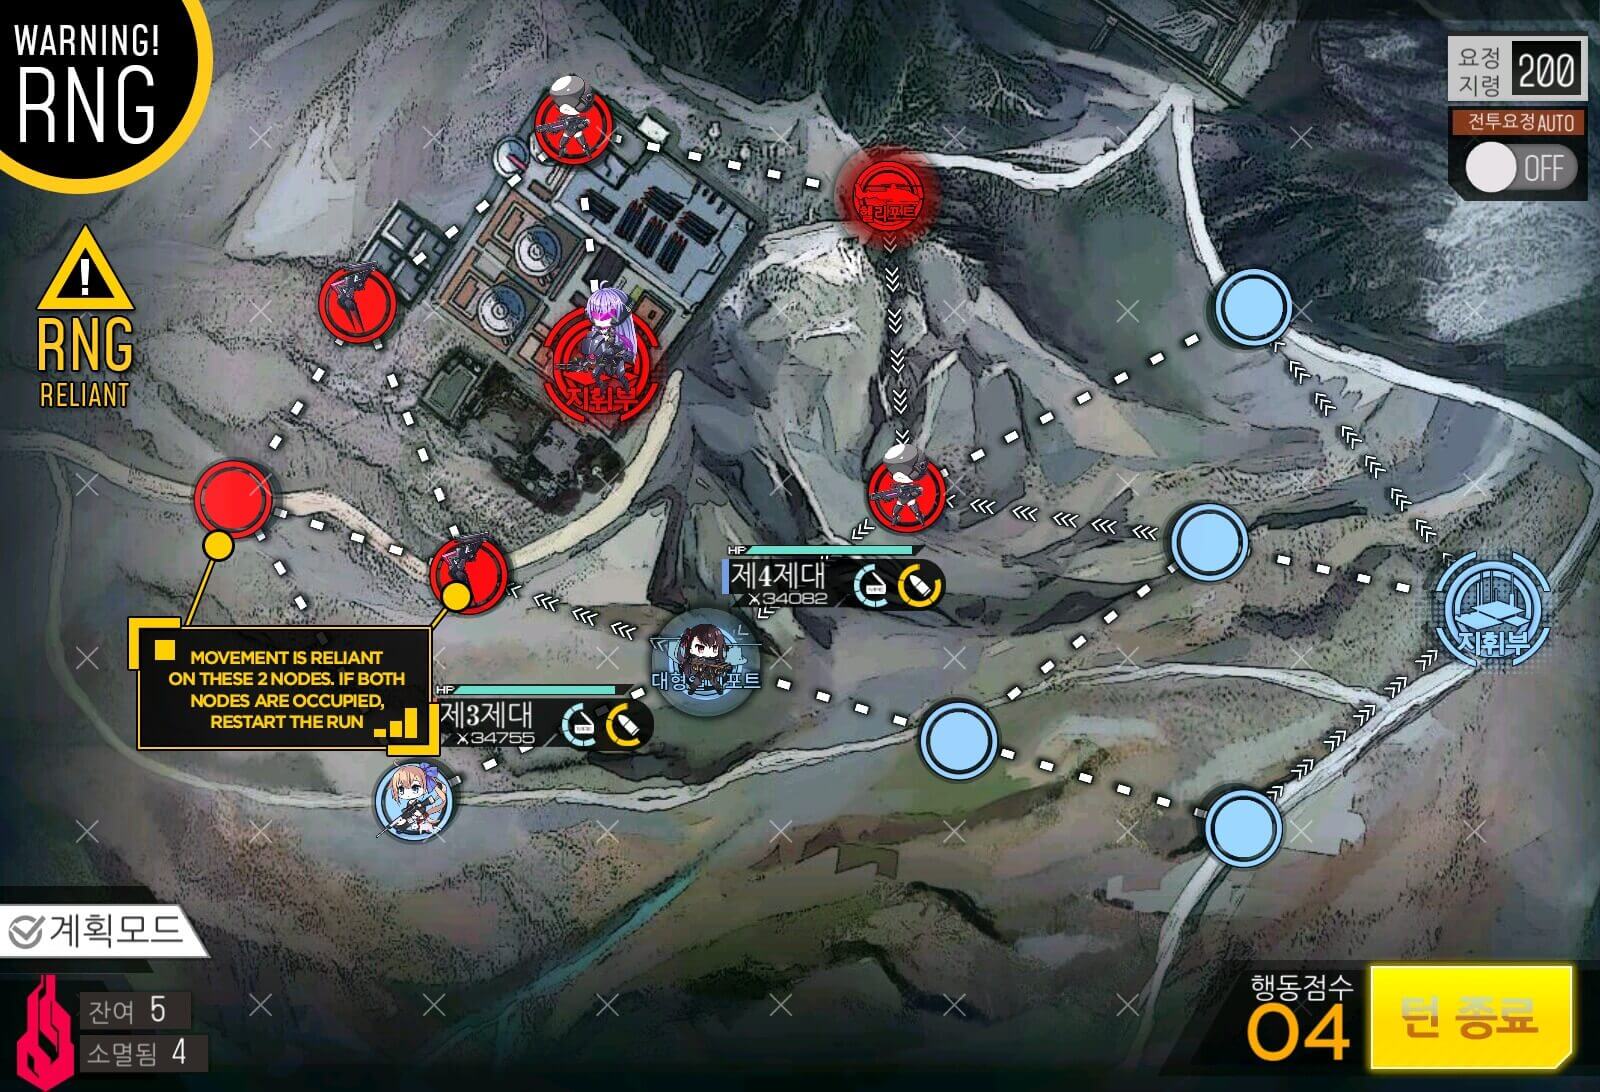
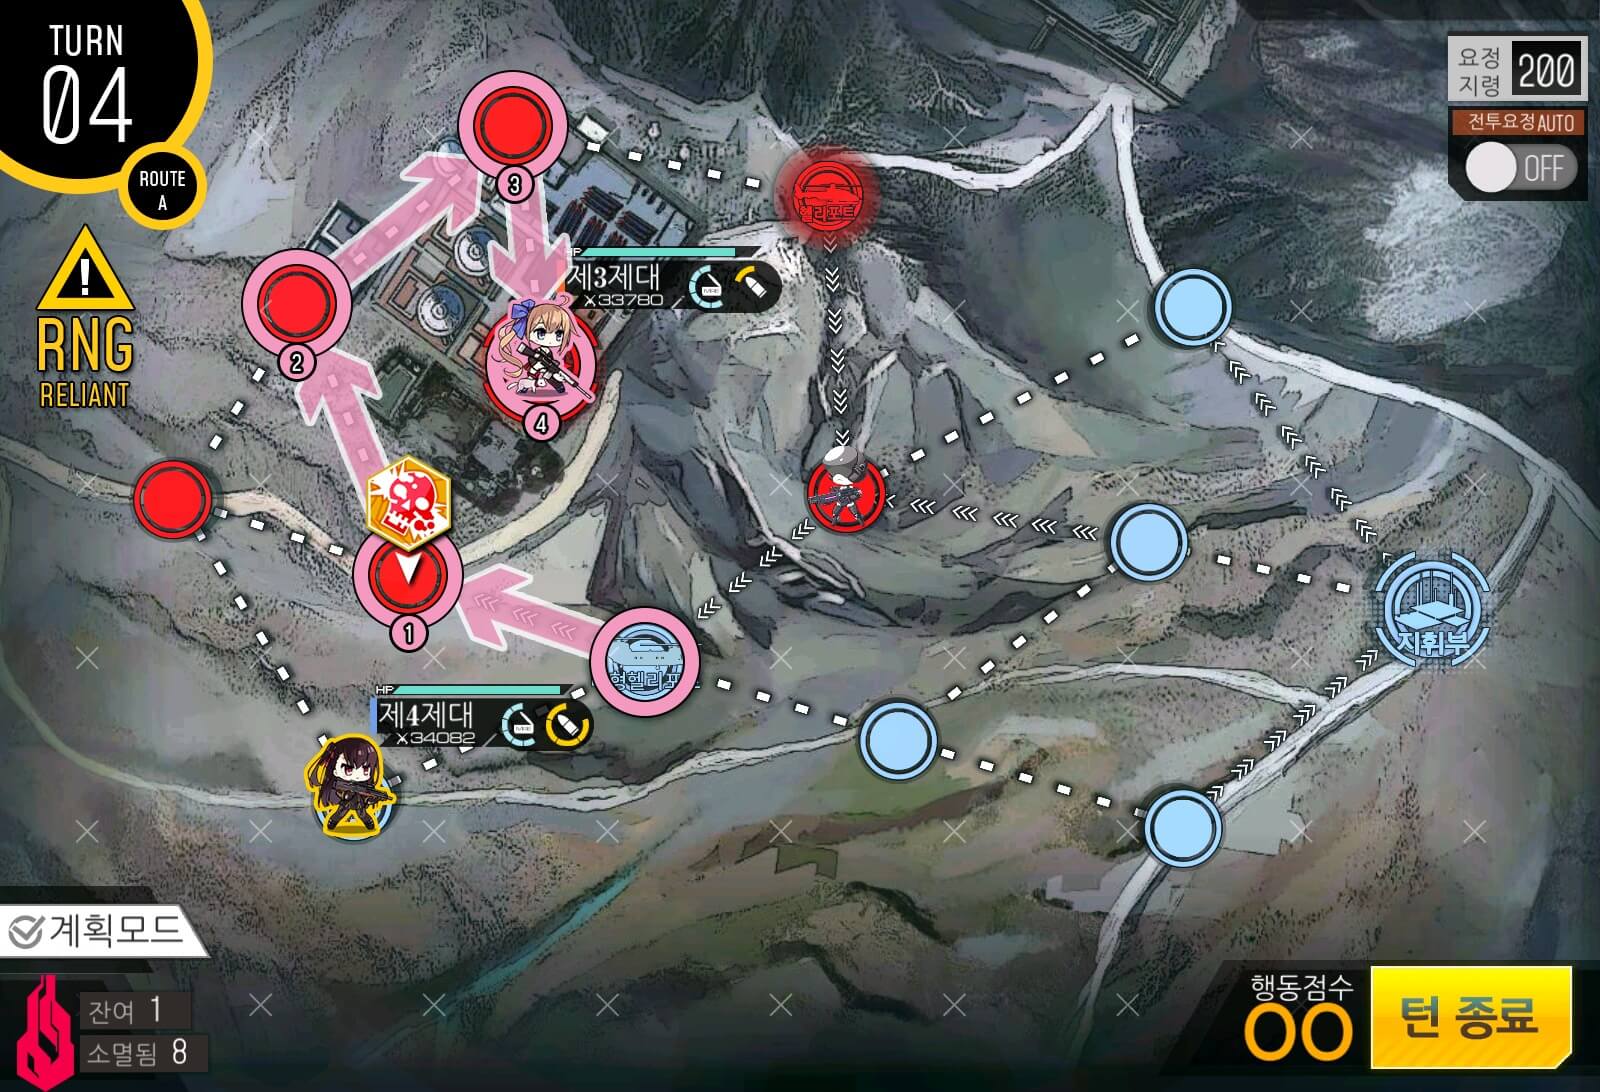
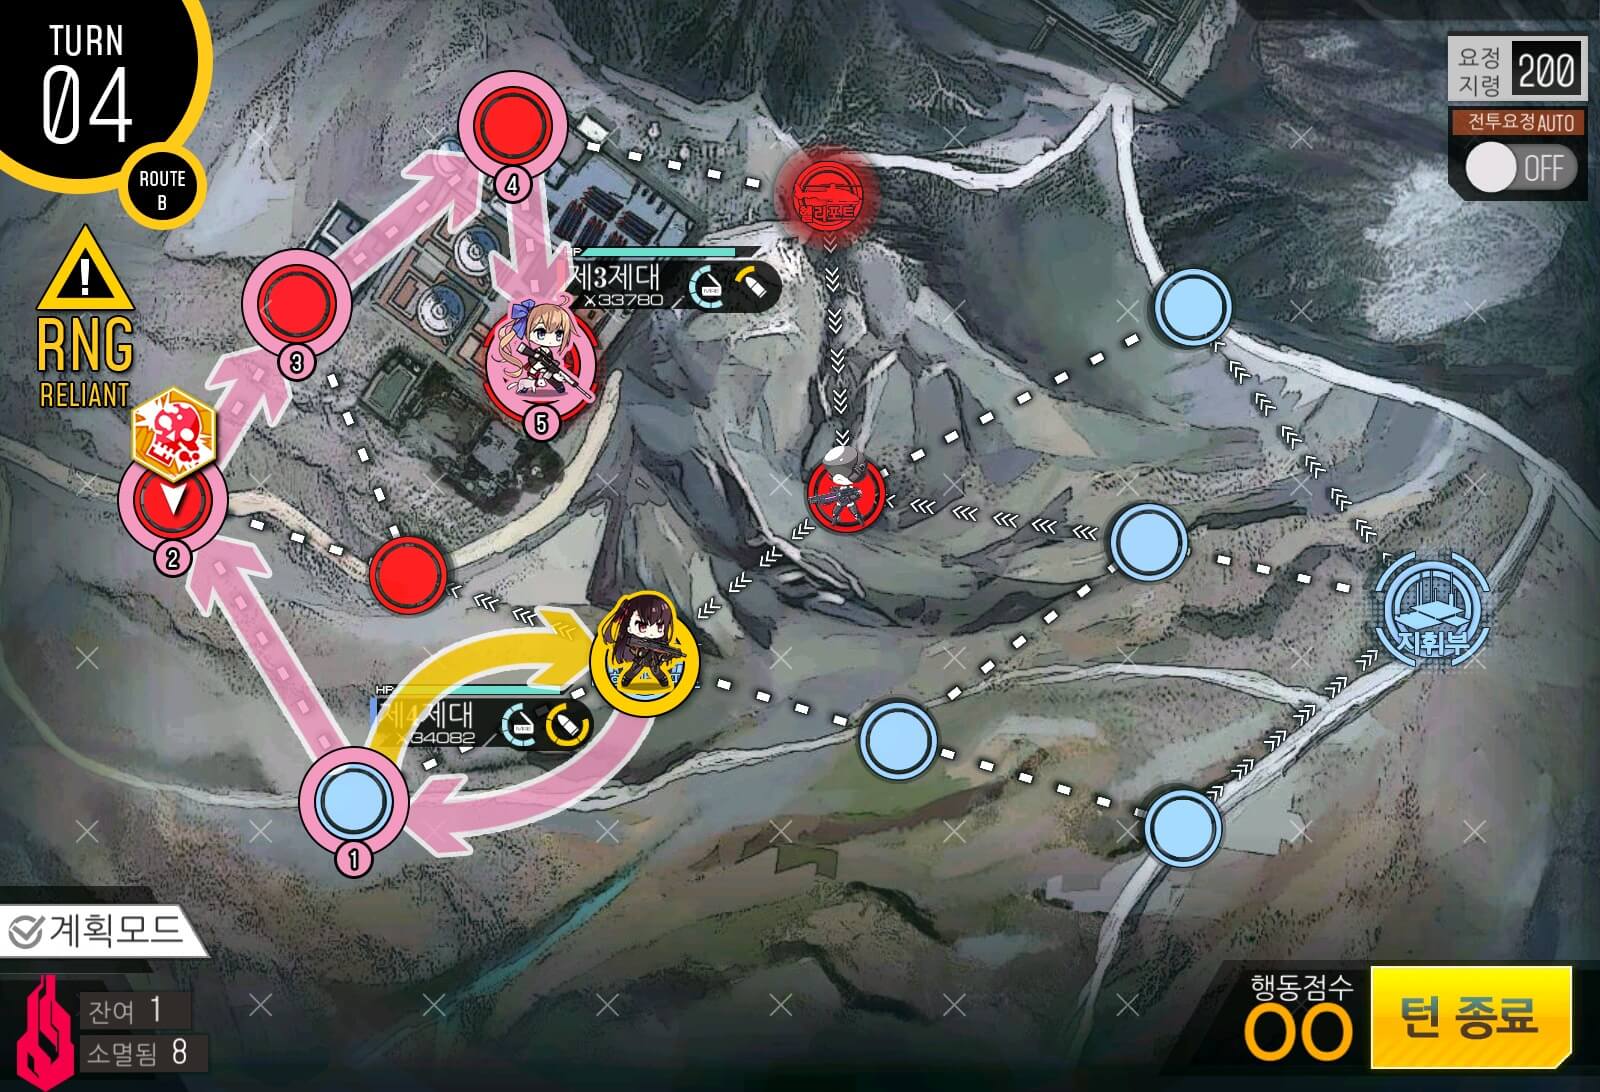
Turn 4
If you did not have any issues near the HQ and you have more route options, but if you were unable to start on the temporary resupply node, take the shortest route to the HQ.


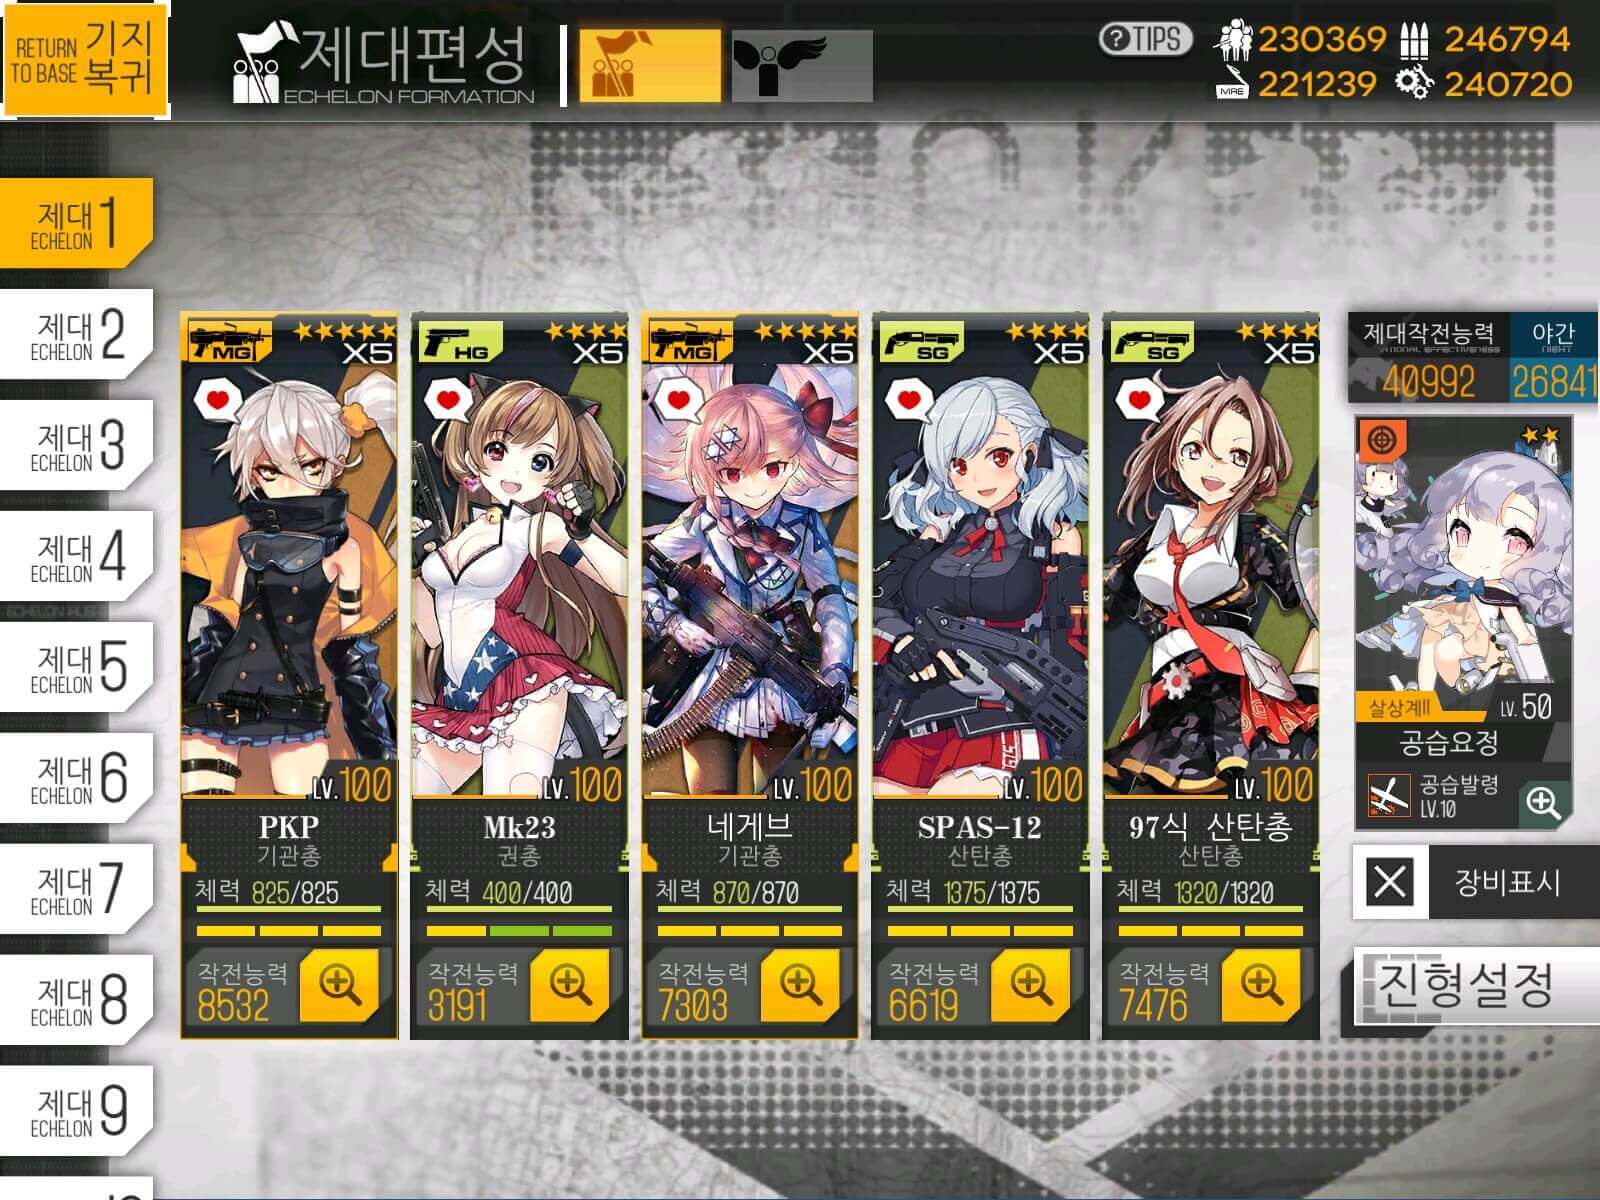
Judge Team
Set up your bossing team so that you have 2 SG tankers with armor of 30, ideally on position 3 and 9. The other 3 echelon members can be different depending on your availability. For my case i have Negev so I can be bit relaxed in composition. if you are lacking MG, mk23 and other fp buff HGs will be a good addition to MGs.
Formation
If you can't assemble it yourself and want only to clear it then get some friend to help!
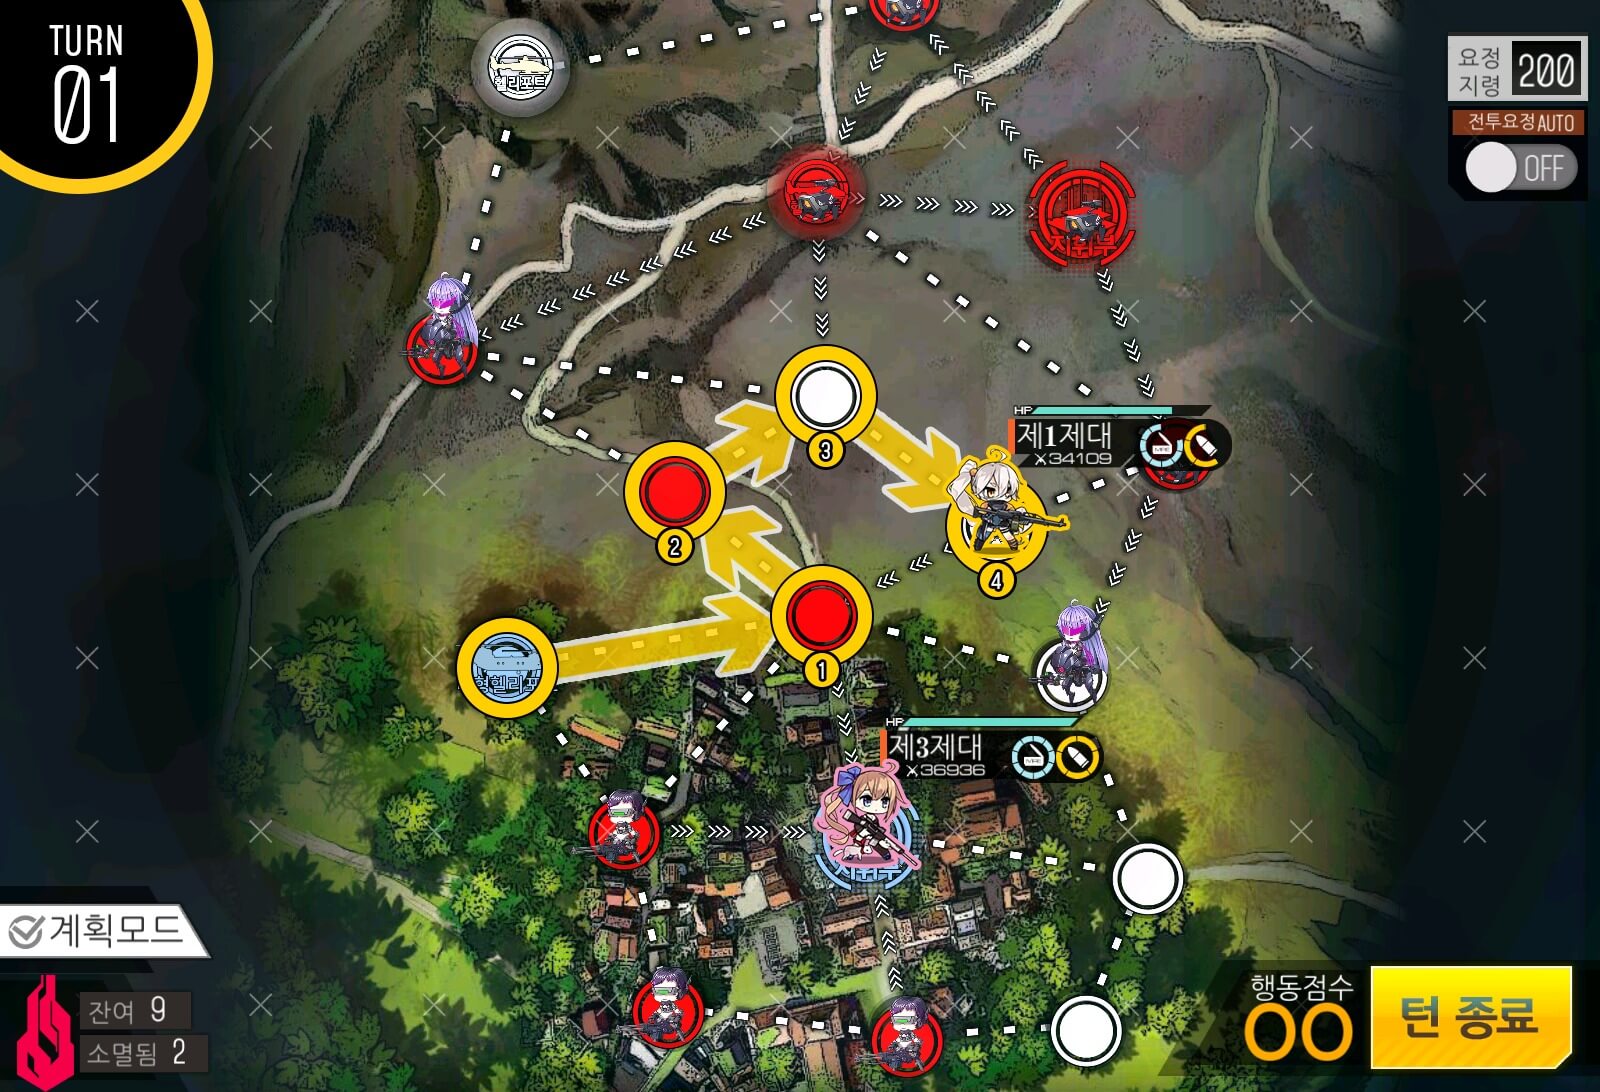
Turn 1
Turn 1, go straight for Judge. If you do have a parachute fairy, take flight to the neutral helipad up north, then take the easy way to the enemy HQ. Just wait for one turn so you can fulfill the kill 4 requirement.
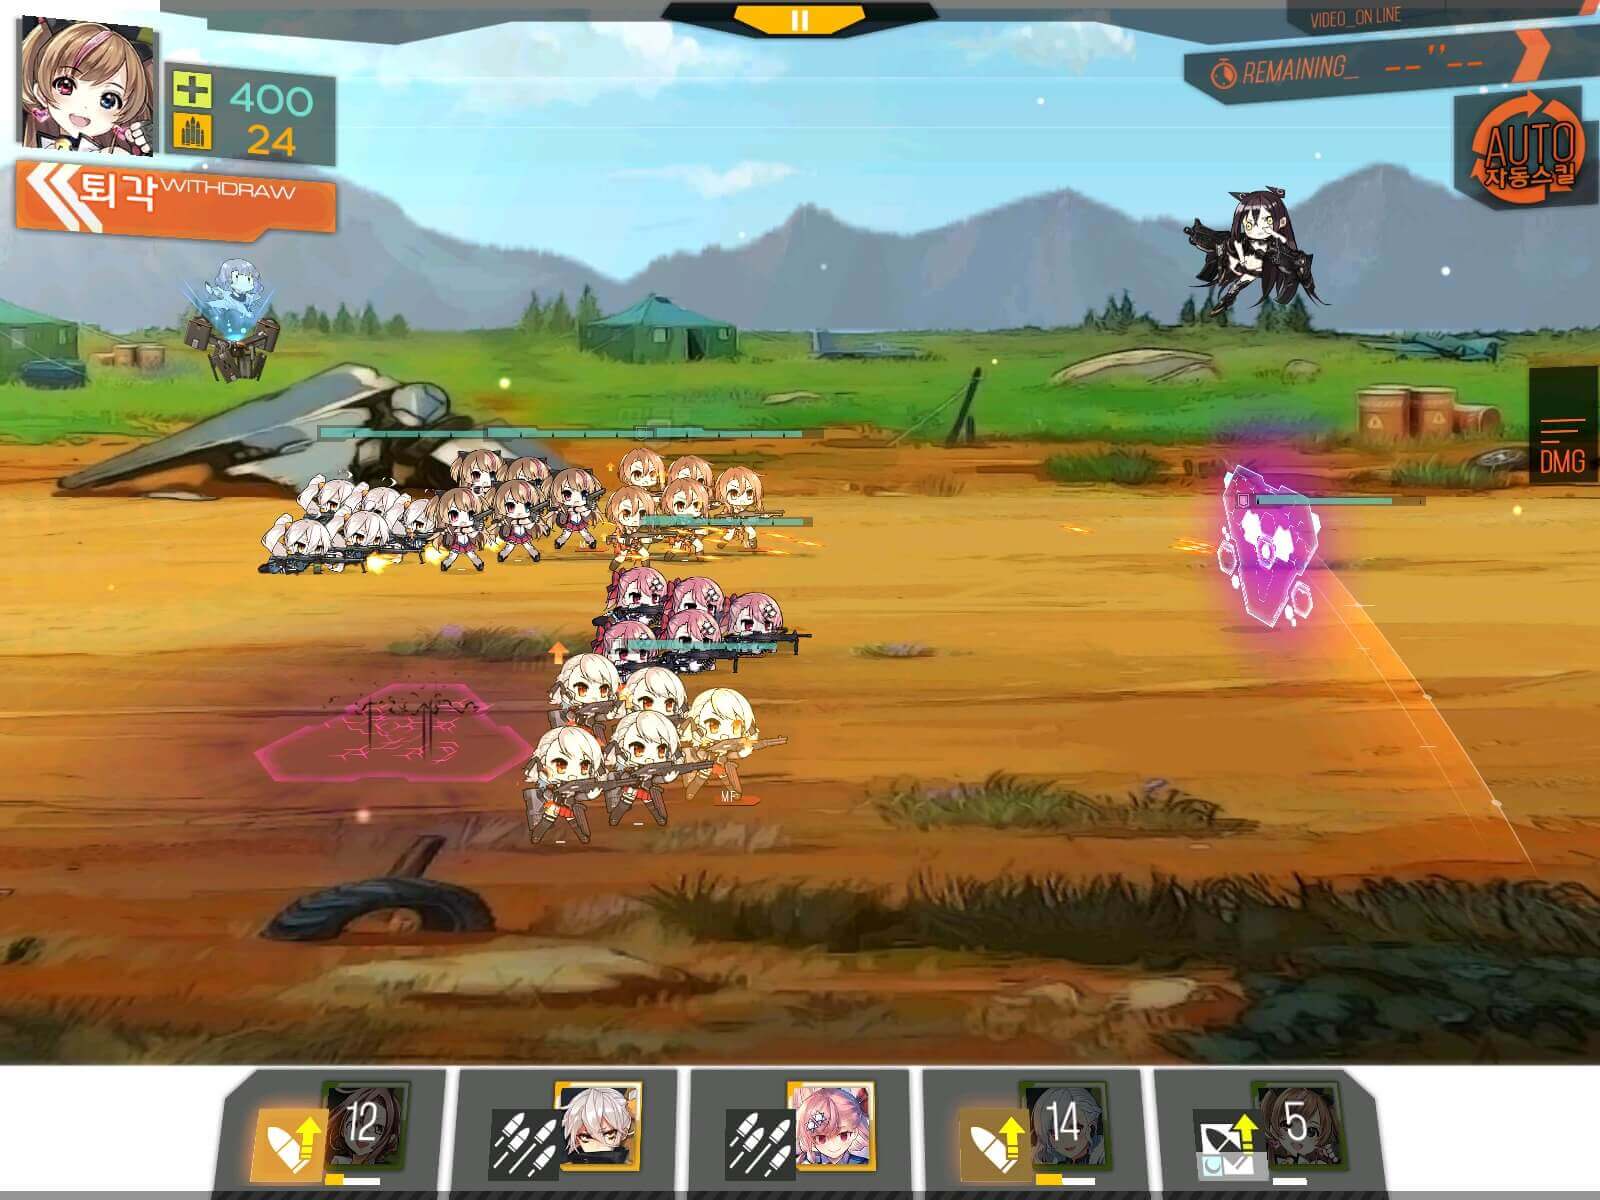
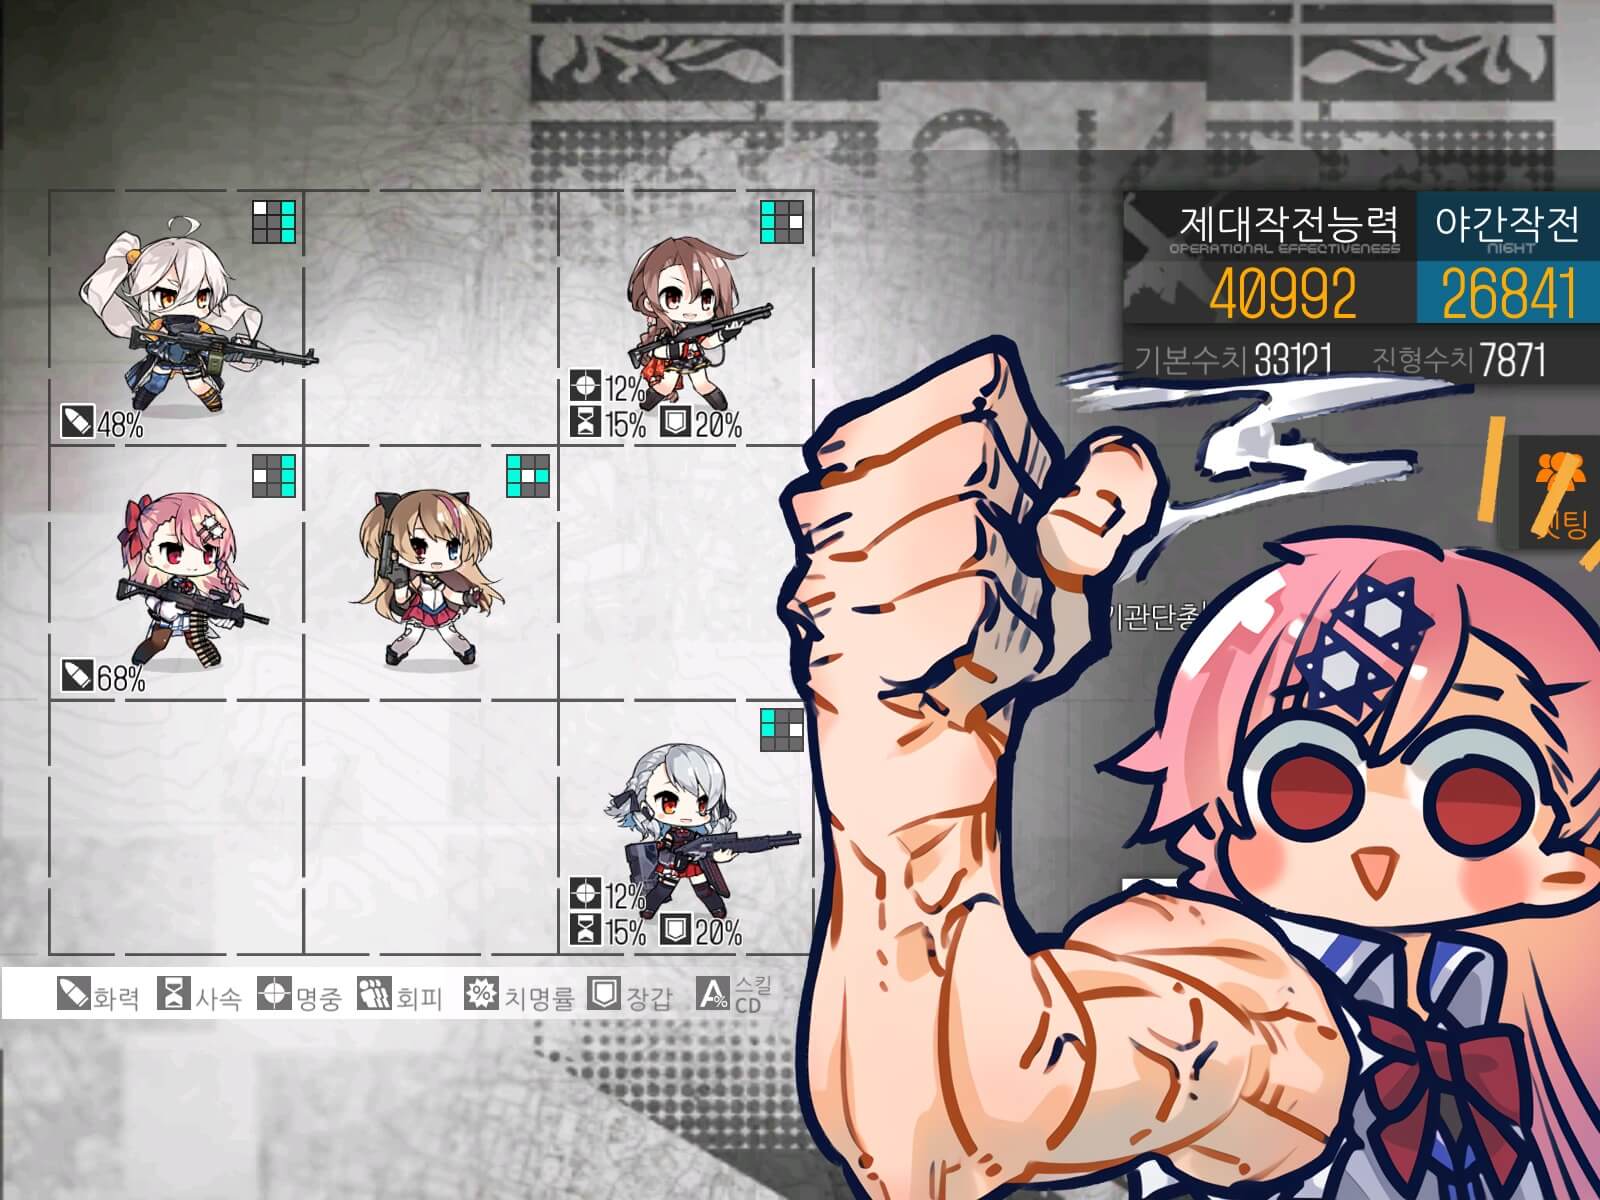
Judge Fight
Your goal is to place your main DPS T-Doll (in this case, Negev) to Position 6 at the beginning of the battle, where Judge will not target with her AoE skill. the other 2 T-Dolls in the back will have to scramble to get out of the damage zone.
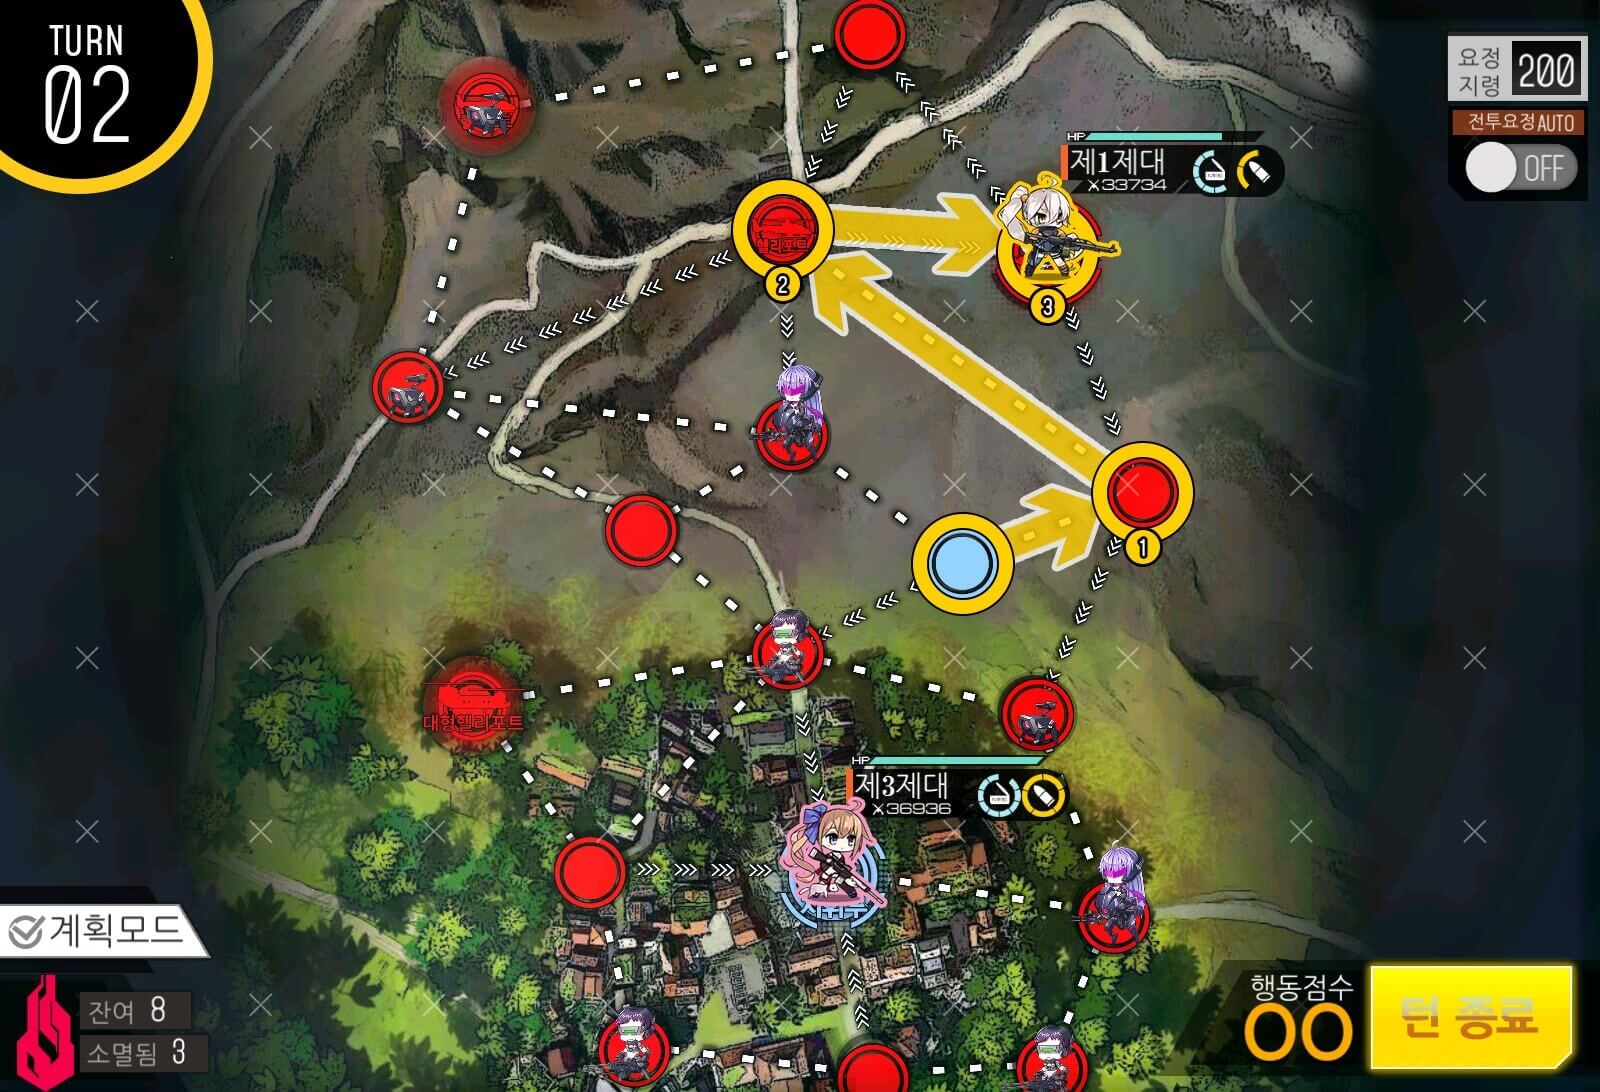
Turn 2
Once you beat the Judge, follow the path to the enemy HQ and end your turn.

Turn 1
Deploy a Friend Echelon then set it to eliminate. You can choose to leave it at that until the end of the map, but in some cases it’s better to toggle its priorities as you see fit.
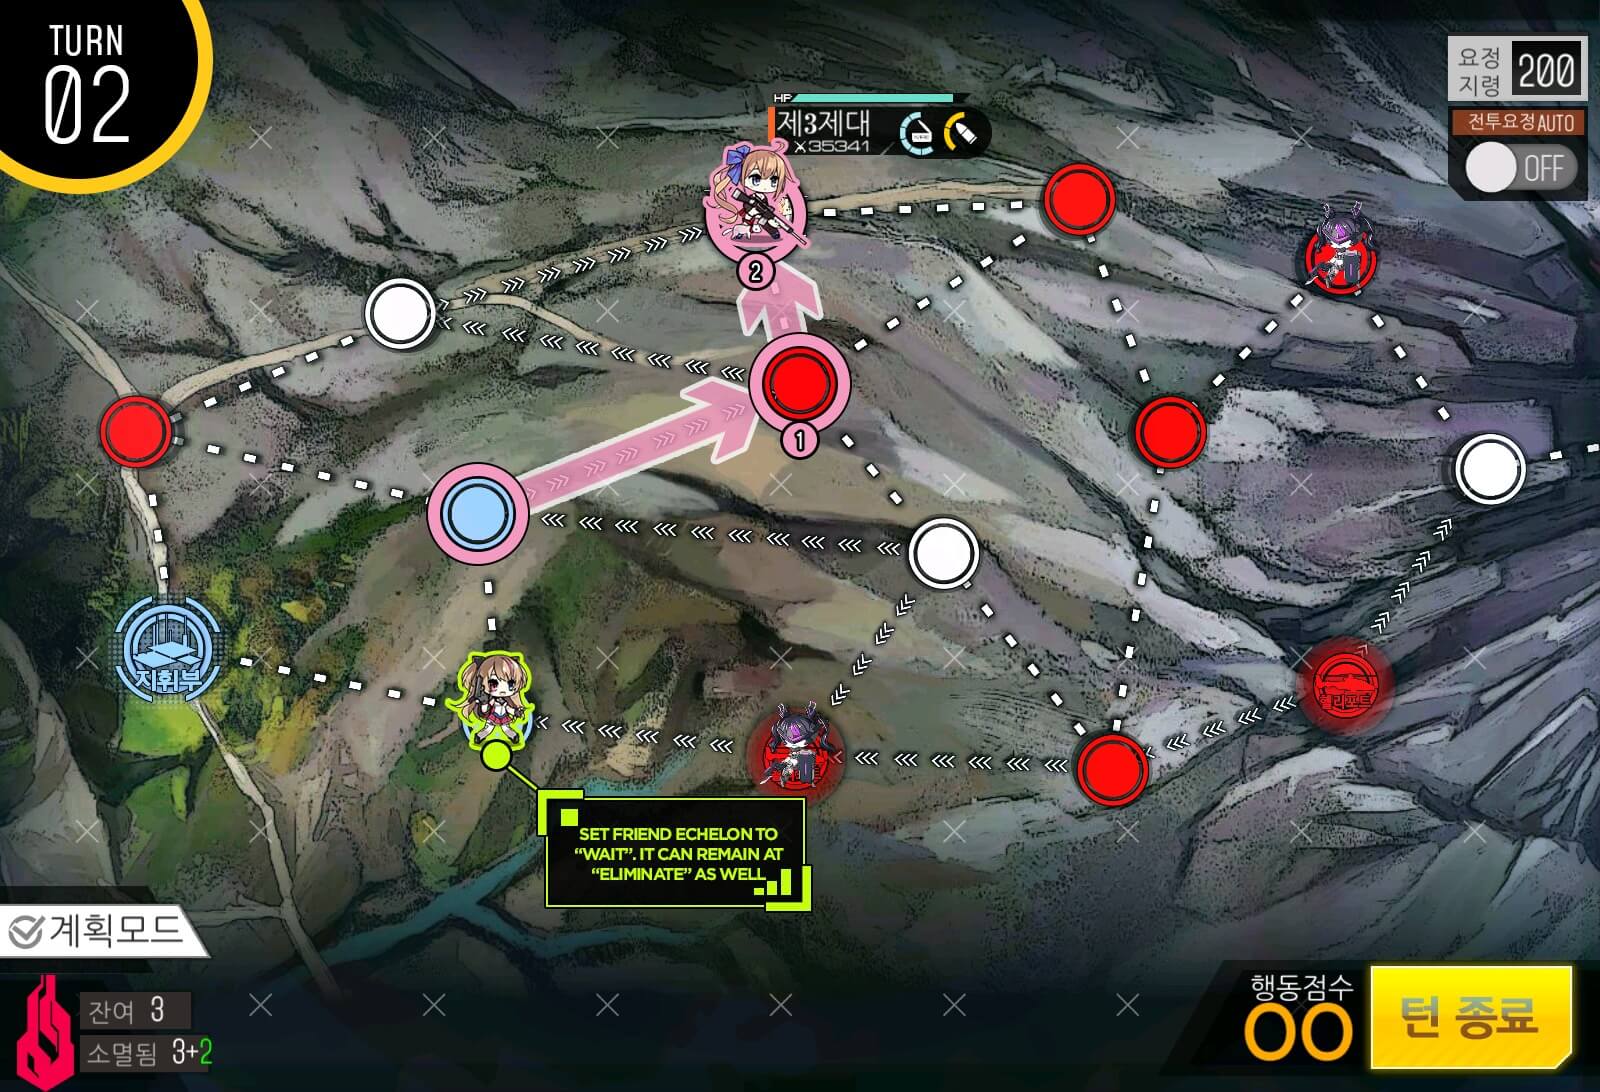
Turn 2
In this sort of case, changing your friend Echelon’s priorities to wait could save you some time with the echelon moving back and forth.

Turn 3
Depending on where the Guard unit will be, your dummy echelon location will be different from mine. Adopt accordingly since after that Guard unit is taken care of, there will be no more combat.

Turn 4a
Work your way towards the flag node to establish the line.
Turn 5
You don’t necessarily have to fight that last enemy unit, you will still be able to establish the supply line just fine. With remaining move points, see if you can capture the rest of the map nodes for a convenient silver medal. Additional dummy echelons would be a big help.
Turn 6
You can either just end the turn or use additional dummy echelon to capture remaining nodes.

Turn 1
Deploy a Friend Echelon and set it to ‘eliminate‘.

Turn 2
Take the helipad and deploy a 2nd combat echelon.
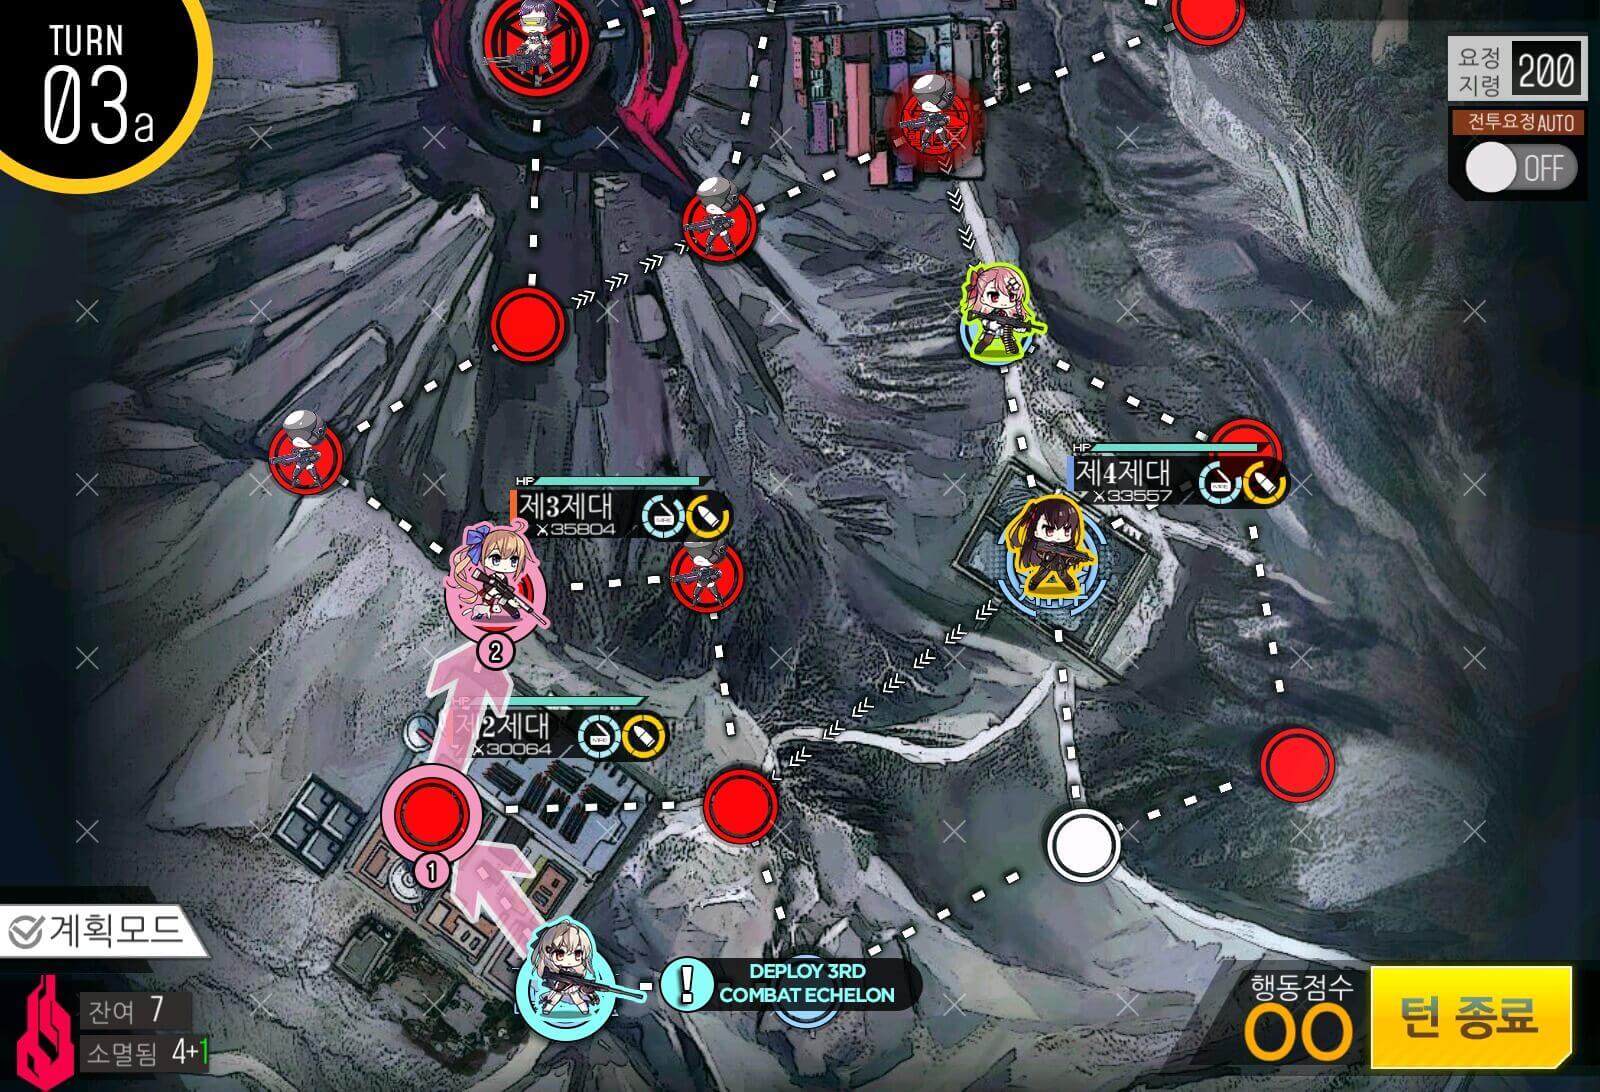
Turn 3a
Deploy a 3rd combat echelon. At most it will fight twice, maybe once depending on RNG.

Turn 4a
Move up towards the direction of the supply node with 2 echelons.

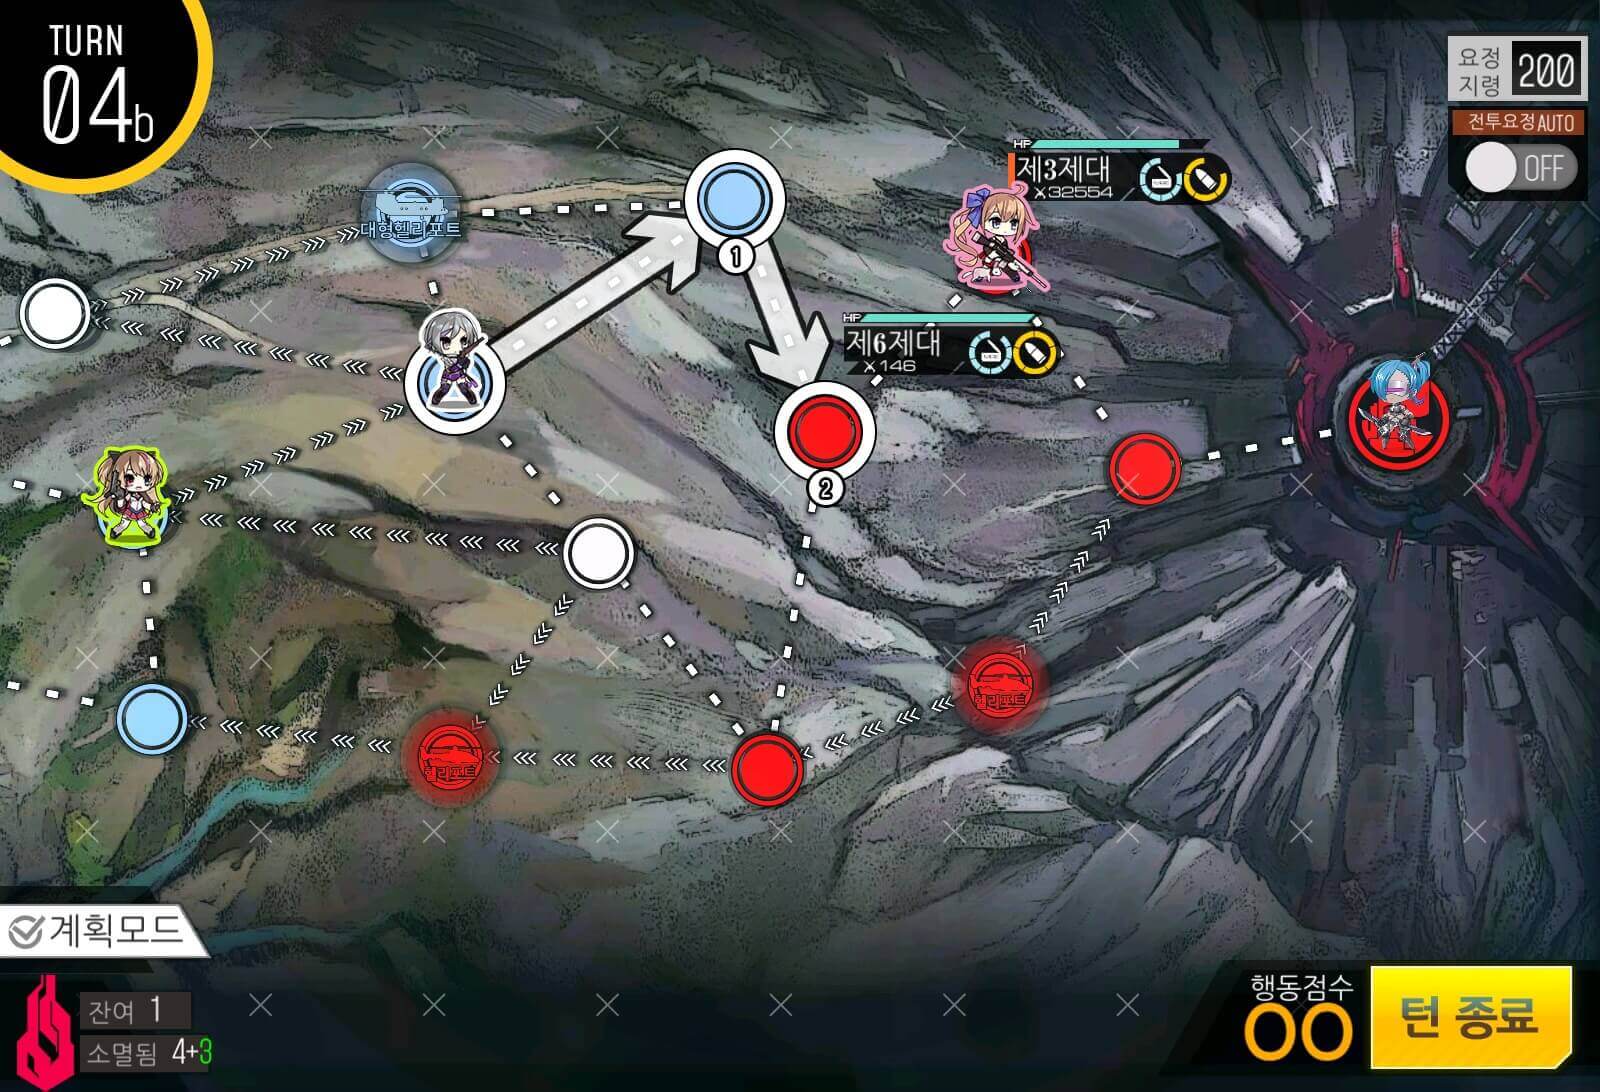
Turn 4b
2nd combat echelon moves in to take out the straggler if it threatens to cut the line.
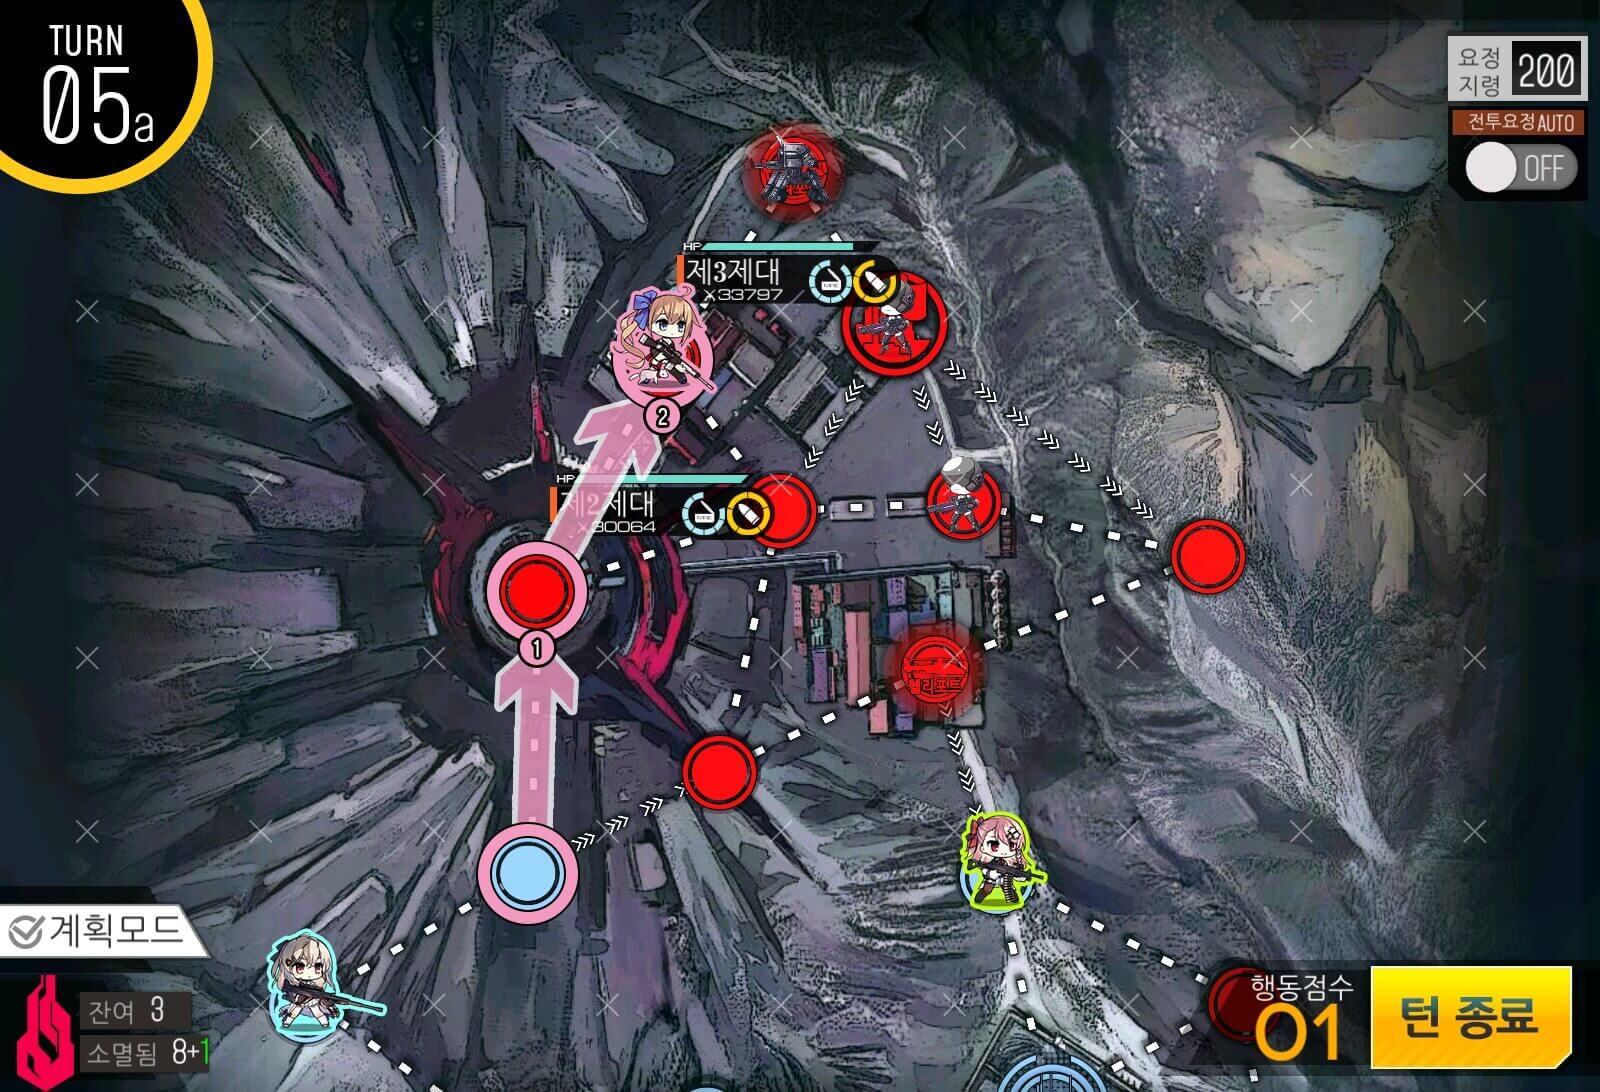
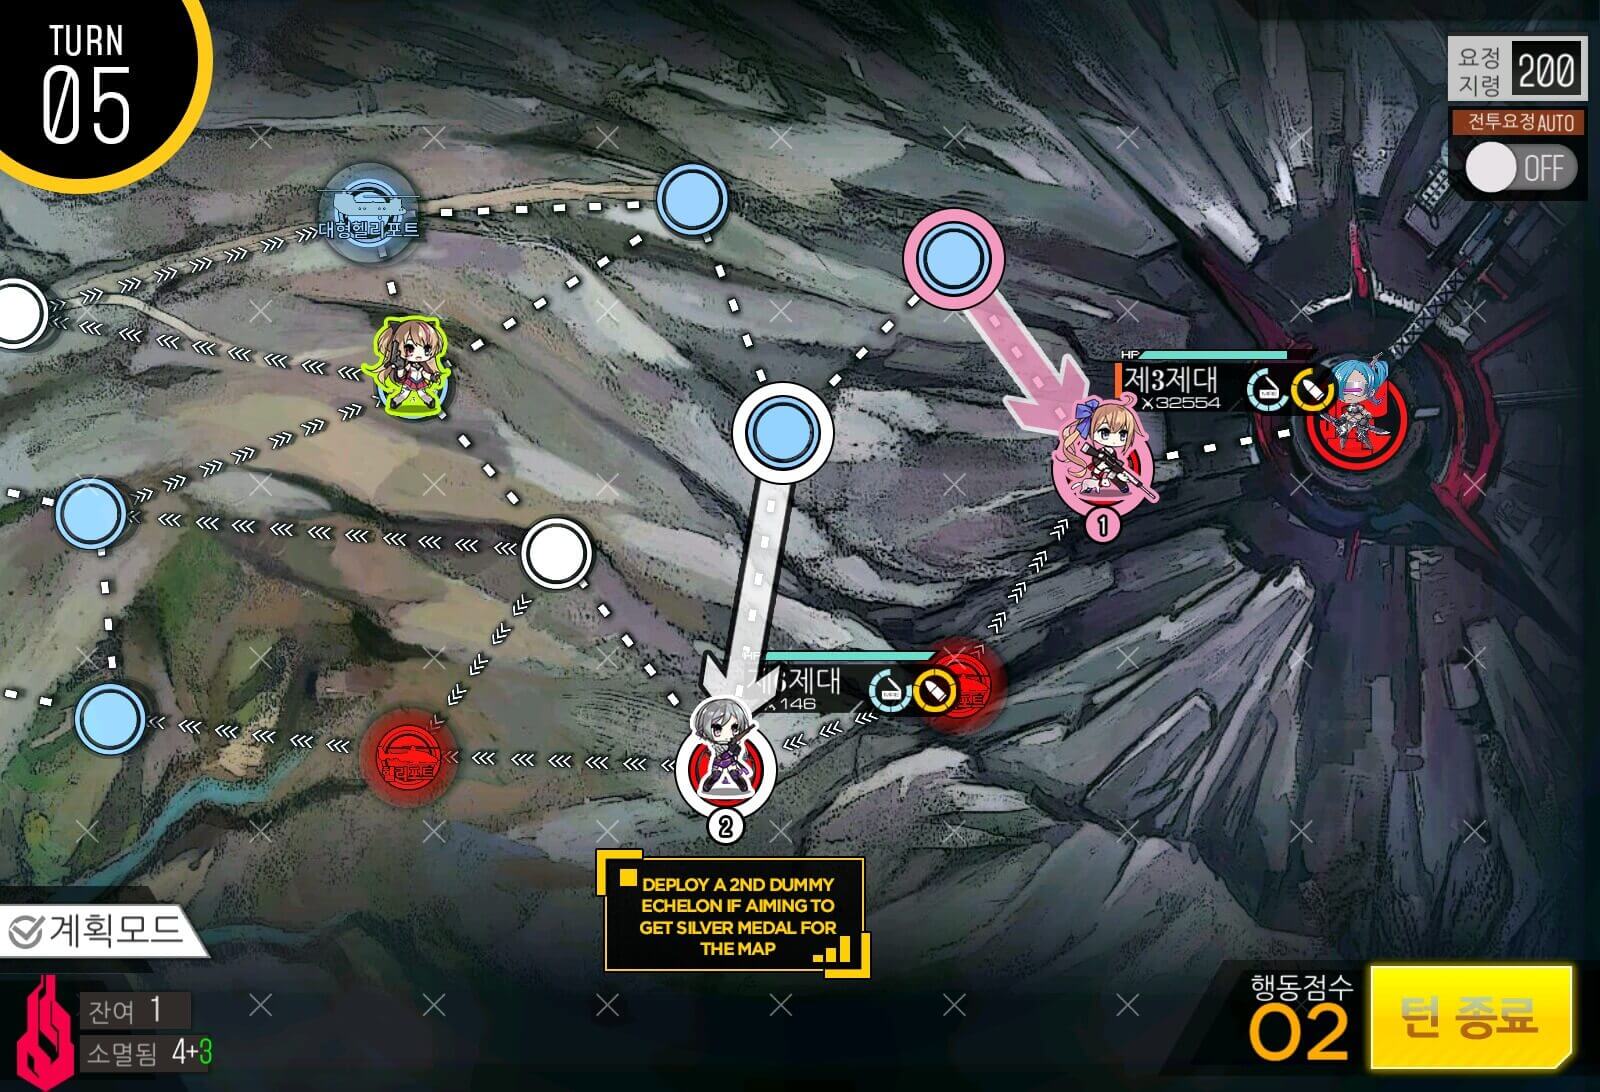
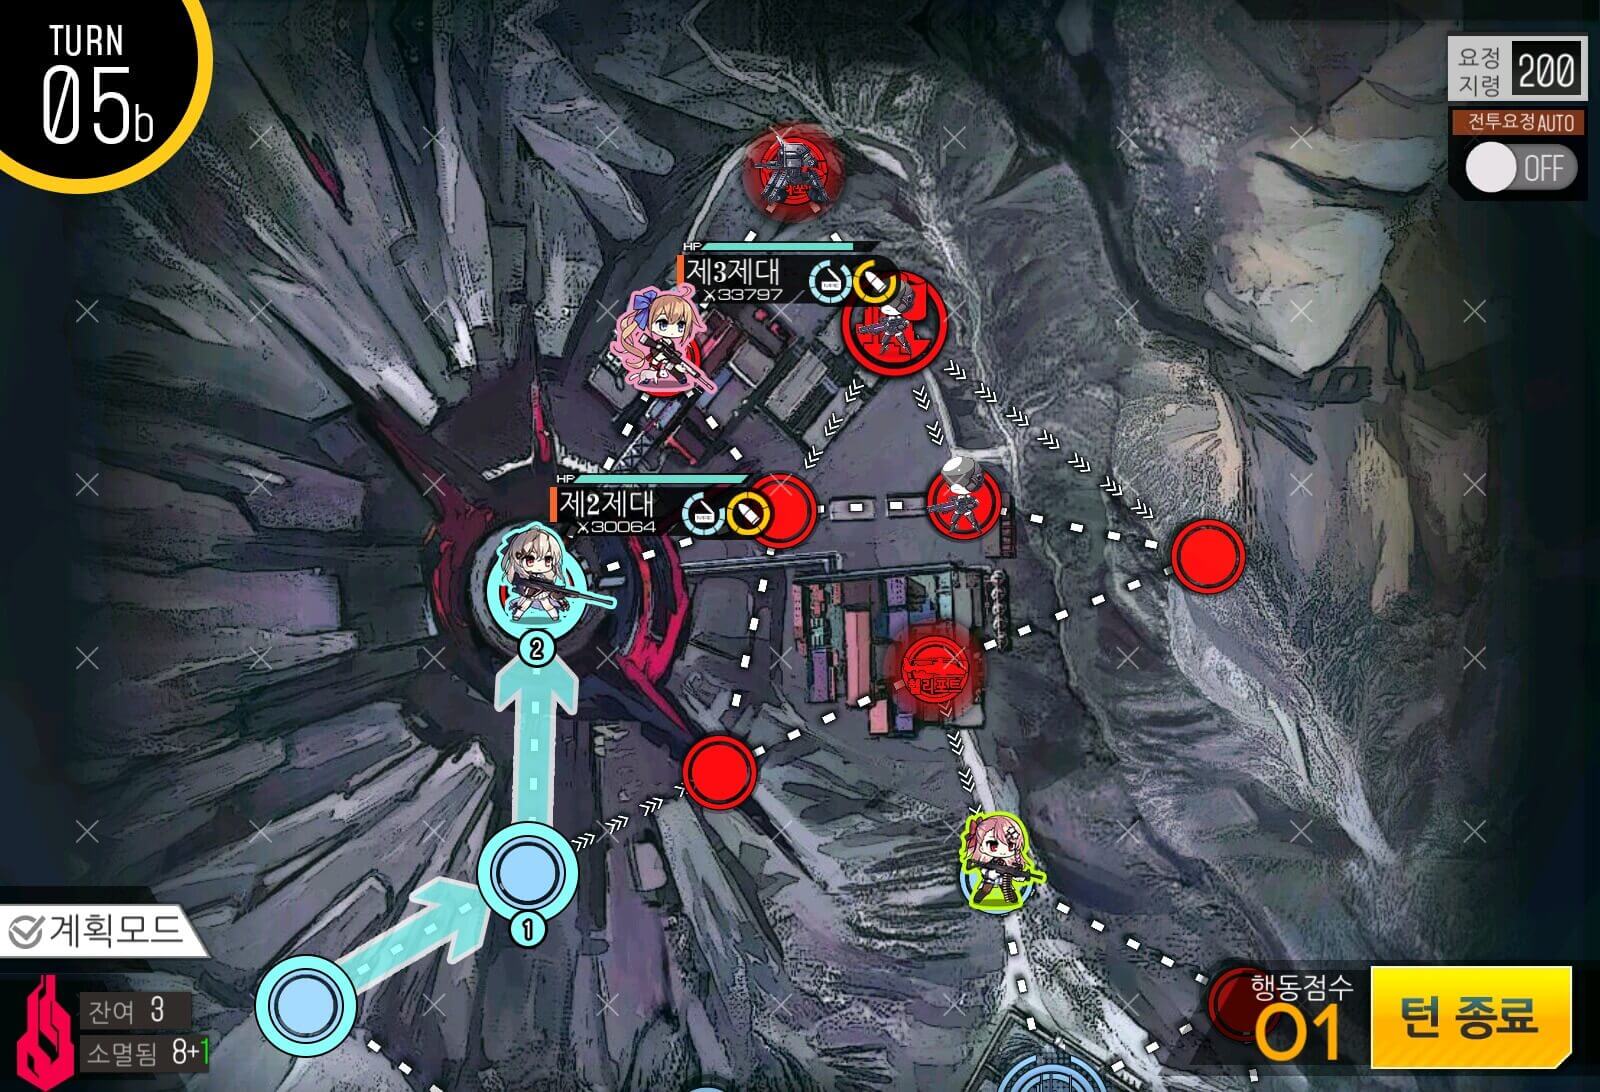
Turn 5a
Keep on establishing the line. With 1 remaining move, you can look to capture more nodes near the HQ for that silver medal achievement.
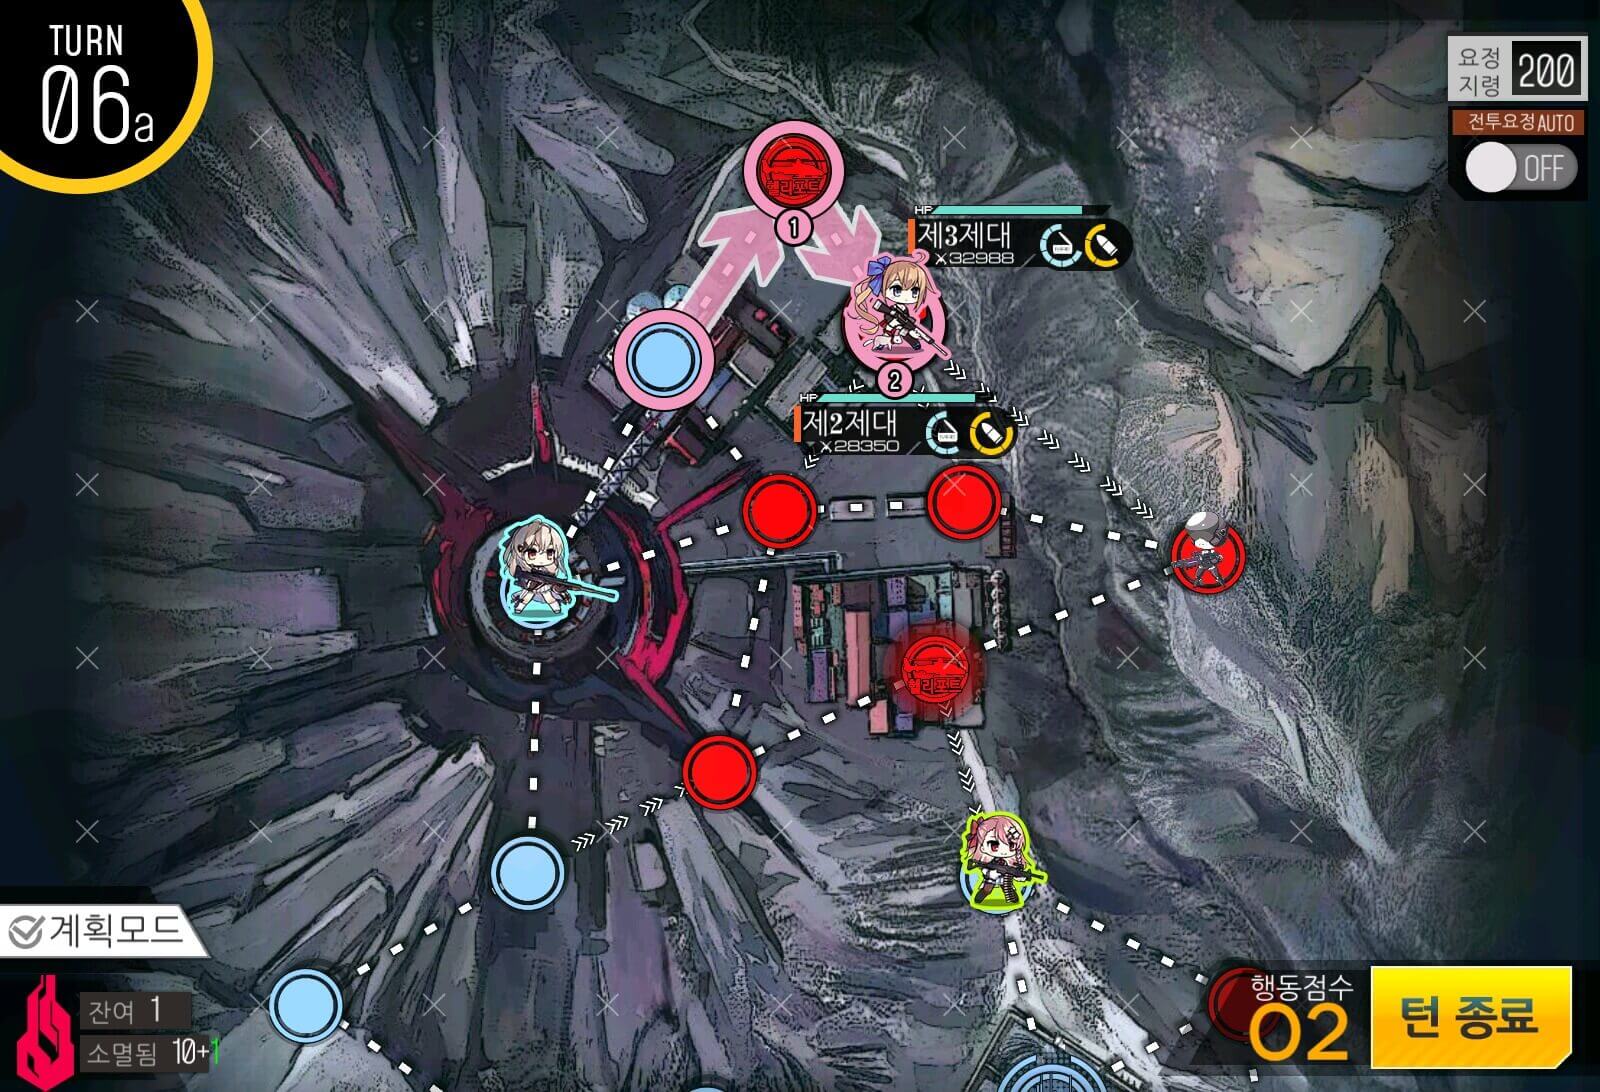
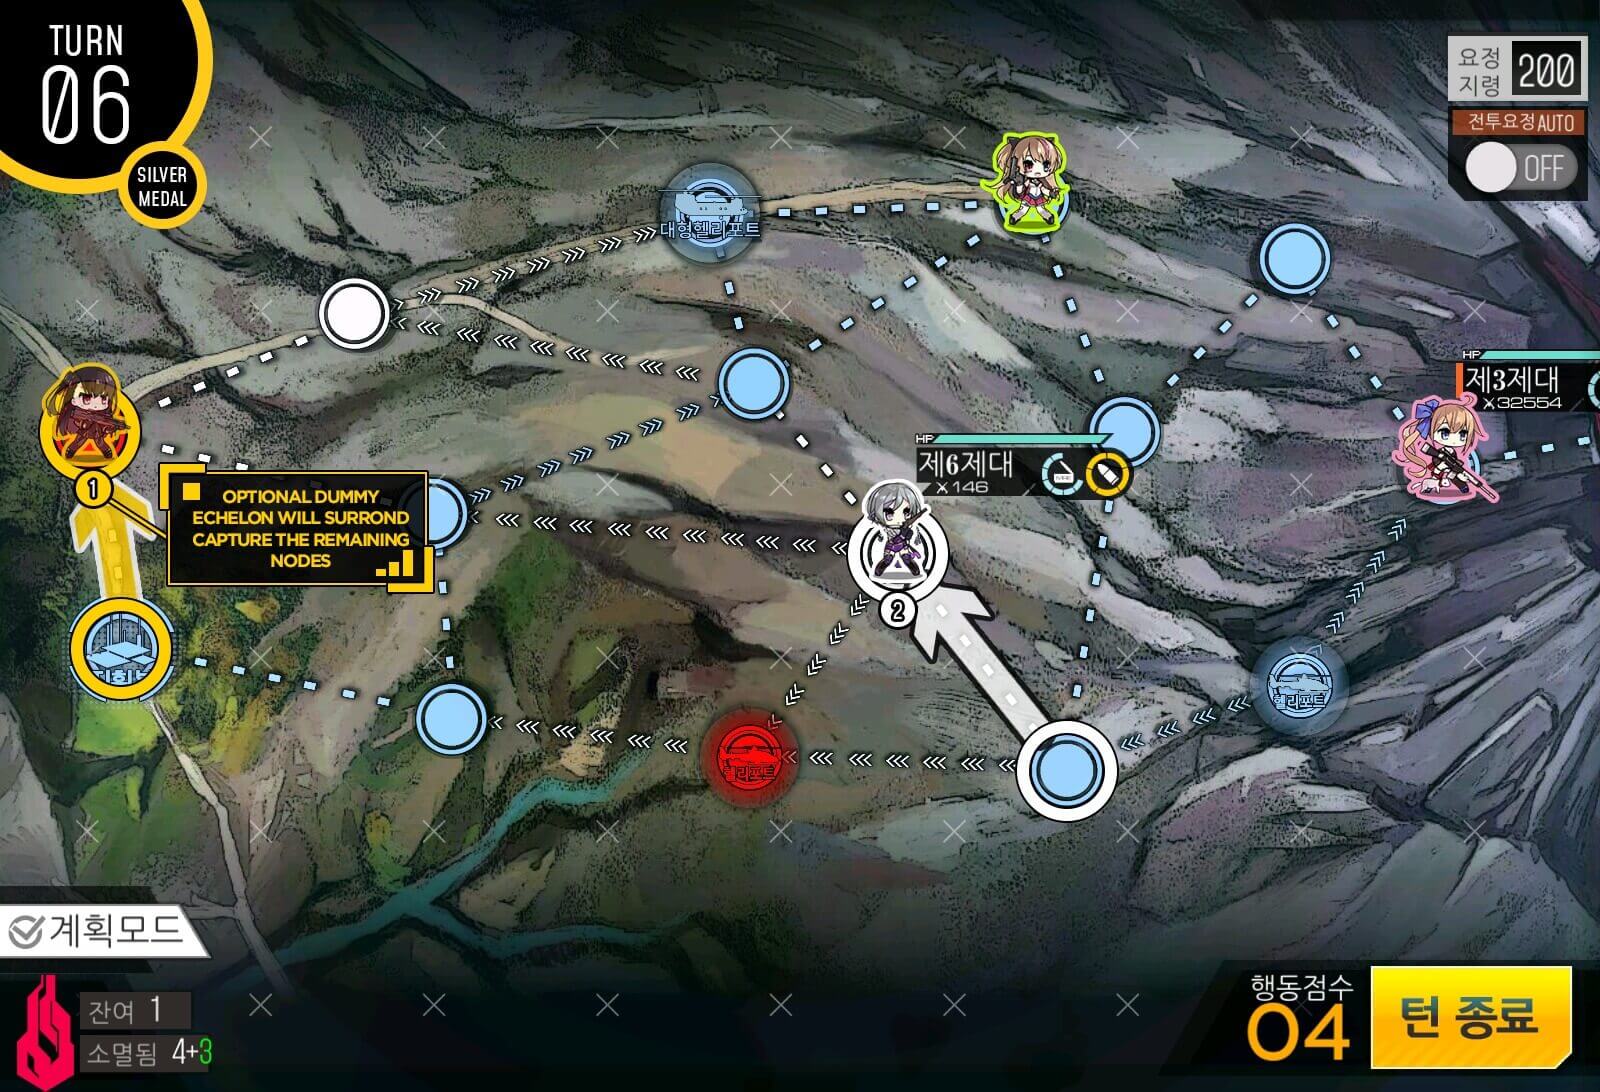
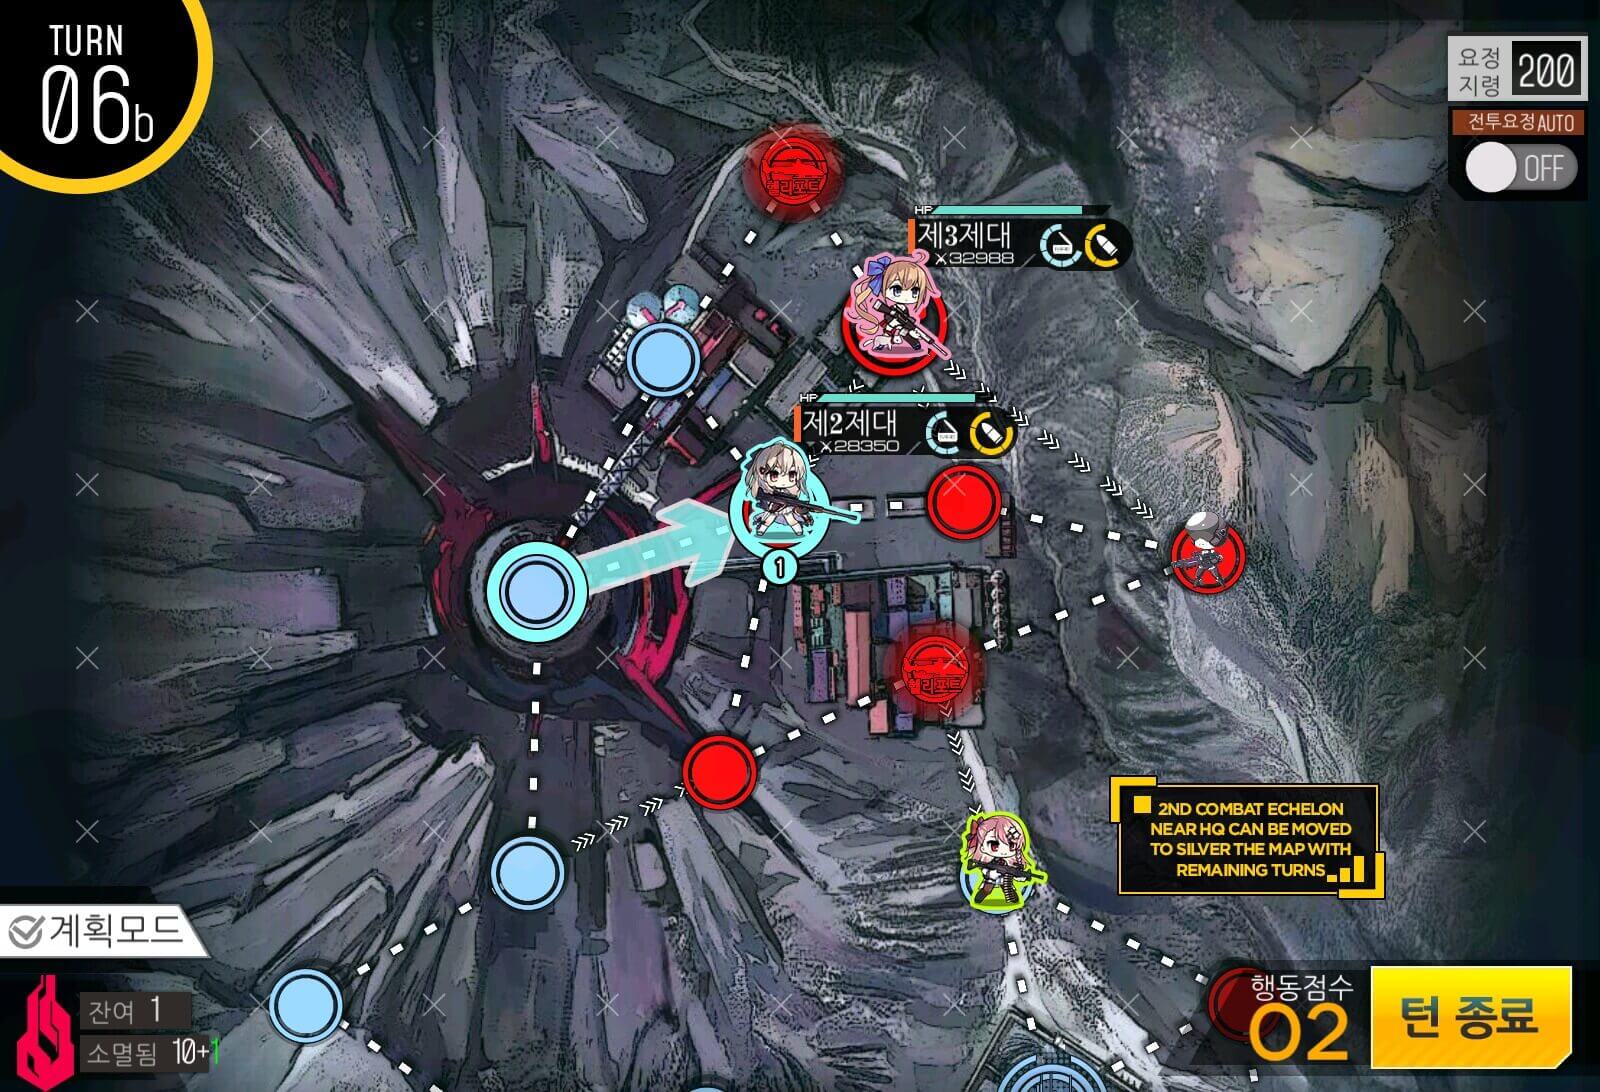
Turn 6a
After establishing the supply route, take care of rest of the enemy units on the map and control all nodes for silver medal achievement.


Turn 2
Take the middle helipad in the middle.
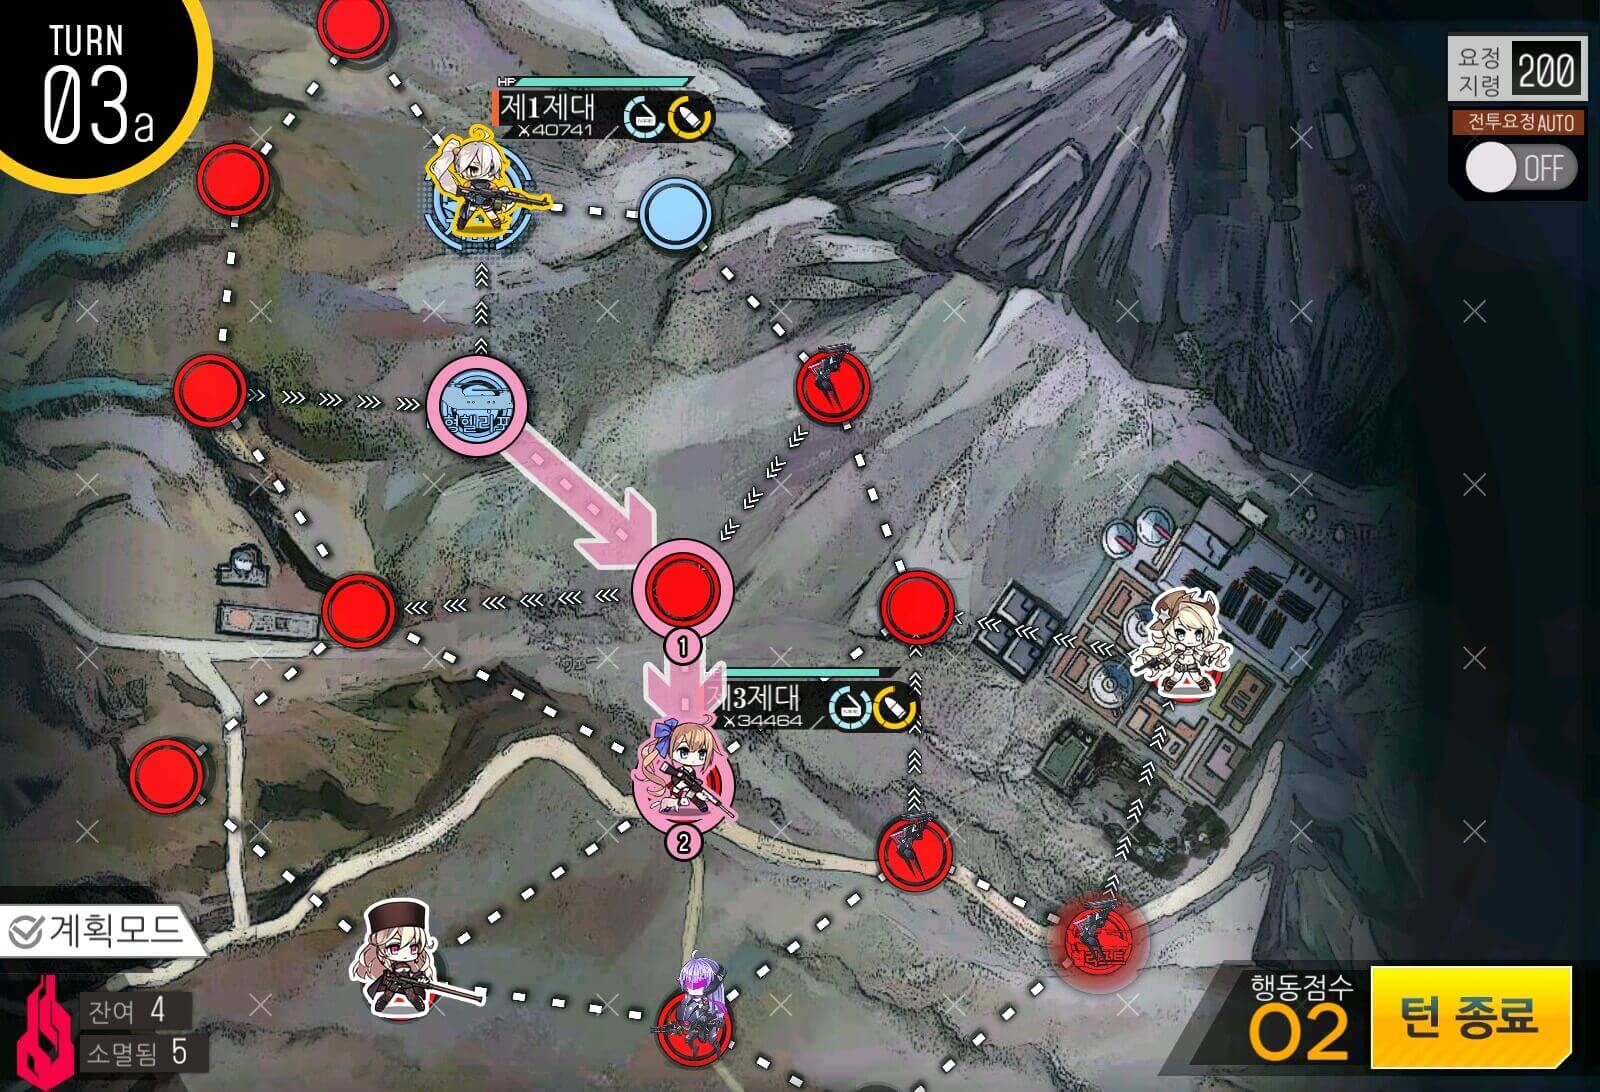
Turn 3a
Resupply before moving!
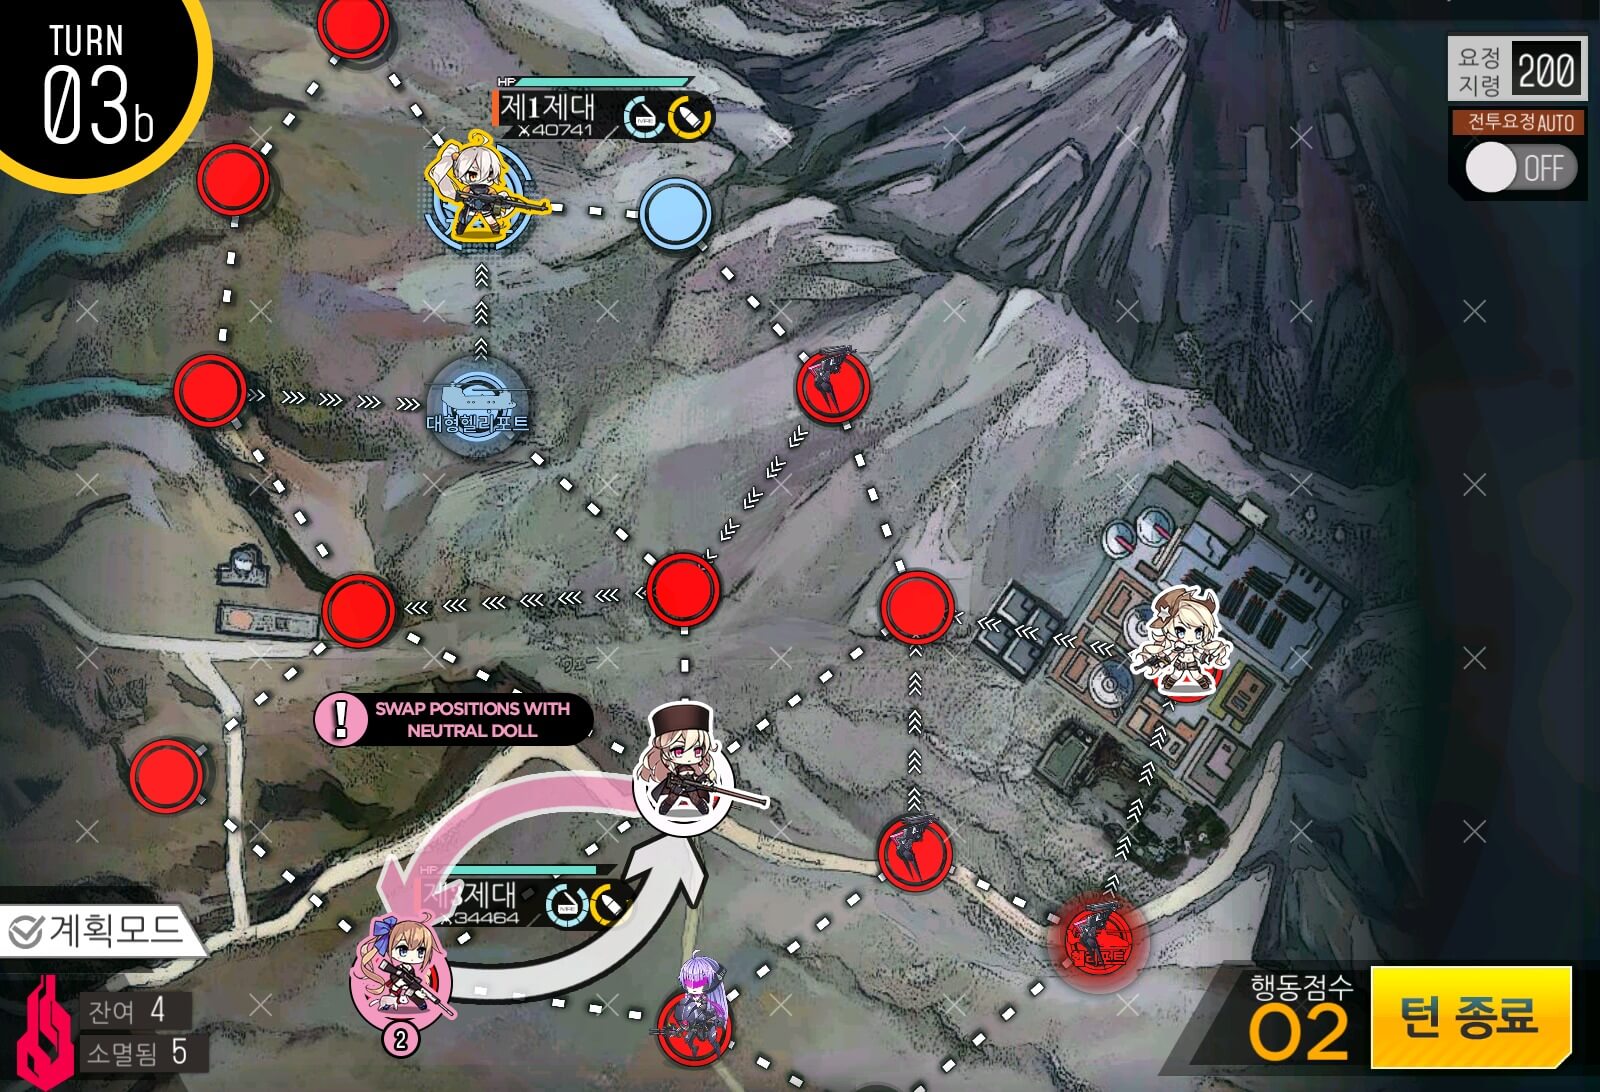
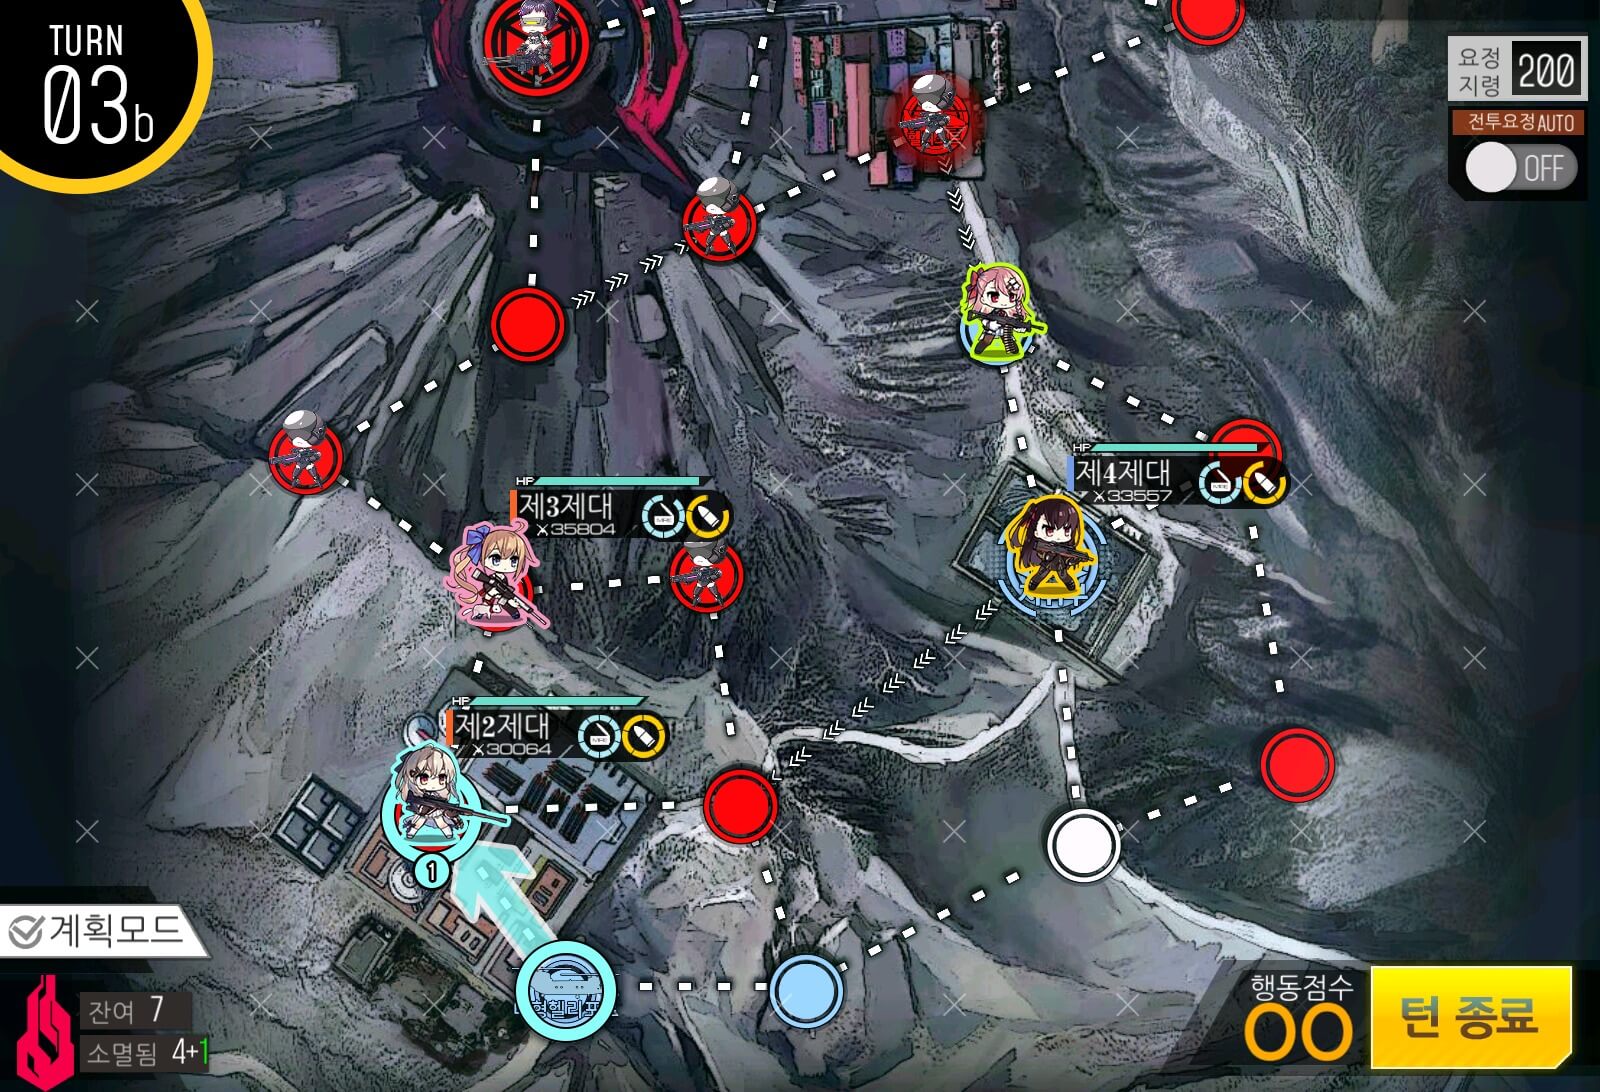
Turn 3b
Swap positions with the hostage, this echelon is in charge of rescuing the one in the corner [Colt SAA hostage].
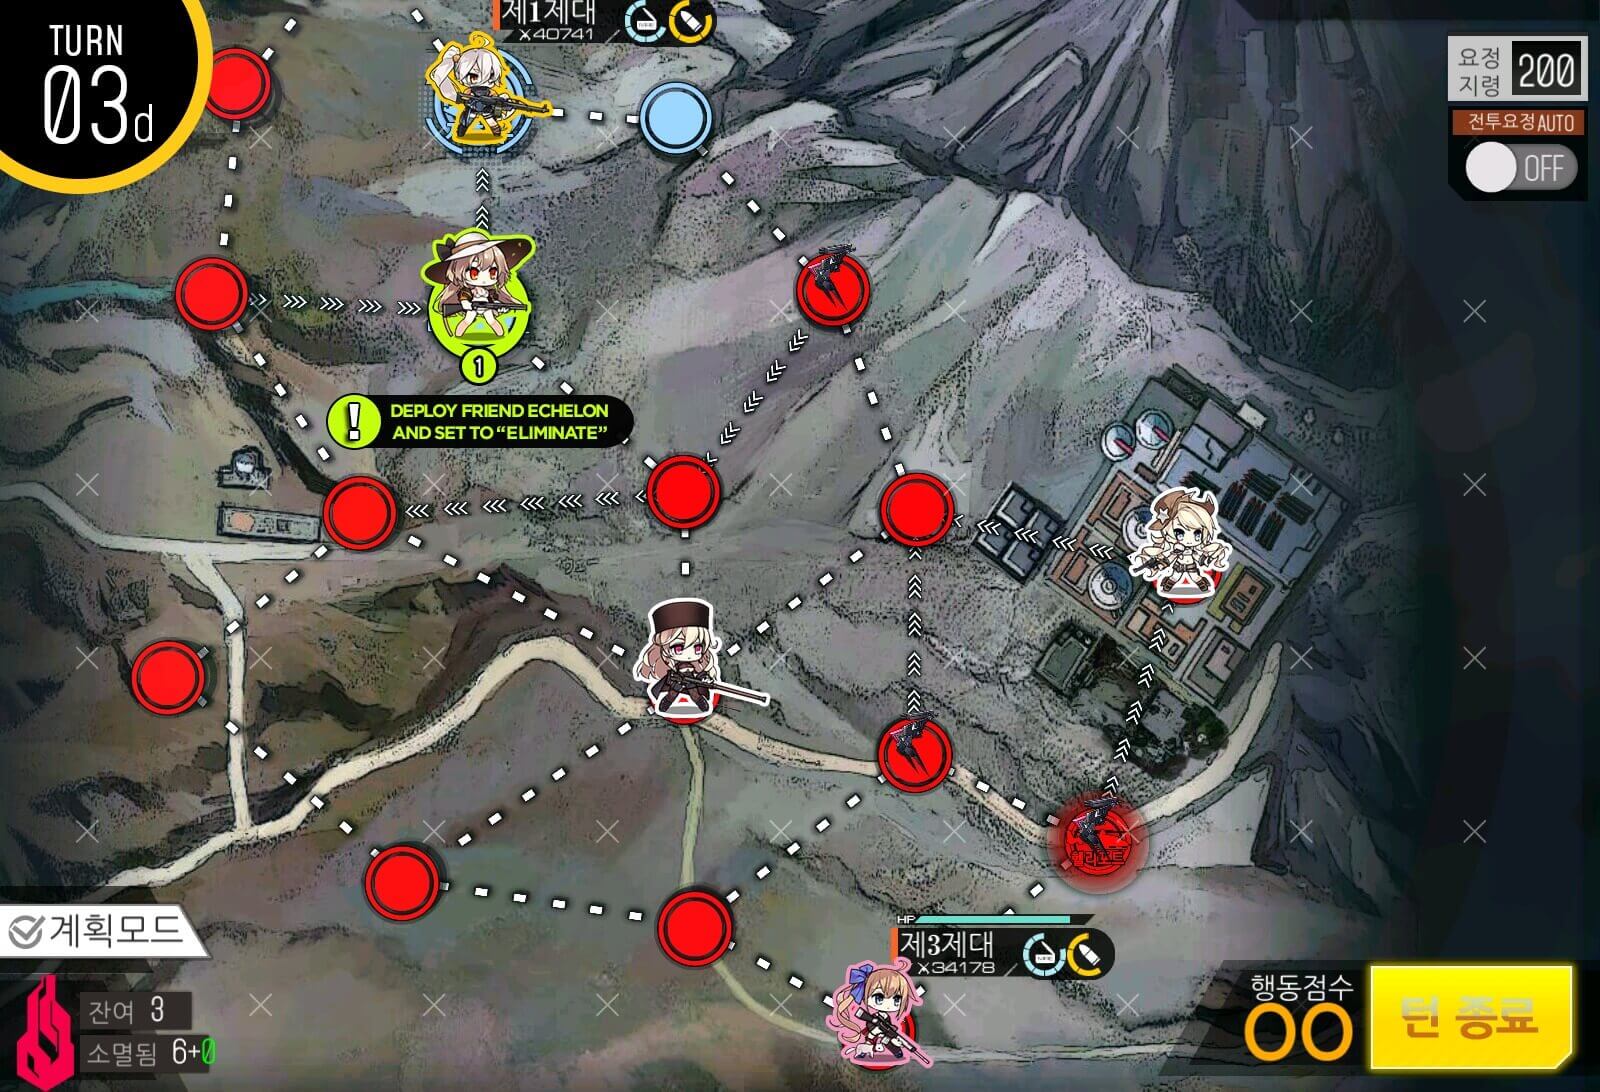
Turn 3d
Spawn a Friend echelon and set it to ‘Eliminate‘.
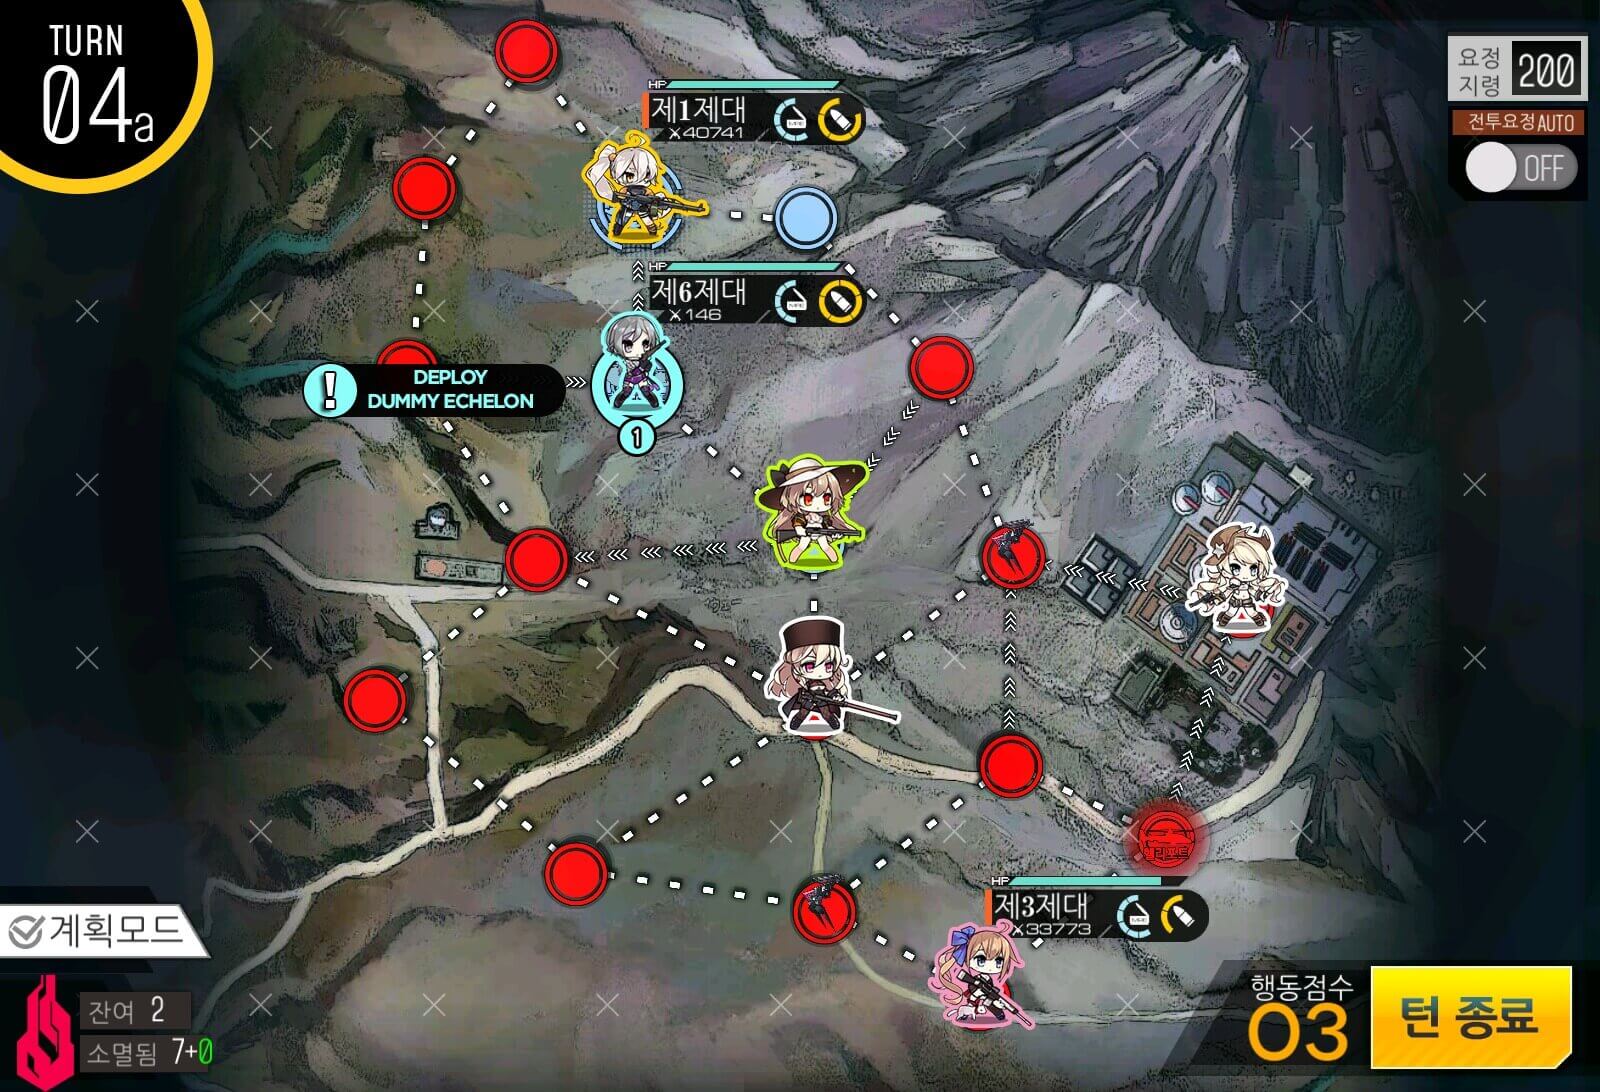
Turn 4a
Deploy a Dummy from the helipad that will be used to rescue the hostage.
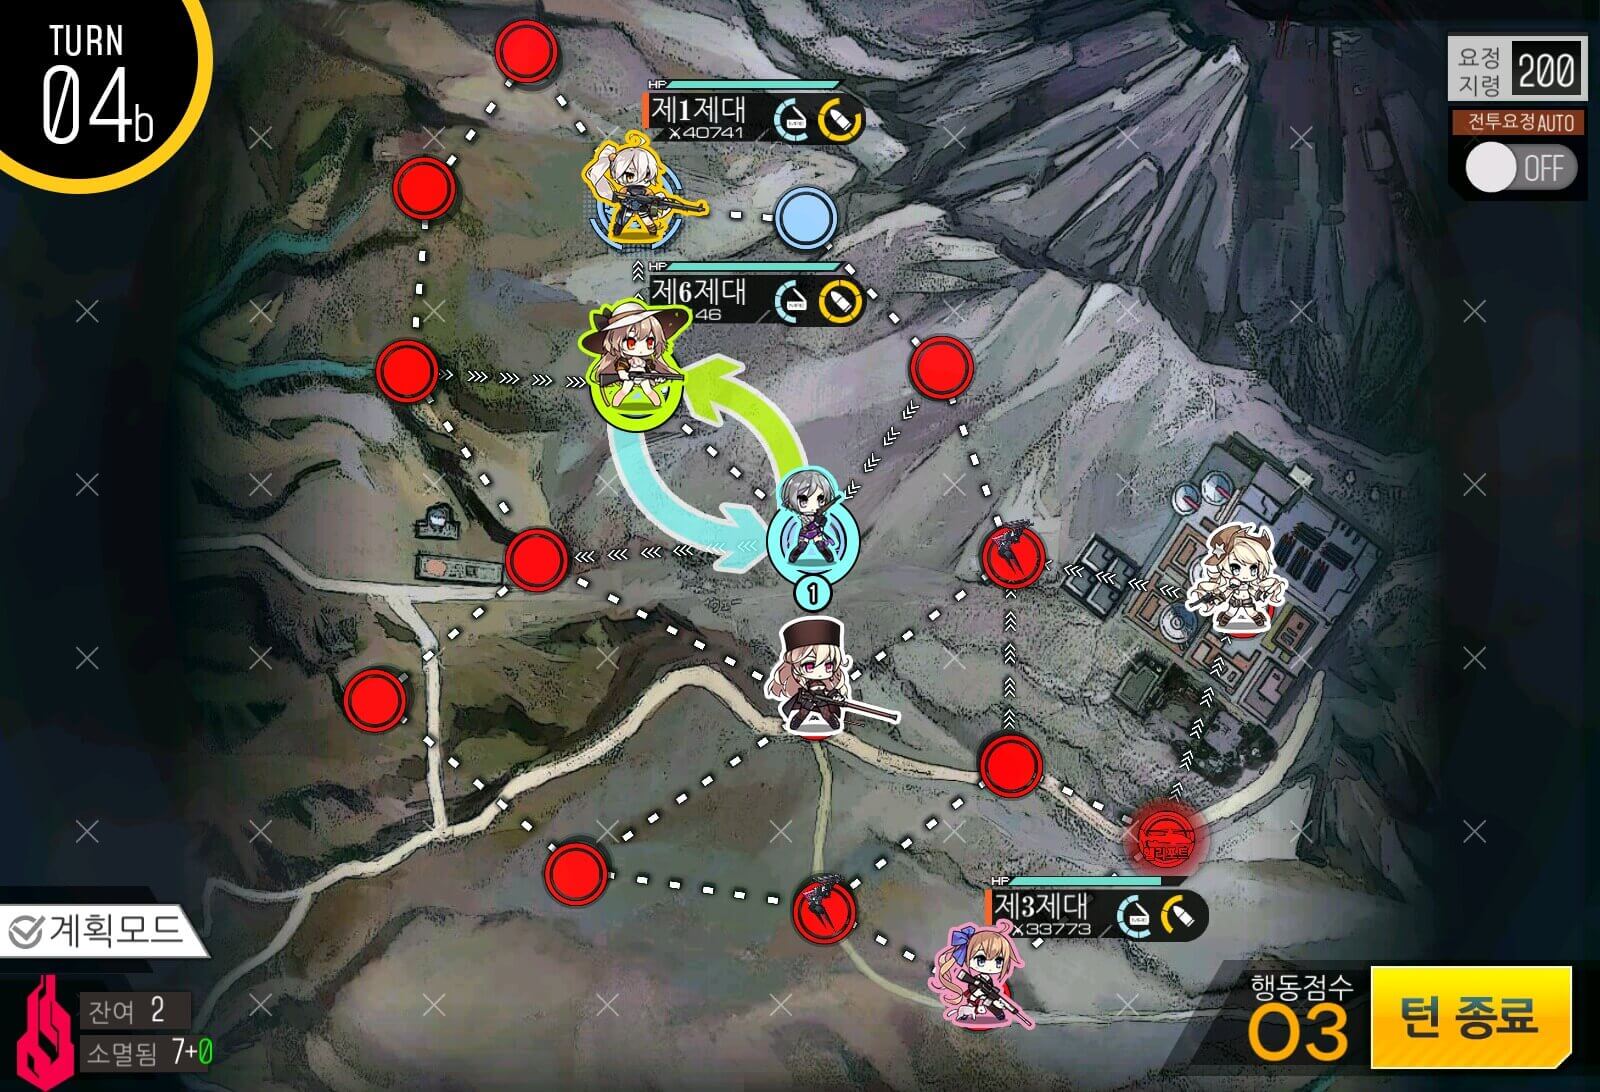
Turn 4b
Swap with your allies all the way down to the current position, below the hostage T-Doll.

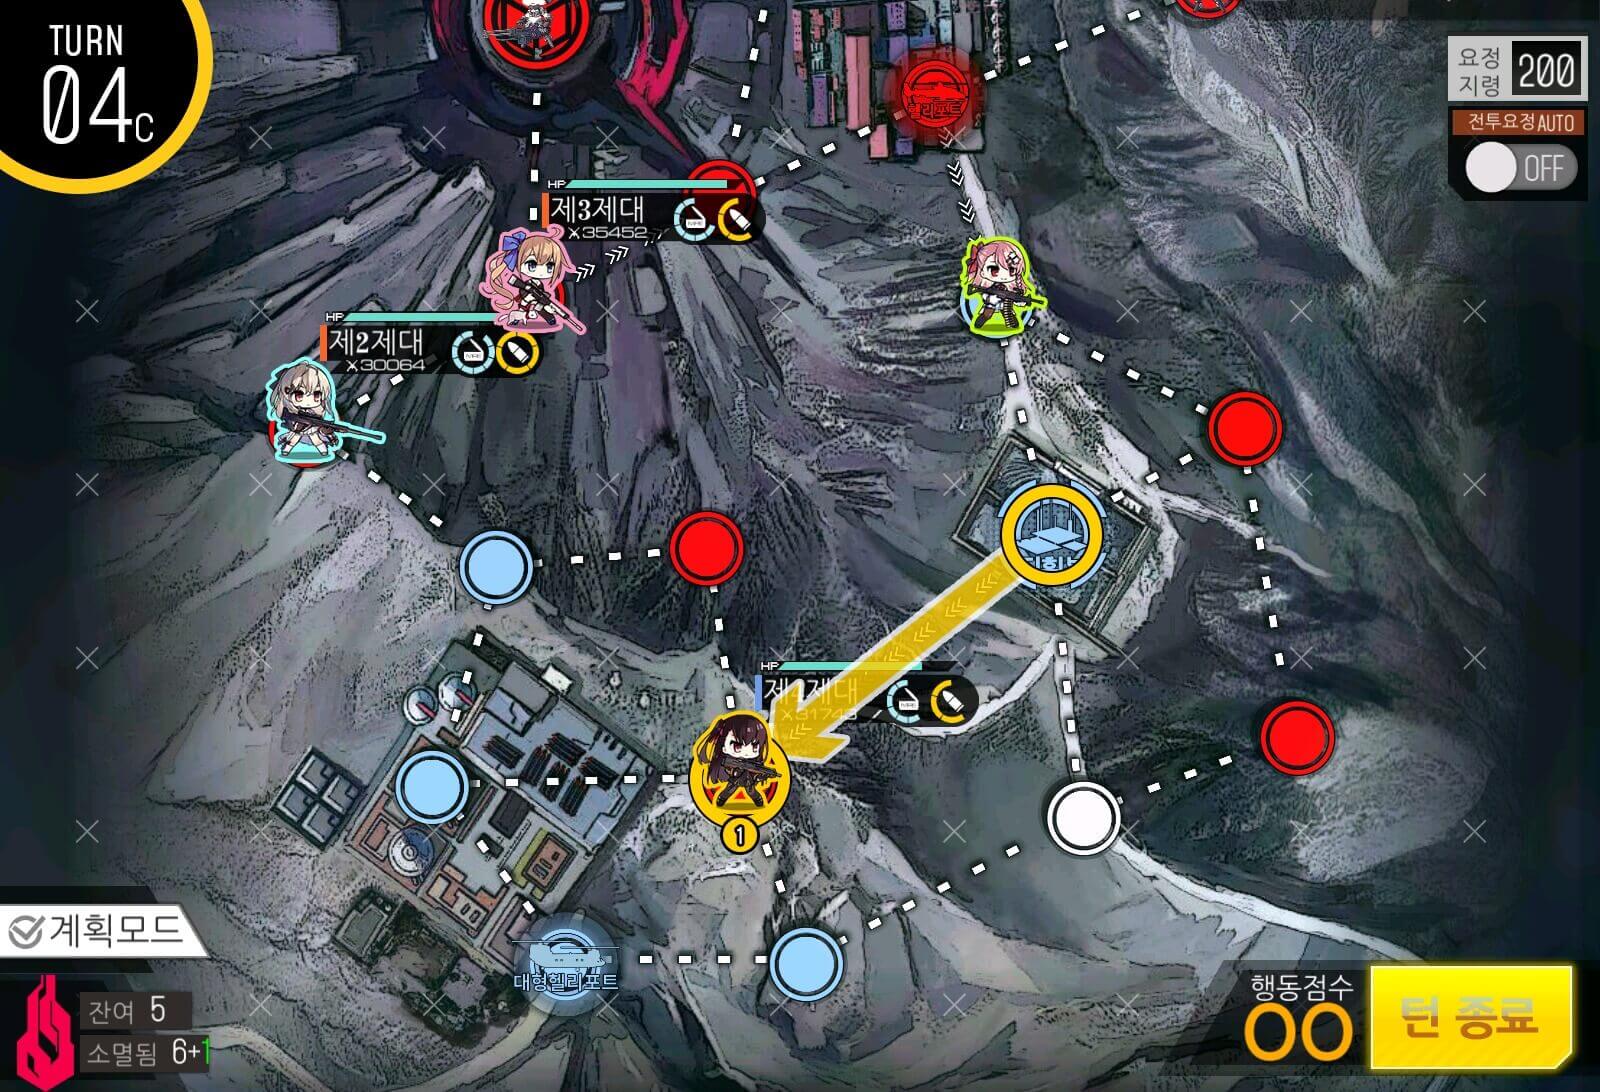
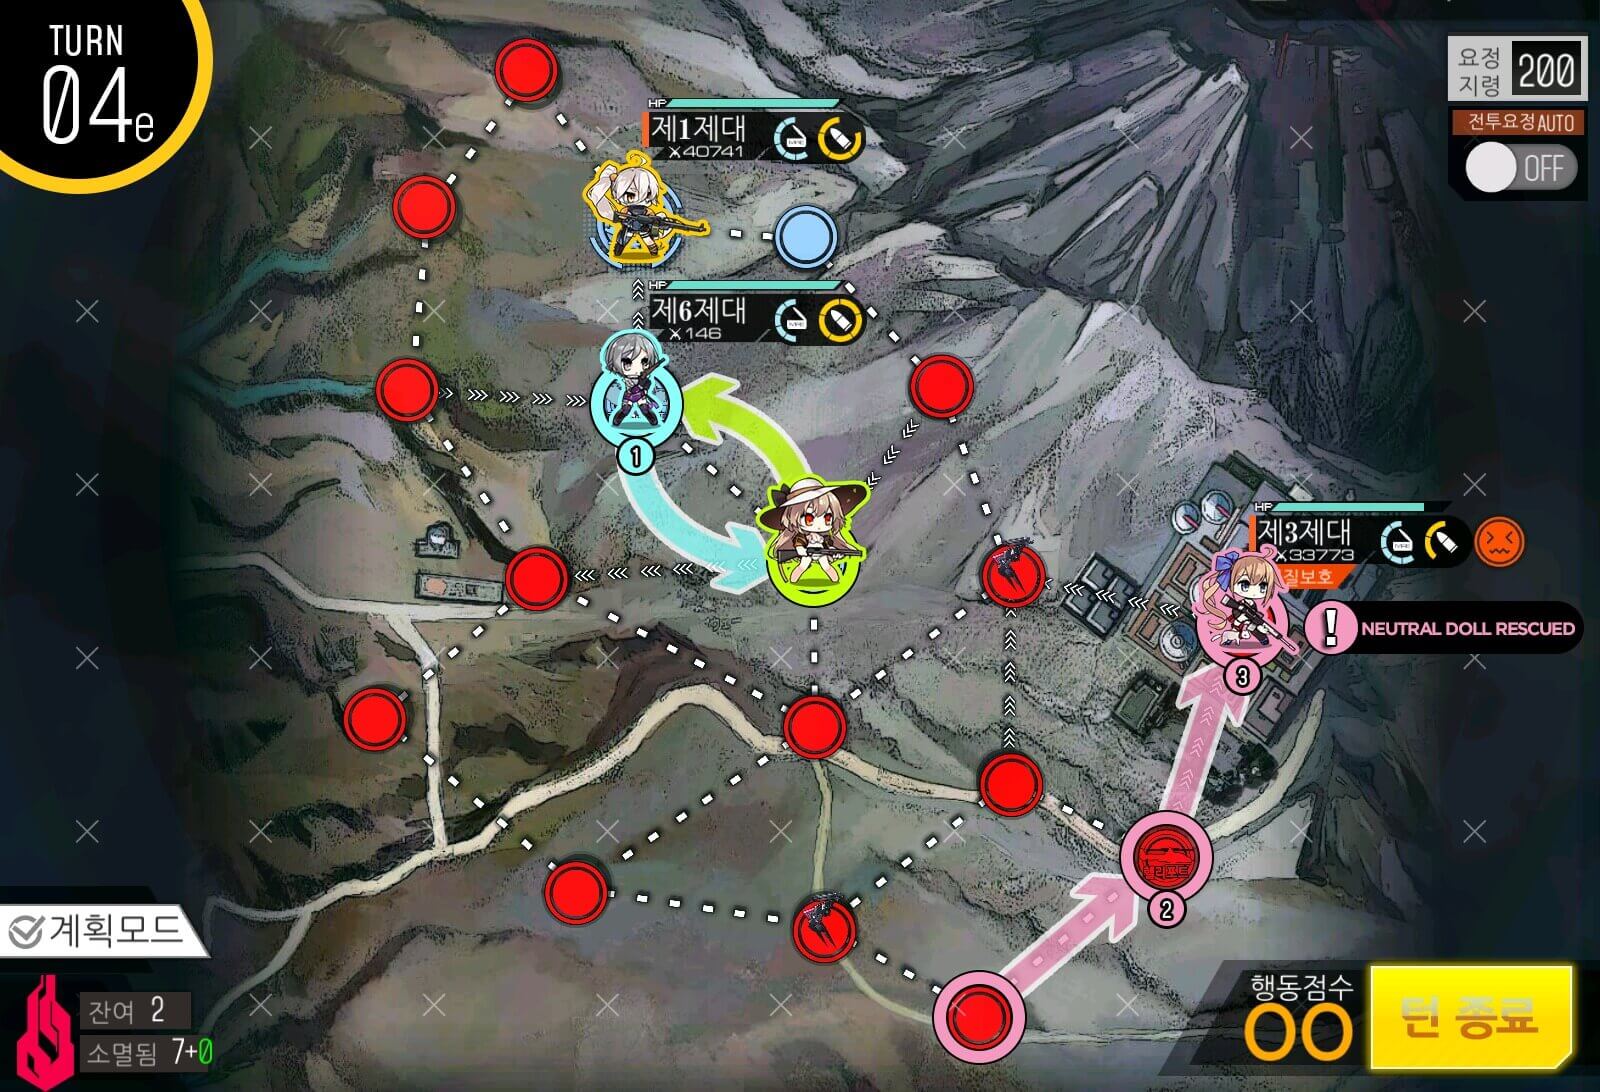
Turn 4c
All you have to do now is rescue and swap back with the Friend Echelon to manually extract the hostage.
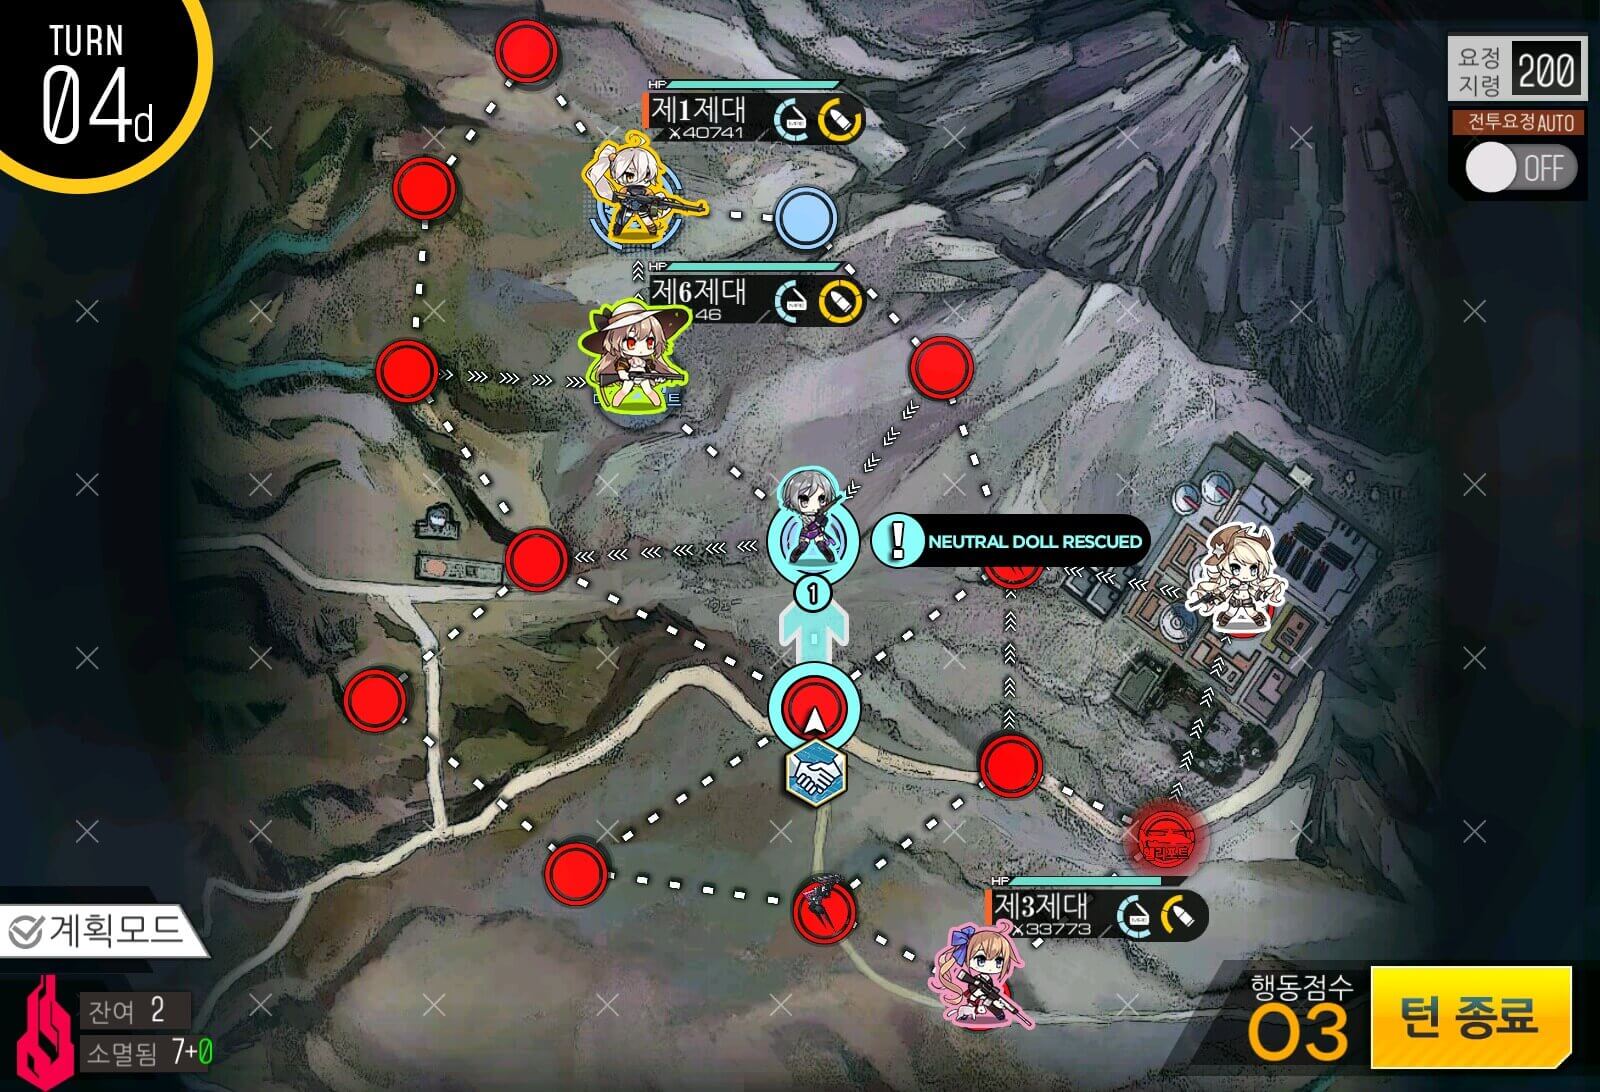
Turn 4d
Use your remaining 2 movement points to capture the hostage T-Doll.
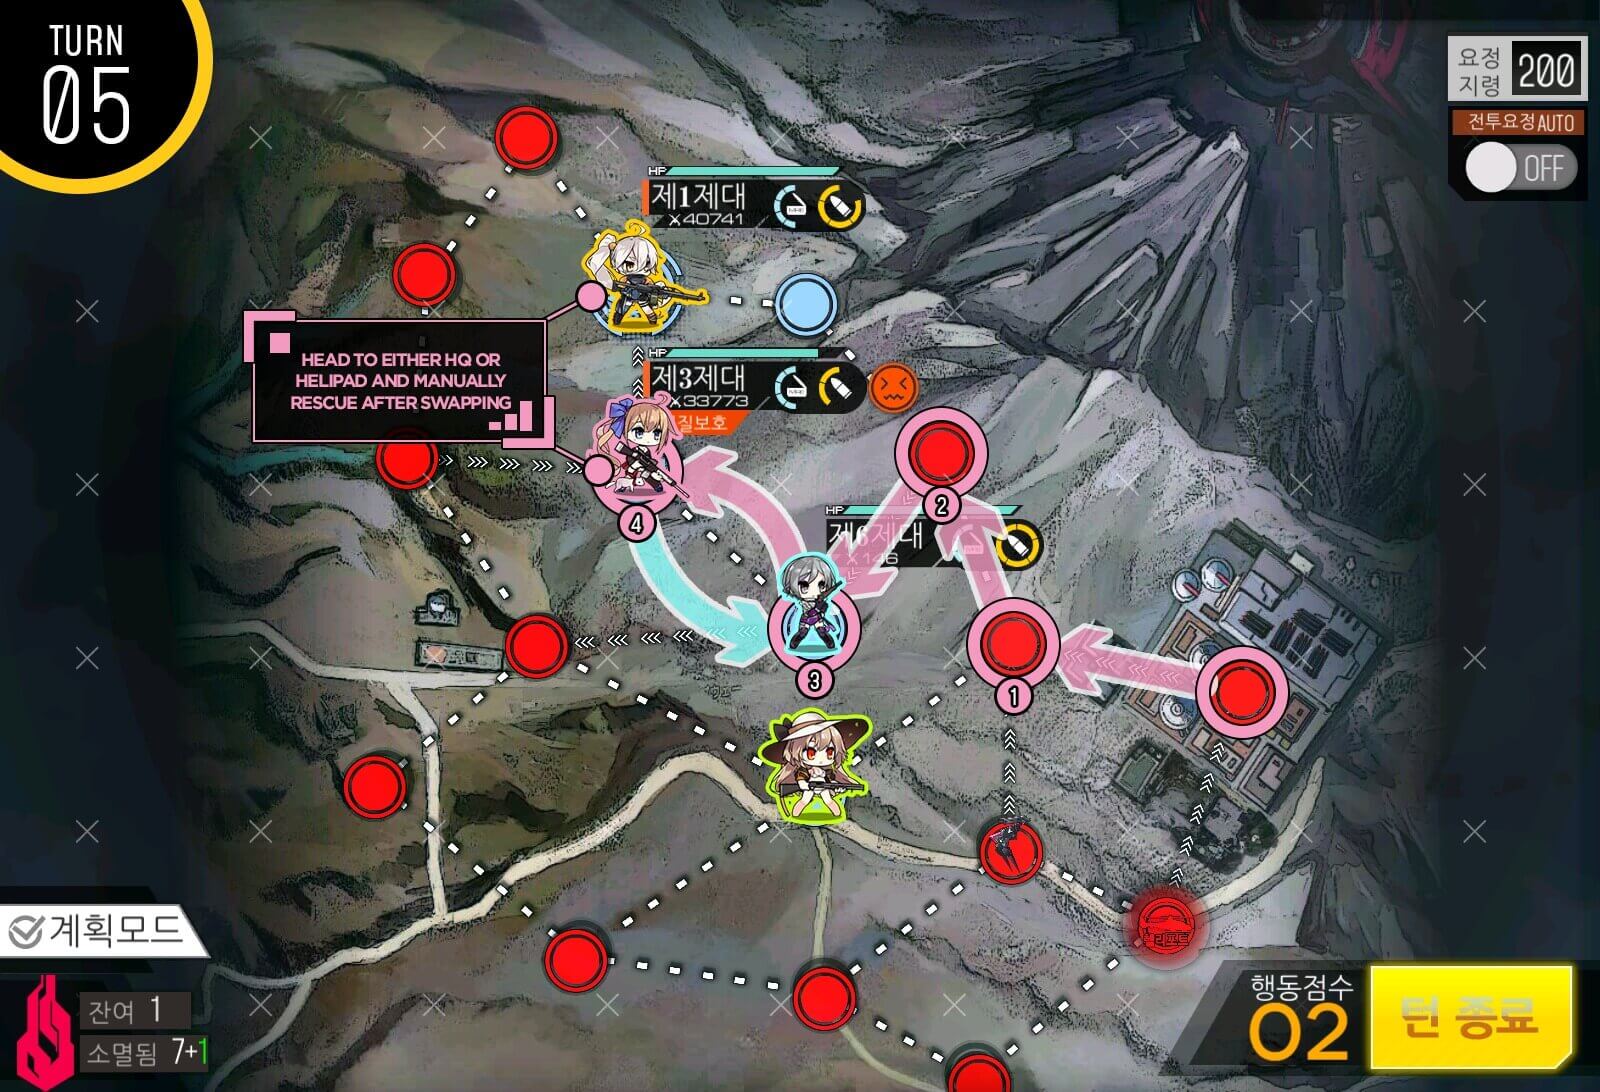
Turn 5
Either path works, manually extract to finish the mission.
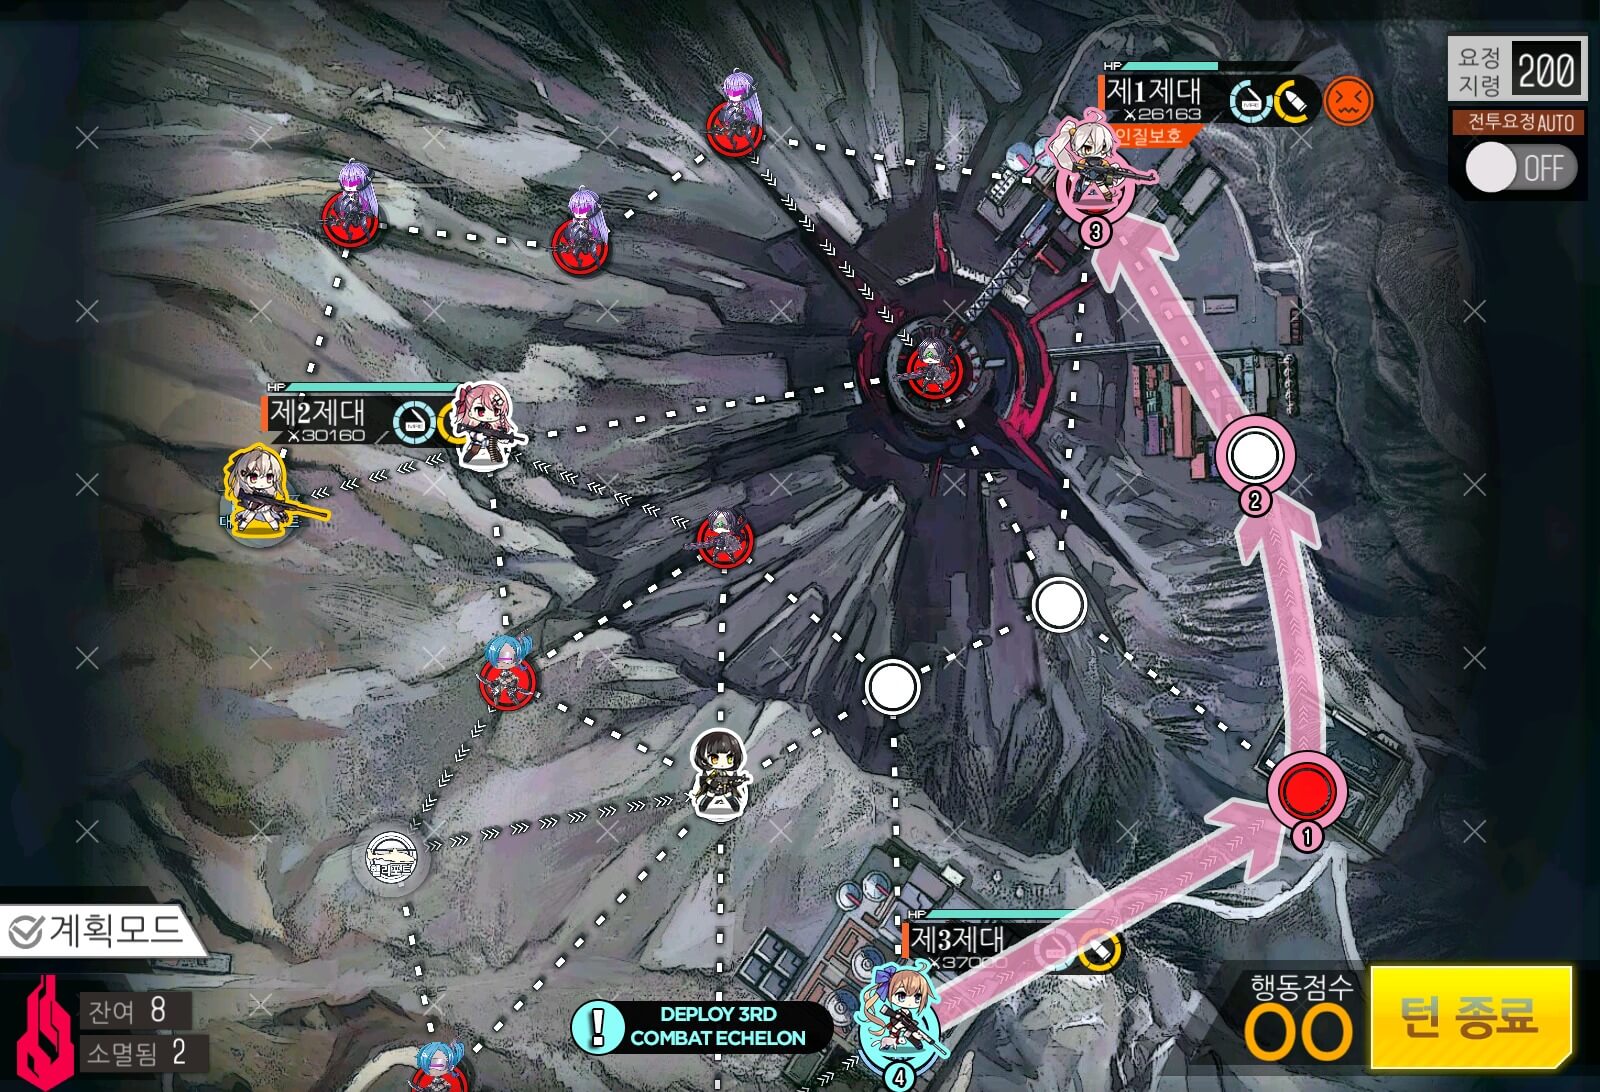
Turn 1
Go straight for the boss with your Judge echelon. Deploy a 3rd Combat Echelon on the HQ to defend it from enemy units.

Turn 2a
3rd combat Echelon moves up from HQ and swaps positions with hostage T-Doll. Then move towards the hostage doll on the left side.
Turn 2b
Swap with the hostage then rescue it so your position is right next to the neutral helipad on the bottom left.
Turn 2c
Spawn a Friend Echelon on your HQ then you will move your Judge echelon to capture the remaining hostage T-Dolls in the middle.
Turn 2d
If your Judge echelon has plenty of health and DPS, you can swap back to rescue manually.

Turn 3
Finish extracting hostages to end the mission!